
This post may contain affiliate links. If you use them, it helps keep the blog going, which I appreciate.
This has probably been the most daunting part of this Switch 2 DIY series, but I think it’s really going to pay off. This is the most visible aspect of the console, so I really wanted to create something I would enjoy seeing every day.
This part of the project required the most time. Not because the crafting was tedious, but because the materials needed time to do what they do.
Supplies I Used
- Nintendo Switch 2 Dock Faceplate: I know I initially said I was going to lean into the blackness of the console, but plans changed. Lol.
- Decoden Simulation Cream: The cream I used is from Cloud DIY. I used 3 bags of my primary color (pink) and 1 bag of my secondary color (white). This shop is in Asia, so allow time for shipping if you’re based in the US.
- Glittered Switch Birthday Bears: I made these to show how I like to glitter things. I still call them birthday bears because the first one I ever made was for my birthday!
- Basket Weave Piping Tips: I got these tips from Wing Charms. I recommend getting 2 as you’ll be switching between deco colors constantly as you pipe.
- A Cloud: I know that sounds crazy, but like I said, plans changed.
- Paper and a Sharpie: Just to help draw out a template. It’s not scary I promise.
The Faceplate Plan
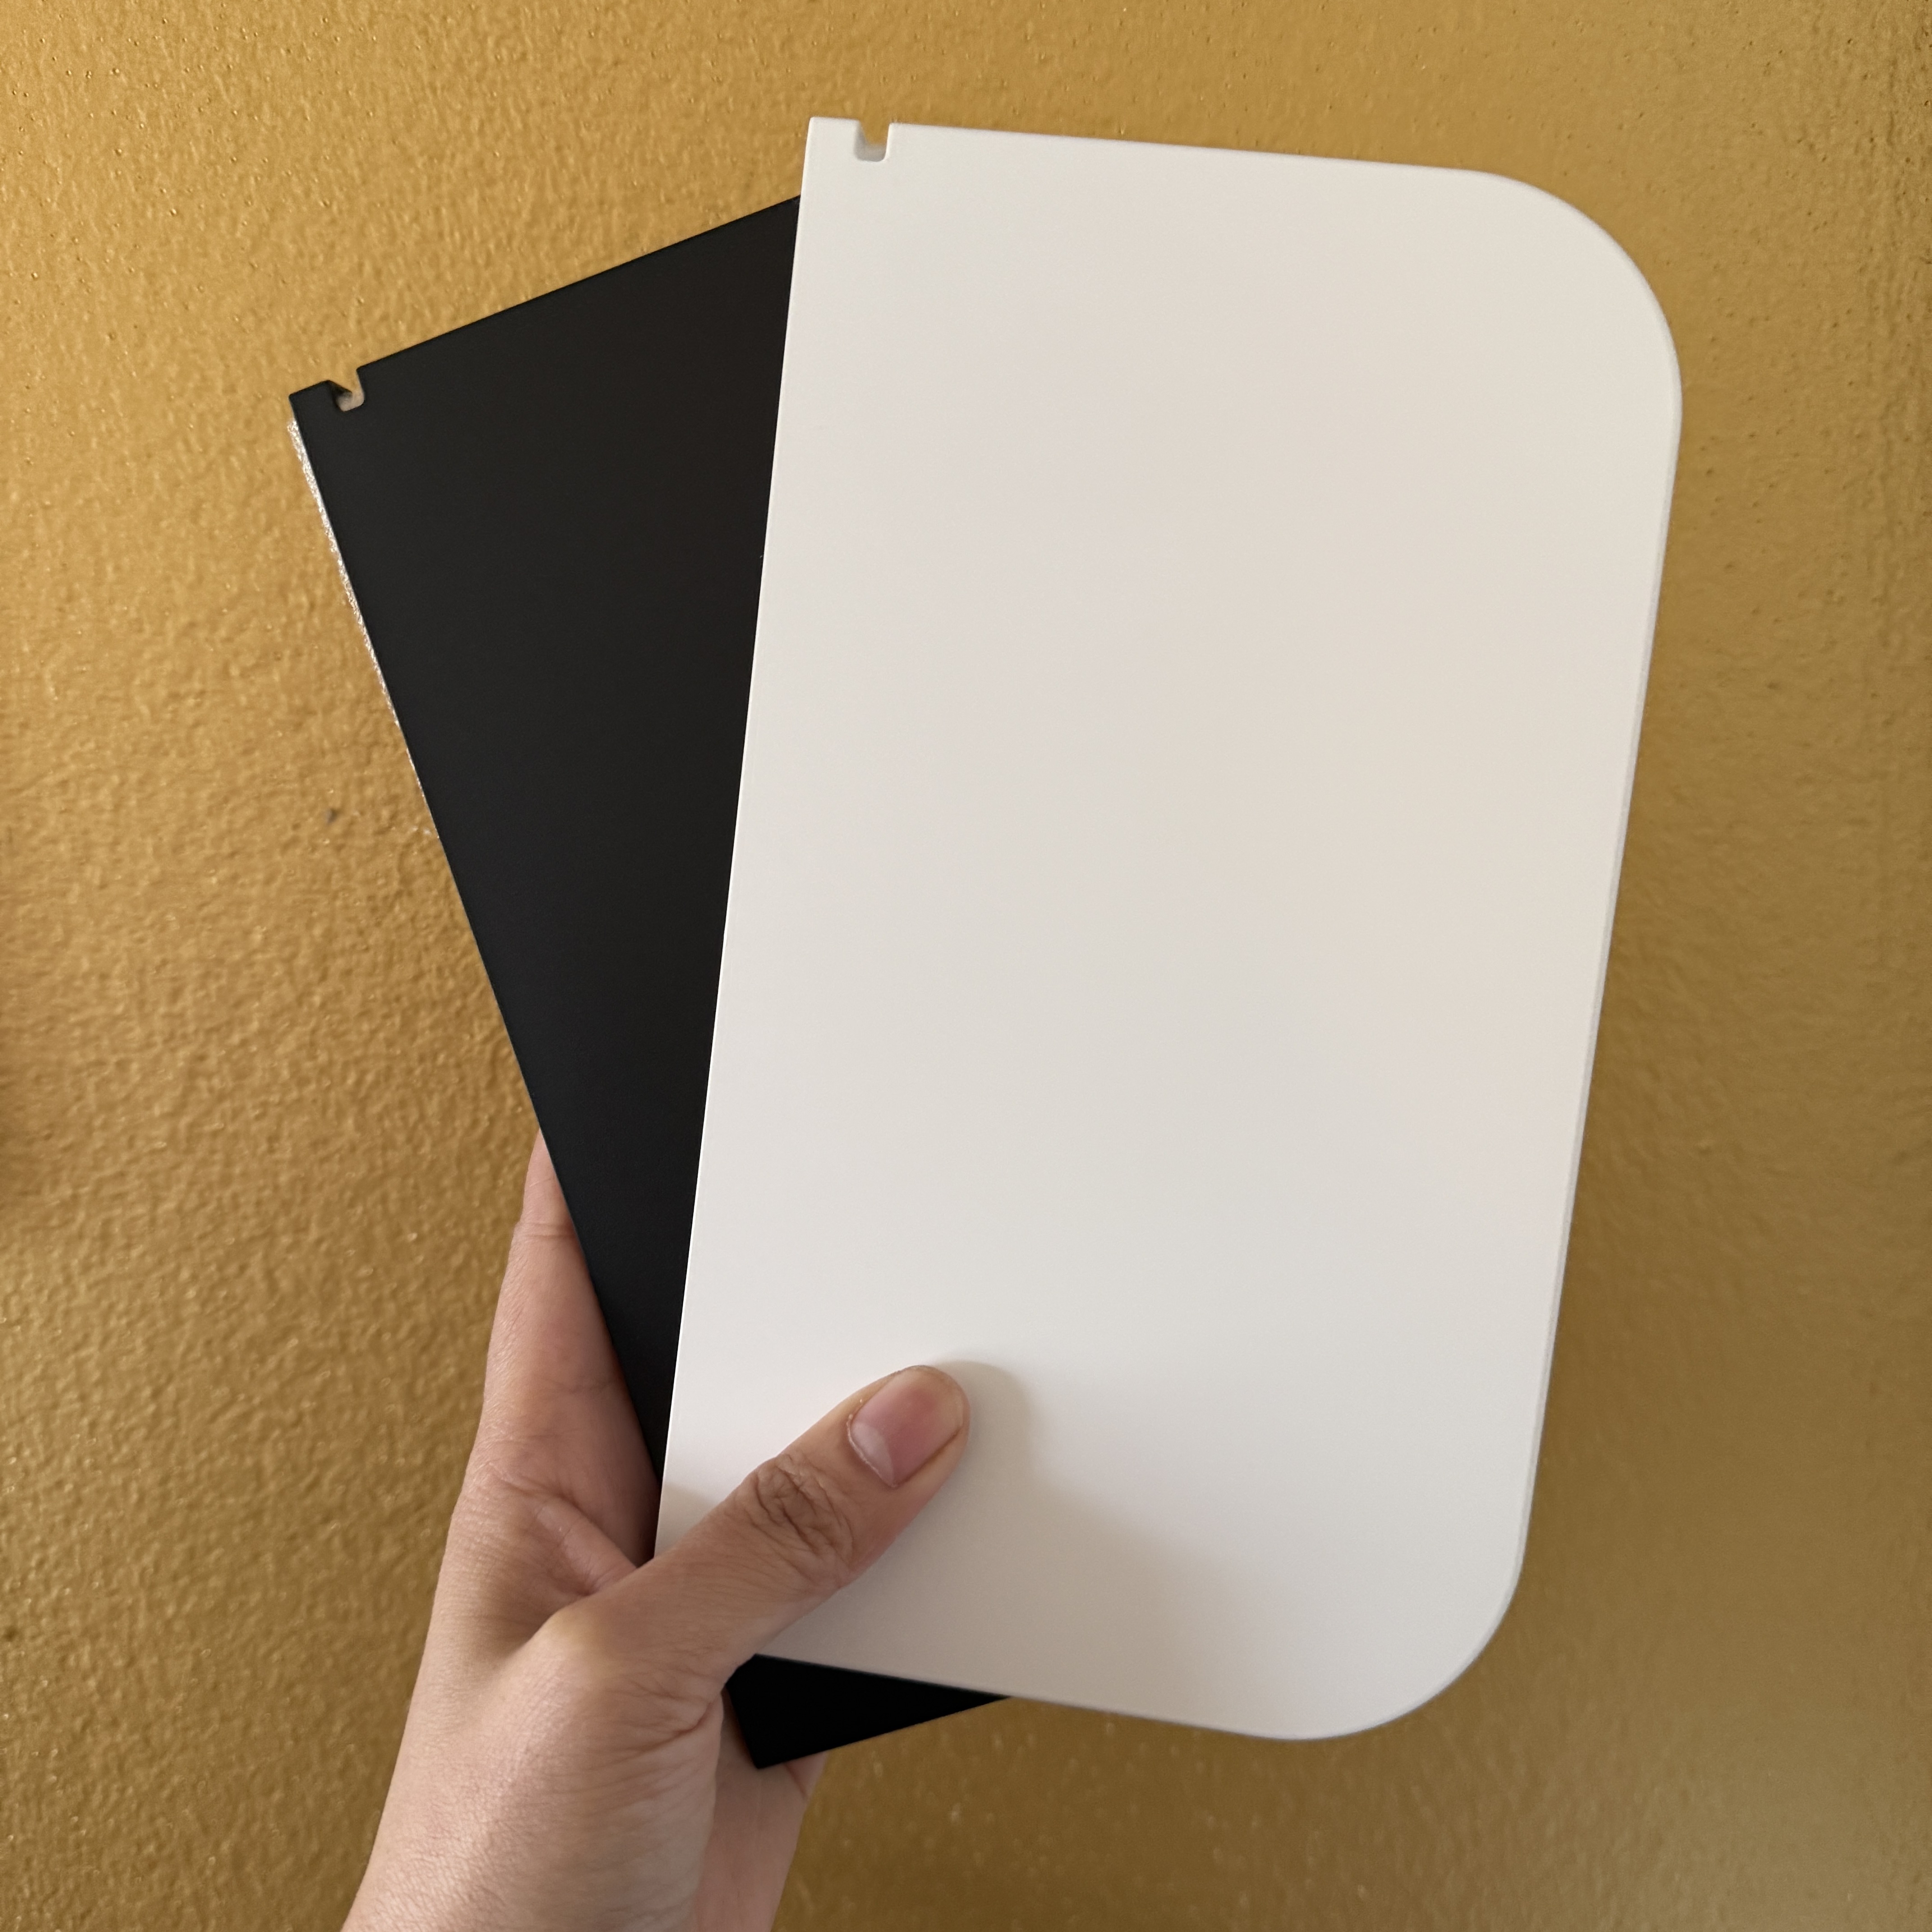
My intention has always been to do a basket weave with deco cream to serve as a fun background for the bears. I did practice working with the creams in different colors, but I didn’t do a total dry run of this pattern at the scale of the dock. I would have if I wasn’t worried about spending so much money on fake whipped cream. Lol.
The thing with a basket weave is that it’s not very forgiving. Lines need to be lines. You have to squeeze the piping bag of simulation cream evenly and confidently. You can’t really eyeball it.
So, I decided to make a makeshift template so I had some guidance and spatial awareness.
Creating a Basket Weave Template
First I traced the dock onto paper twice and cut one out. I crisscrossed the one I cut out so it was easier to see on my table.

I folded the cut out in half. Sorry for the stray fuzz/hair.

I folded that in half again.

Then I folded that in half one more time for good luck.

Then I opened it up, placed it on top of the outline, and marked all the folds onto the paper.

I knew I needed vertical markings equally spaced apart. I did the math initially, but the rulers I have available to me don’t include irrational numbers.

Then I used that template to mark my dock faceplate. If you’re working with light colors, may I suggest using a lighter-colored Sharpie.

Basket Weave Decoden Cream Technique
When I started planning, I realized pretty quickly that there are not many videos on YouTube of crafters sharing a basket weave technique. I did a lot of my learning from watching cake artists. As a result, I decided to film myself doing this portion of the project.
I would really appreciate it if you’d give this video a view. It’s not really a “how to,” but more like a running-thoughts narration. It’s also an instant shortcut to a taste of my personality.
I work so slowly you probably could do it in real time as I do it. But if that’s not enough of a sell for you, I’ll highlight the important thoughts here and anything else that enters my noodle.
When you start, it’s totally okay to take your time. This is essentially the base you’re working with, and you want to set yourself up for success. If you rush laying your initial lines, things can get tight spacing-wise as you continue working.
Breathe before laying your vertical lines. These lines need the most consistency. They need to be straight and the same thickness throughout. It’s almost like I’m lifting and laying rather than dragging the tip across the surface.
Wipe your piping tips before you start piping. Don’t let a little dry crusty ruin the piping tip pattern.
The simulation cream I’m using doesn’t dry quickly. This is why I cleaned the edges and corners of the faceplate after I finished. If you’re using silicone, you won’t have this luxury.
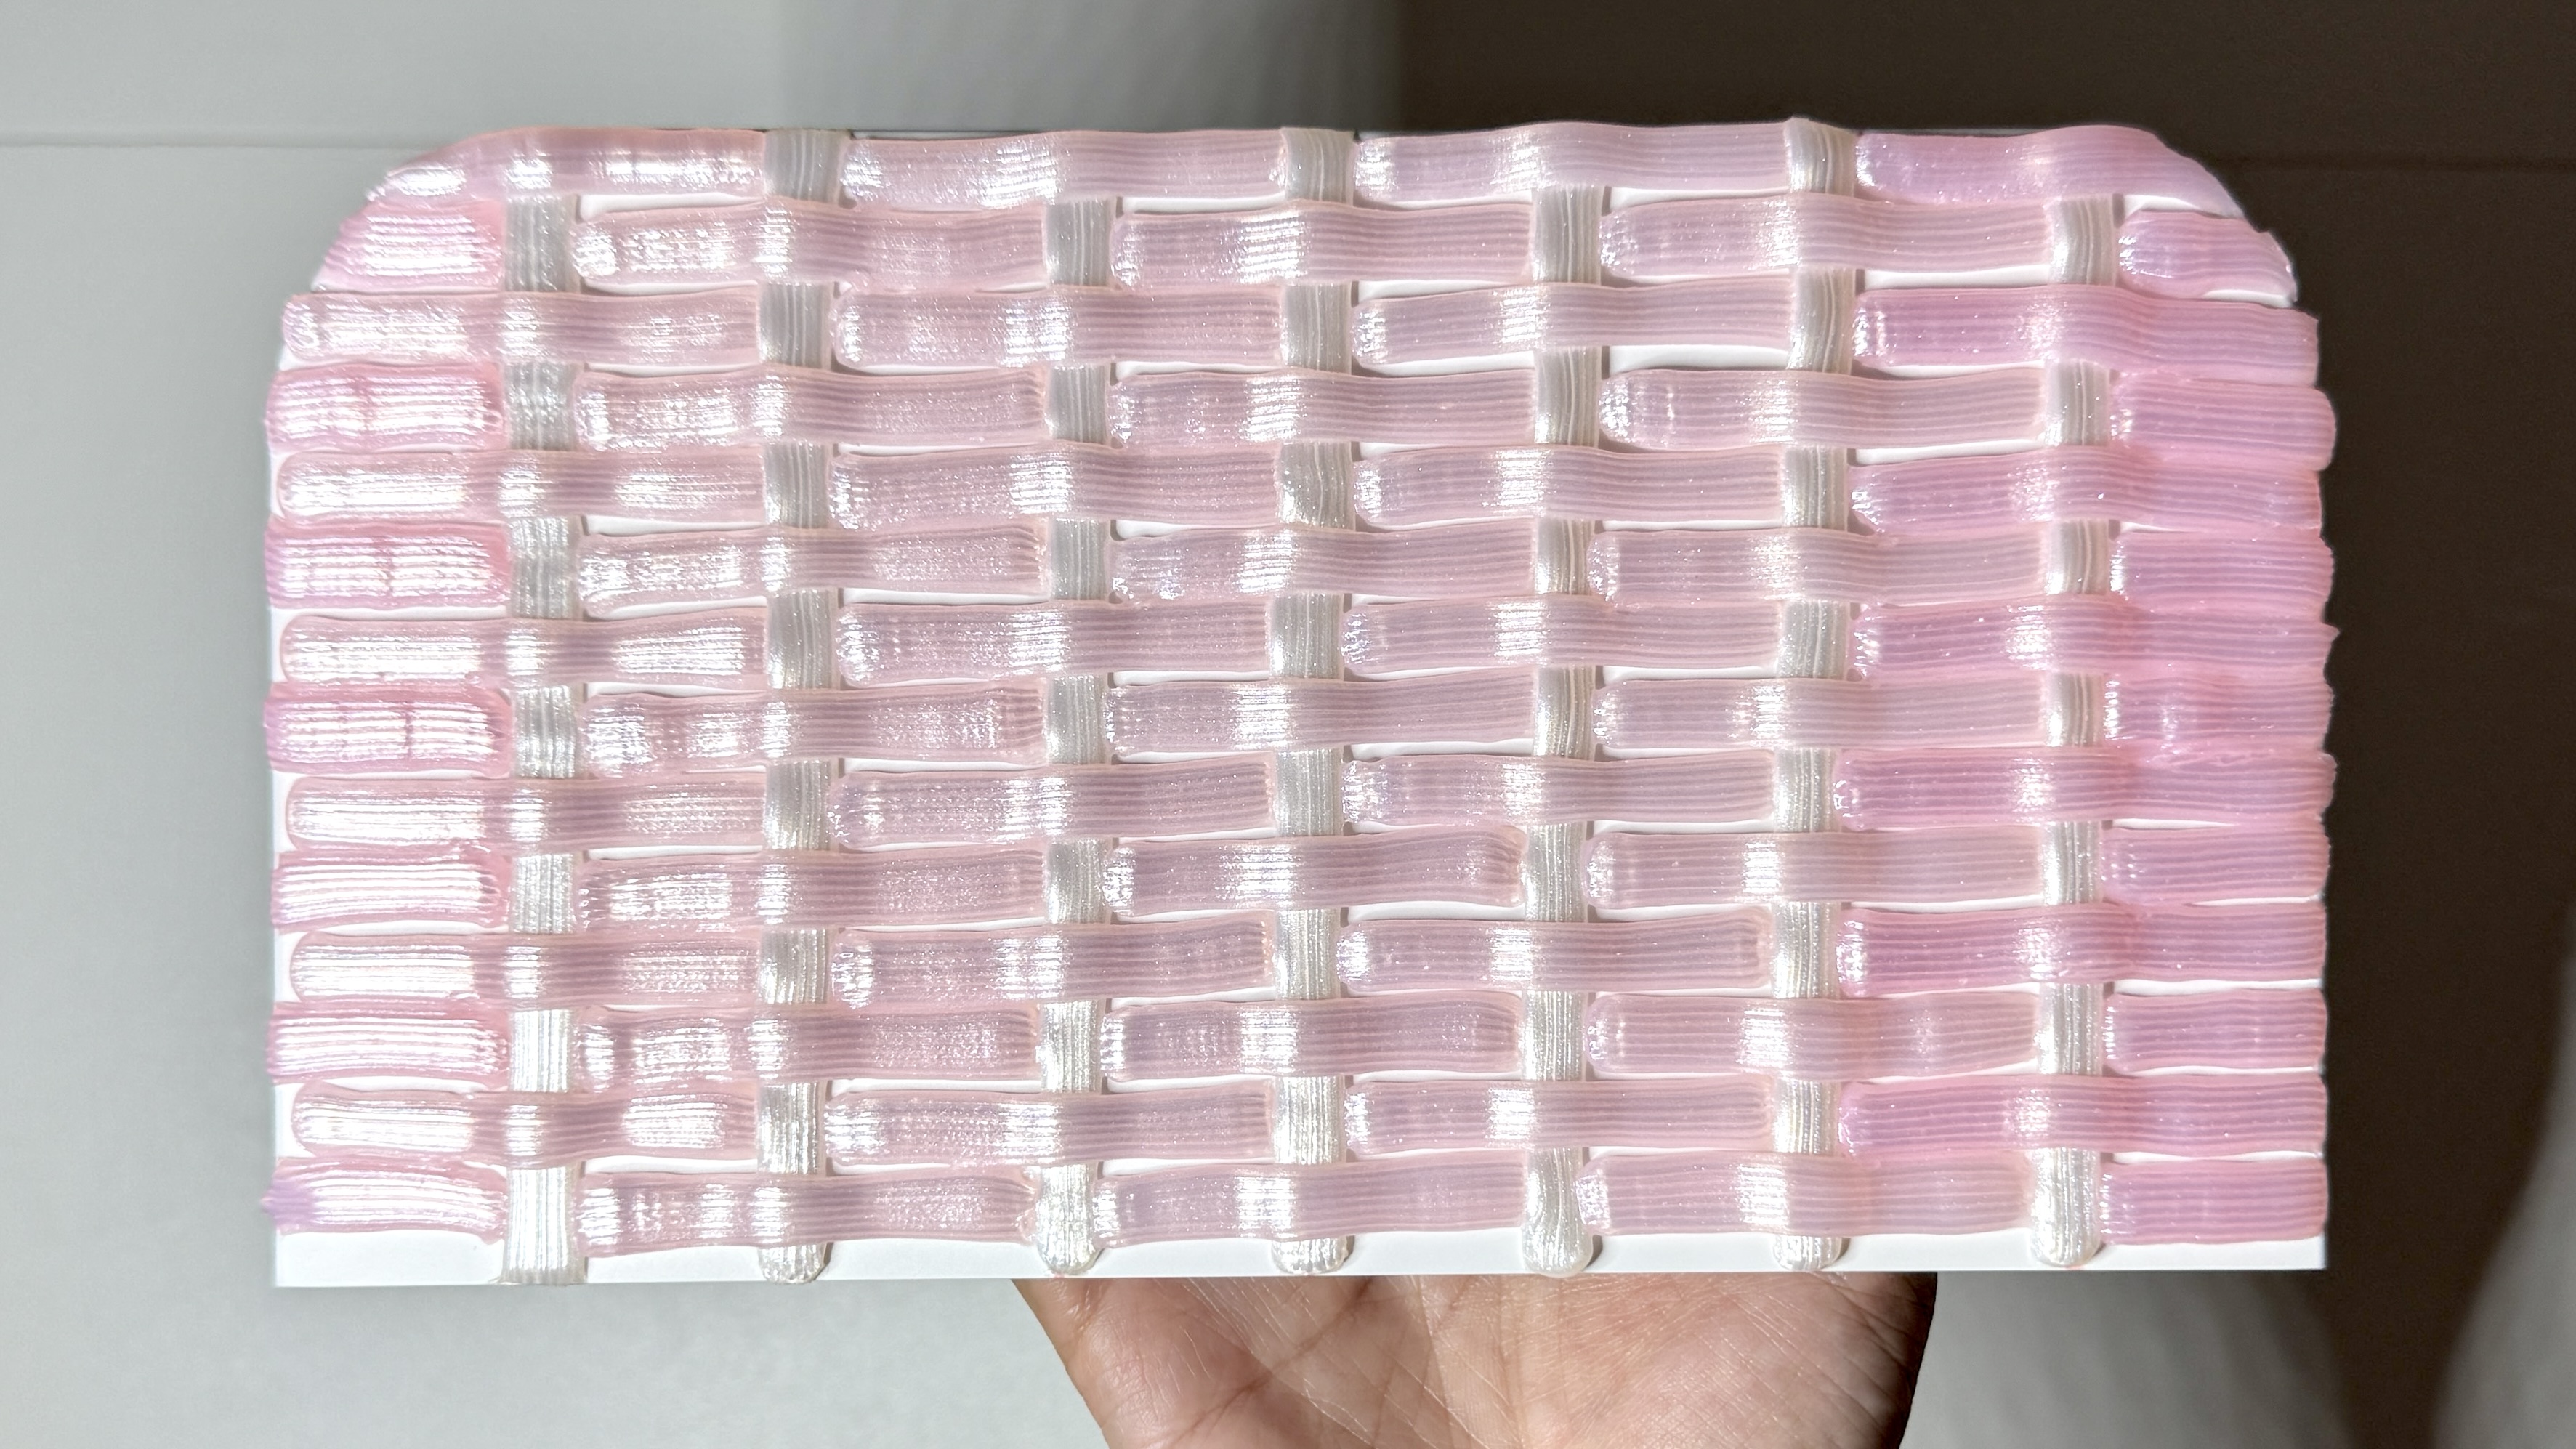
When you’re done, make sure you lay it somewhere flat that isn’t in direct sunlight. I’m only saying this because that’s what I did and it finished nicely.
The Cloud

I ended up throwing a clay cloud into this design. I’ll be addressing how I did this in another post. It isn’t necessary unless you just like how mine turned out. I didn’t want this post to be longer than the Iliad and Odyssey, so I thought my cloud-making experience would be better as a separate post. It was a Journey.
Essentially, I created 2 clouds and created a cloud taco out of them. That’s all you really need to know for now.
The Finished Dock Faceplate
Now that we have a cloud taco, we need to give the dock bears I glittered and designed a permanent seat in this cloud of cuteness.


Essentially, I rolled myself a chonky ball of foam clay, put it in the taco, and then smashed the bear butt into it.
After I repeated more of the same and all the bears had been seated, I used more clay to close the gaps. It definitely doesn’t look perfect. But there is a method to the badness. Lol.

As I added pieces to the cloud, I did my best to blend them in but chose to save my energy for other things. It didn’t need to be perfectly blended because the plan was to use the simulation deco whipped cream to cover the whole cloud.
I found success working left to right (I’m right handed), in smallish sections, pretending I was lightly icing a cake with a craft stick.
I let that layer dry and whipped a second layer on to get the opacity I wanted.


Since the butt prints were already there, I squeezed a dollop of cream into the imprint and sat the bear down. Then I used the craft sticks I had to finesse the area.

I love how it turned out! It was time consuming, but I think that was mostly because I had never attempted anything like this before.
The Finished Look

I placed the faceplate onto the dock and attached the cloud with E6000. I did it with the face plate on the dock already. I did it this way because I didn’t want to glue the cloud too high or too low.
If it was too high, it would look stupid. If it was too low, the faceplate might not slide on completely.
It’s so CUTE!
Conclusion
There were so many times when I wanted to quit. I was questioning my life choices.
I did have a plan for this concept, and it totally didn’t come to fruition the way I originally imagined. Then I added another element made with a medium I had no experience with.
If I wasn’t reviving this blog, I think I would have let this project stay unfinished, just like others. I think knowing someone out there might appreciate it is what kept me going.
Working with foam clay was actually fun. I’m planning on making other things with it because it’s so great to work with. If I didn’t pivot, I would have never touched foam clay.
This may have taken a lot more thought than other DIYs, but I really wanted to make something cute that I knew I couldn’t get anywhere else. Next Stop: Travel Accessories