
Some links are affiliate links. If you choose to use them, it helps support the blog at no cost to you, and I really appreciate it.
So a lot of the posts I’ve gotten on their legs here are either projects I wanted to do to make my life cuter right now, instantly, or something I created way back yonder and I just want to give it its flowers. I have made a lot of stuff and no one has ever seen it. I’ve also started a lot of things that I abandoned.
This post is about one of those abandoned projects.
So yeah, it’s essentially a rhinestone cigarette. It’s not a real cigarette, but it is a fake cigarette that feels close enough. I started smoking when I was in college. I convinced myself I wasn’t an actual smoker until I realized I was a smoker.
In 2020, my mom had to quit smoking due to her health, and I quit with her. I have unfortunately picked up vaping, but I’m proud to say that’s on its way out. I did it once, I can do it again.
Anyway, the majority of my smoking was in my car and when I was out and about. I was missing holding a cigarette, so I got the idea that if I had something in my hands, it would help squash the habit. As we know, the pandemic happened, and I started rhinestoning, but then I just lost interest. I probably didn’t see the point anymore, so the rhinestoning got shelved.
I did, however, hold the plastic cigarettes a lot. So the idea of creating a smoking cessation device was working in theory.
Now in 2026, I’ve picked this project back up. Join me as I finally finish this project.
Supplies I Used
Fake Cigarettes: The foundation of this entire thing.
Tiny Rhinestones (ss5 and ss6): I like working with small rhinestones in general, but you need tiny ones for this project.
Copper Glitter: For the filter. Even though I didn’t smoke Marlboros, it is the most iconic cigarette.
Red Glitter: For the litness of it all.
Ball Chain: To hang this decadent pendant around my neck.
Painter’s Tape: To help create clean lines while glittering.
X-Acto Knife: To further assist with creating clean lines.
The Project Cigarette

I got these from AliExpress. The first thing I noticed in the listings is that they have lots of cigarettes that are different sizes. I needed cigarettes that were essentially life-size, so pay attention to the sizing.
They’re pretty lightweight and had a sticker that created that Marlboro look.
I unscrewed the included eye hooks and saved them for later. Then I soaked the plastic tubes in water to remove the stickers. I used the X-Acto knife to score where the paper stopped before I removed them. They actually came off without issue.
Creating the Glitter Filter

Okay, so this is embarrassing.
I taped painter’s tape around the cigarette to indicate where the filtered end is. The embarrassing part is all the cat hair you’re seeing.

Listen, the tape is coming off eventually, so why would I redo all that work just to get a “good” picture? This is real life. This is the real life of a crafter with a black cat. She was sitting on my desk and lovingly interacting with the tape.
It is what it is.


I taped the cigs with painter’s tape because I wanted to create a crisp line with the glitter filter I wanted to make. I used Mod Podge to adhere the glitter to the surface. I used my usual glittering technique to prevent glitter fallout.
I opted to glitter the filter so when I rhinestone, I won’t have harsh white spots peeping through.
Rhinestoning the Cigarette
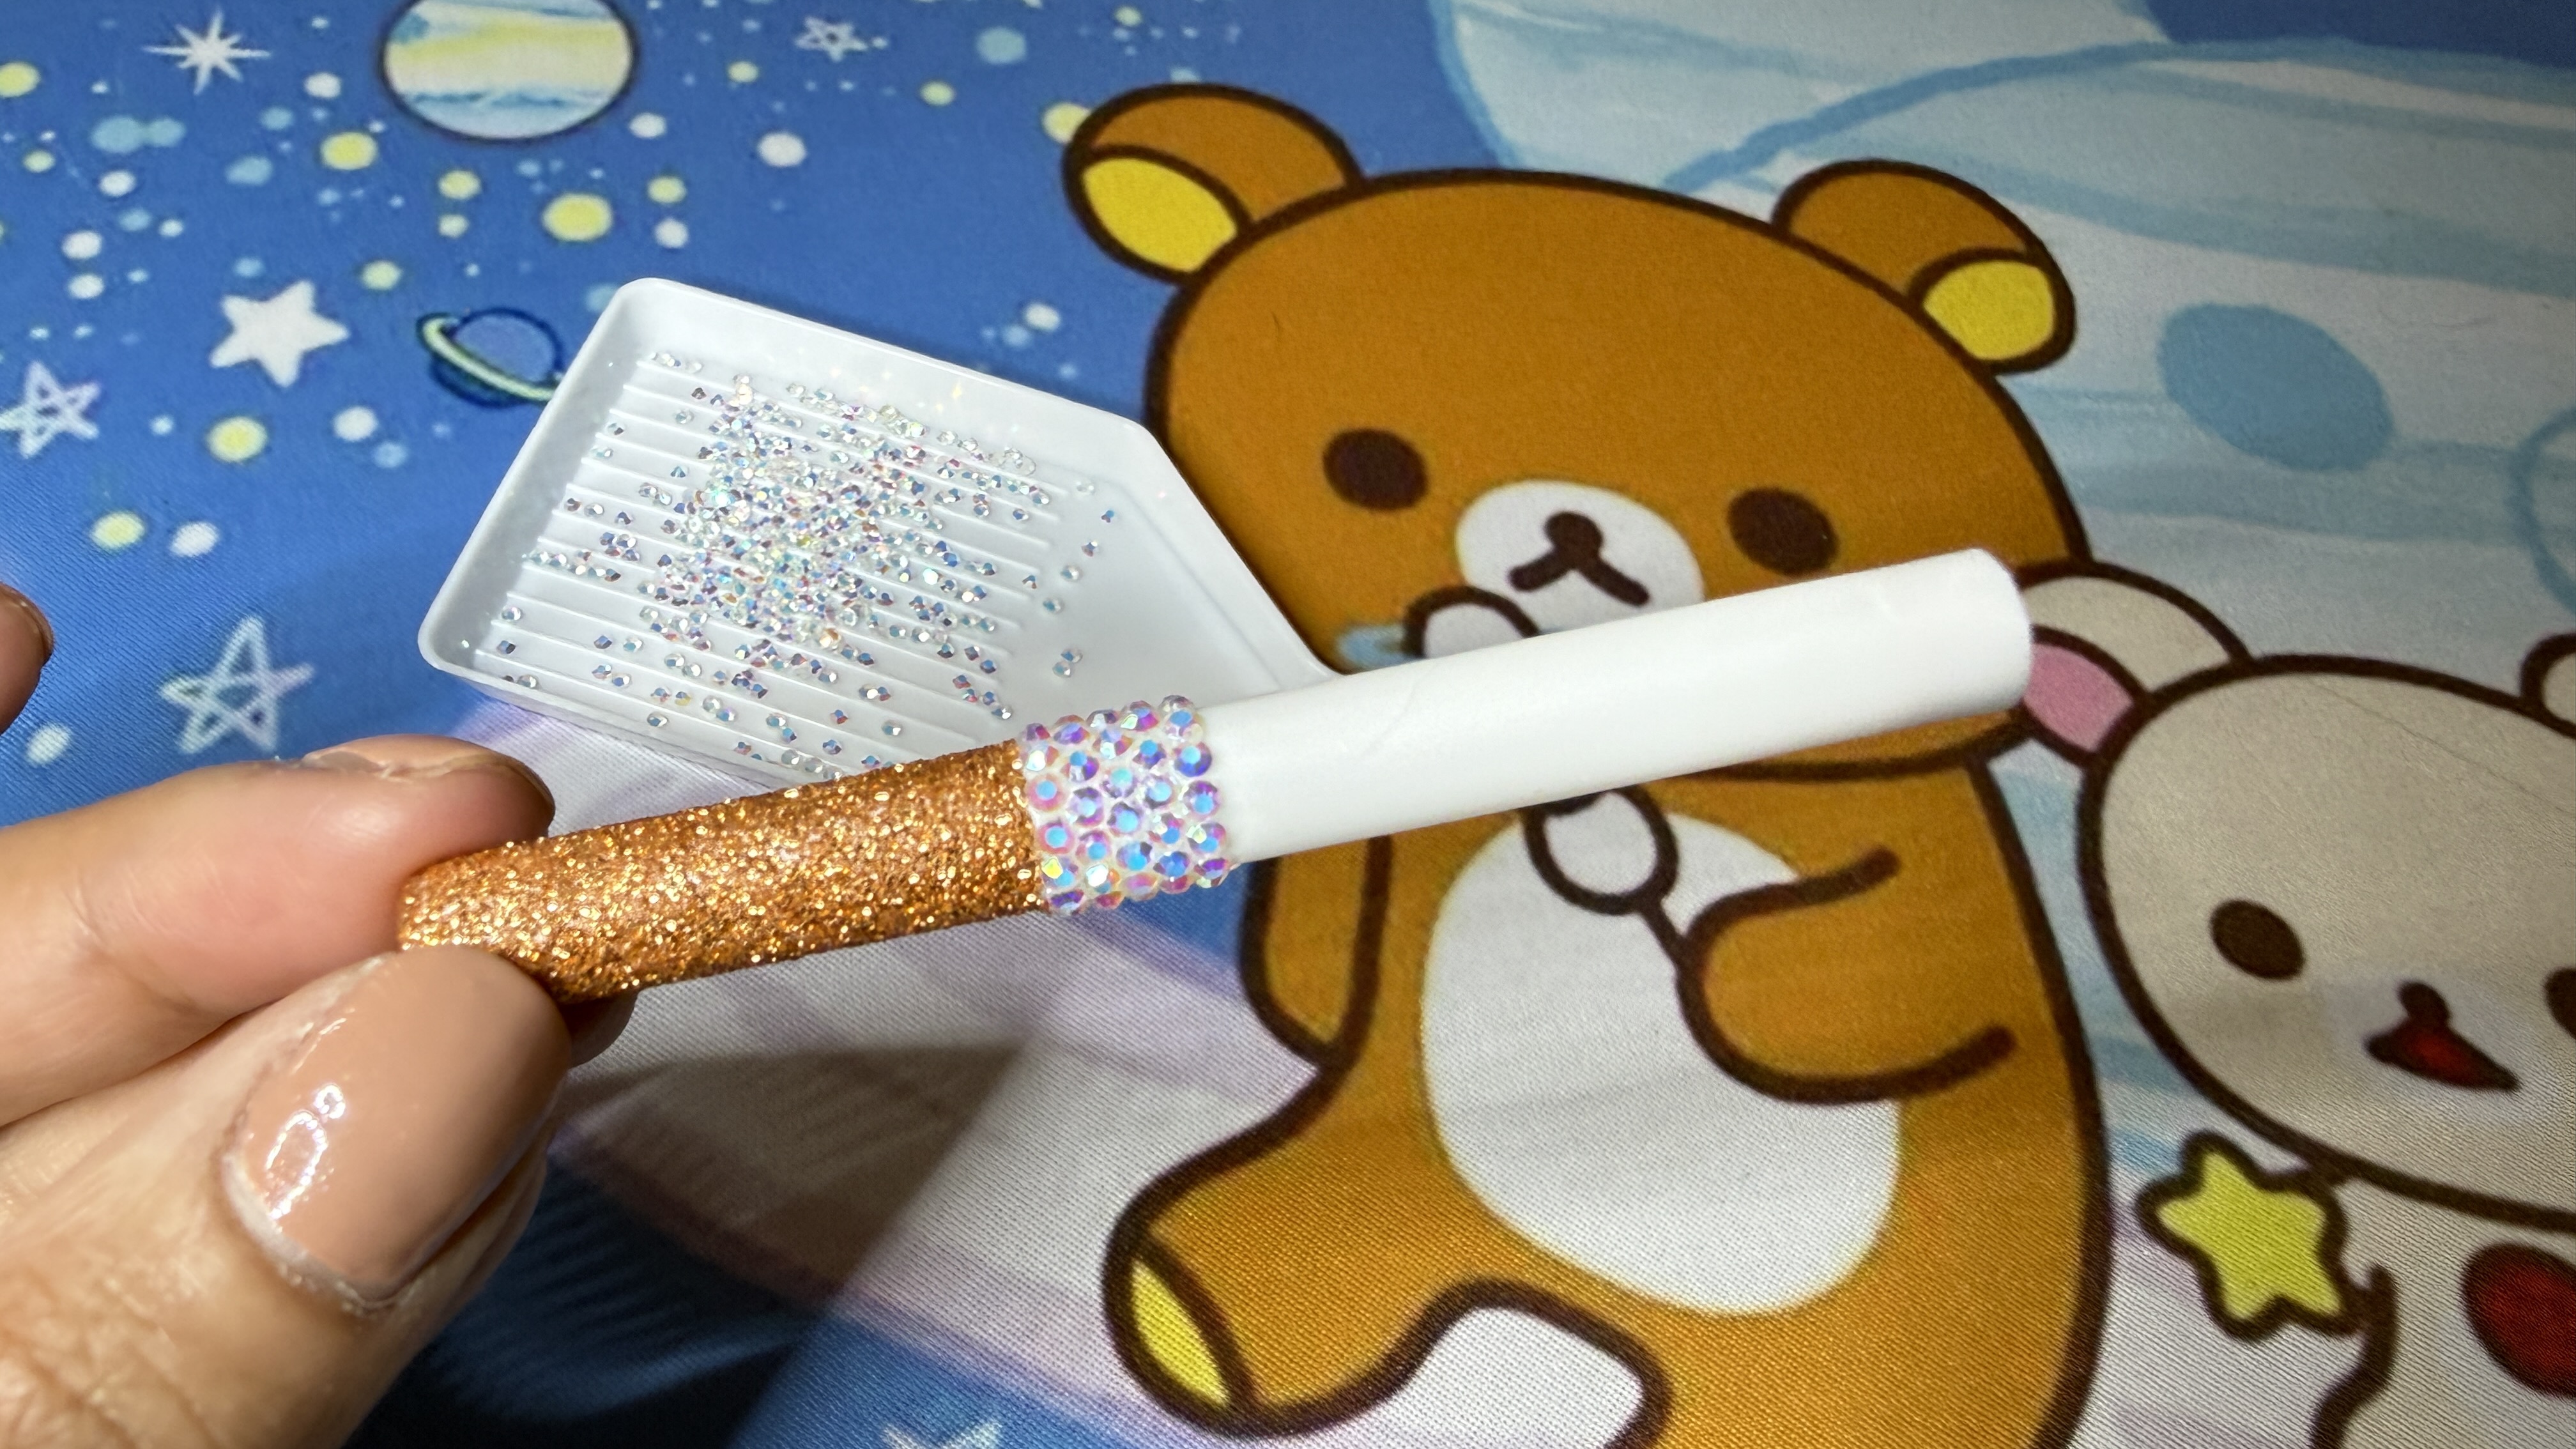
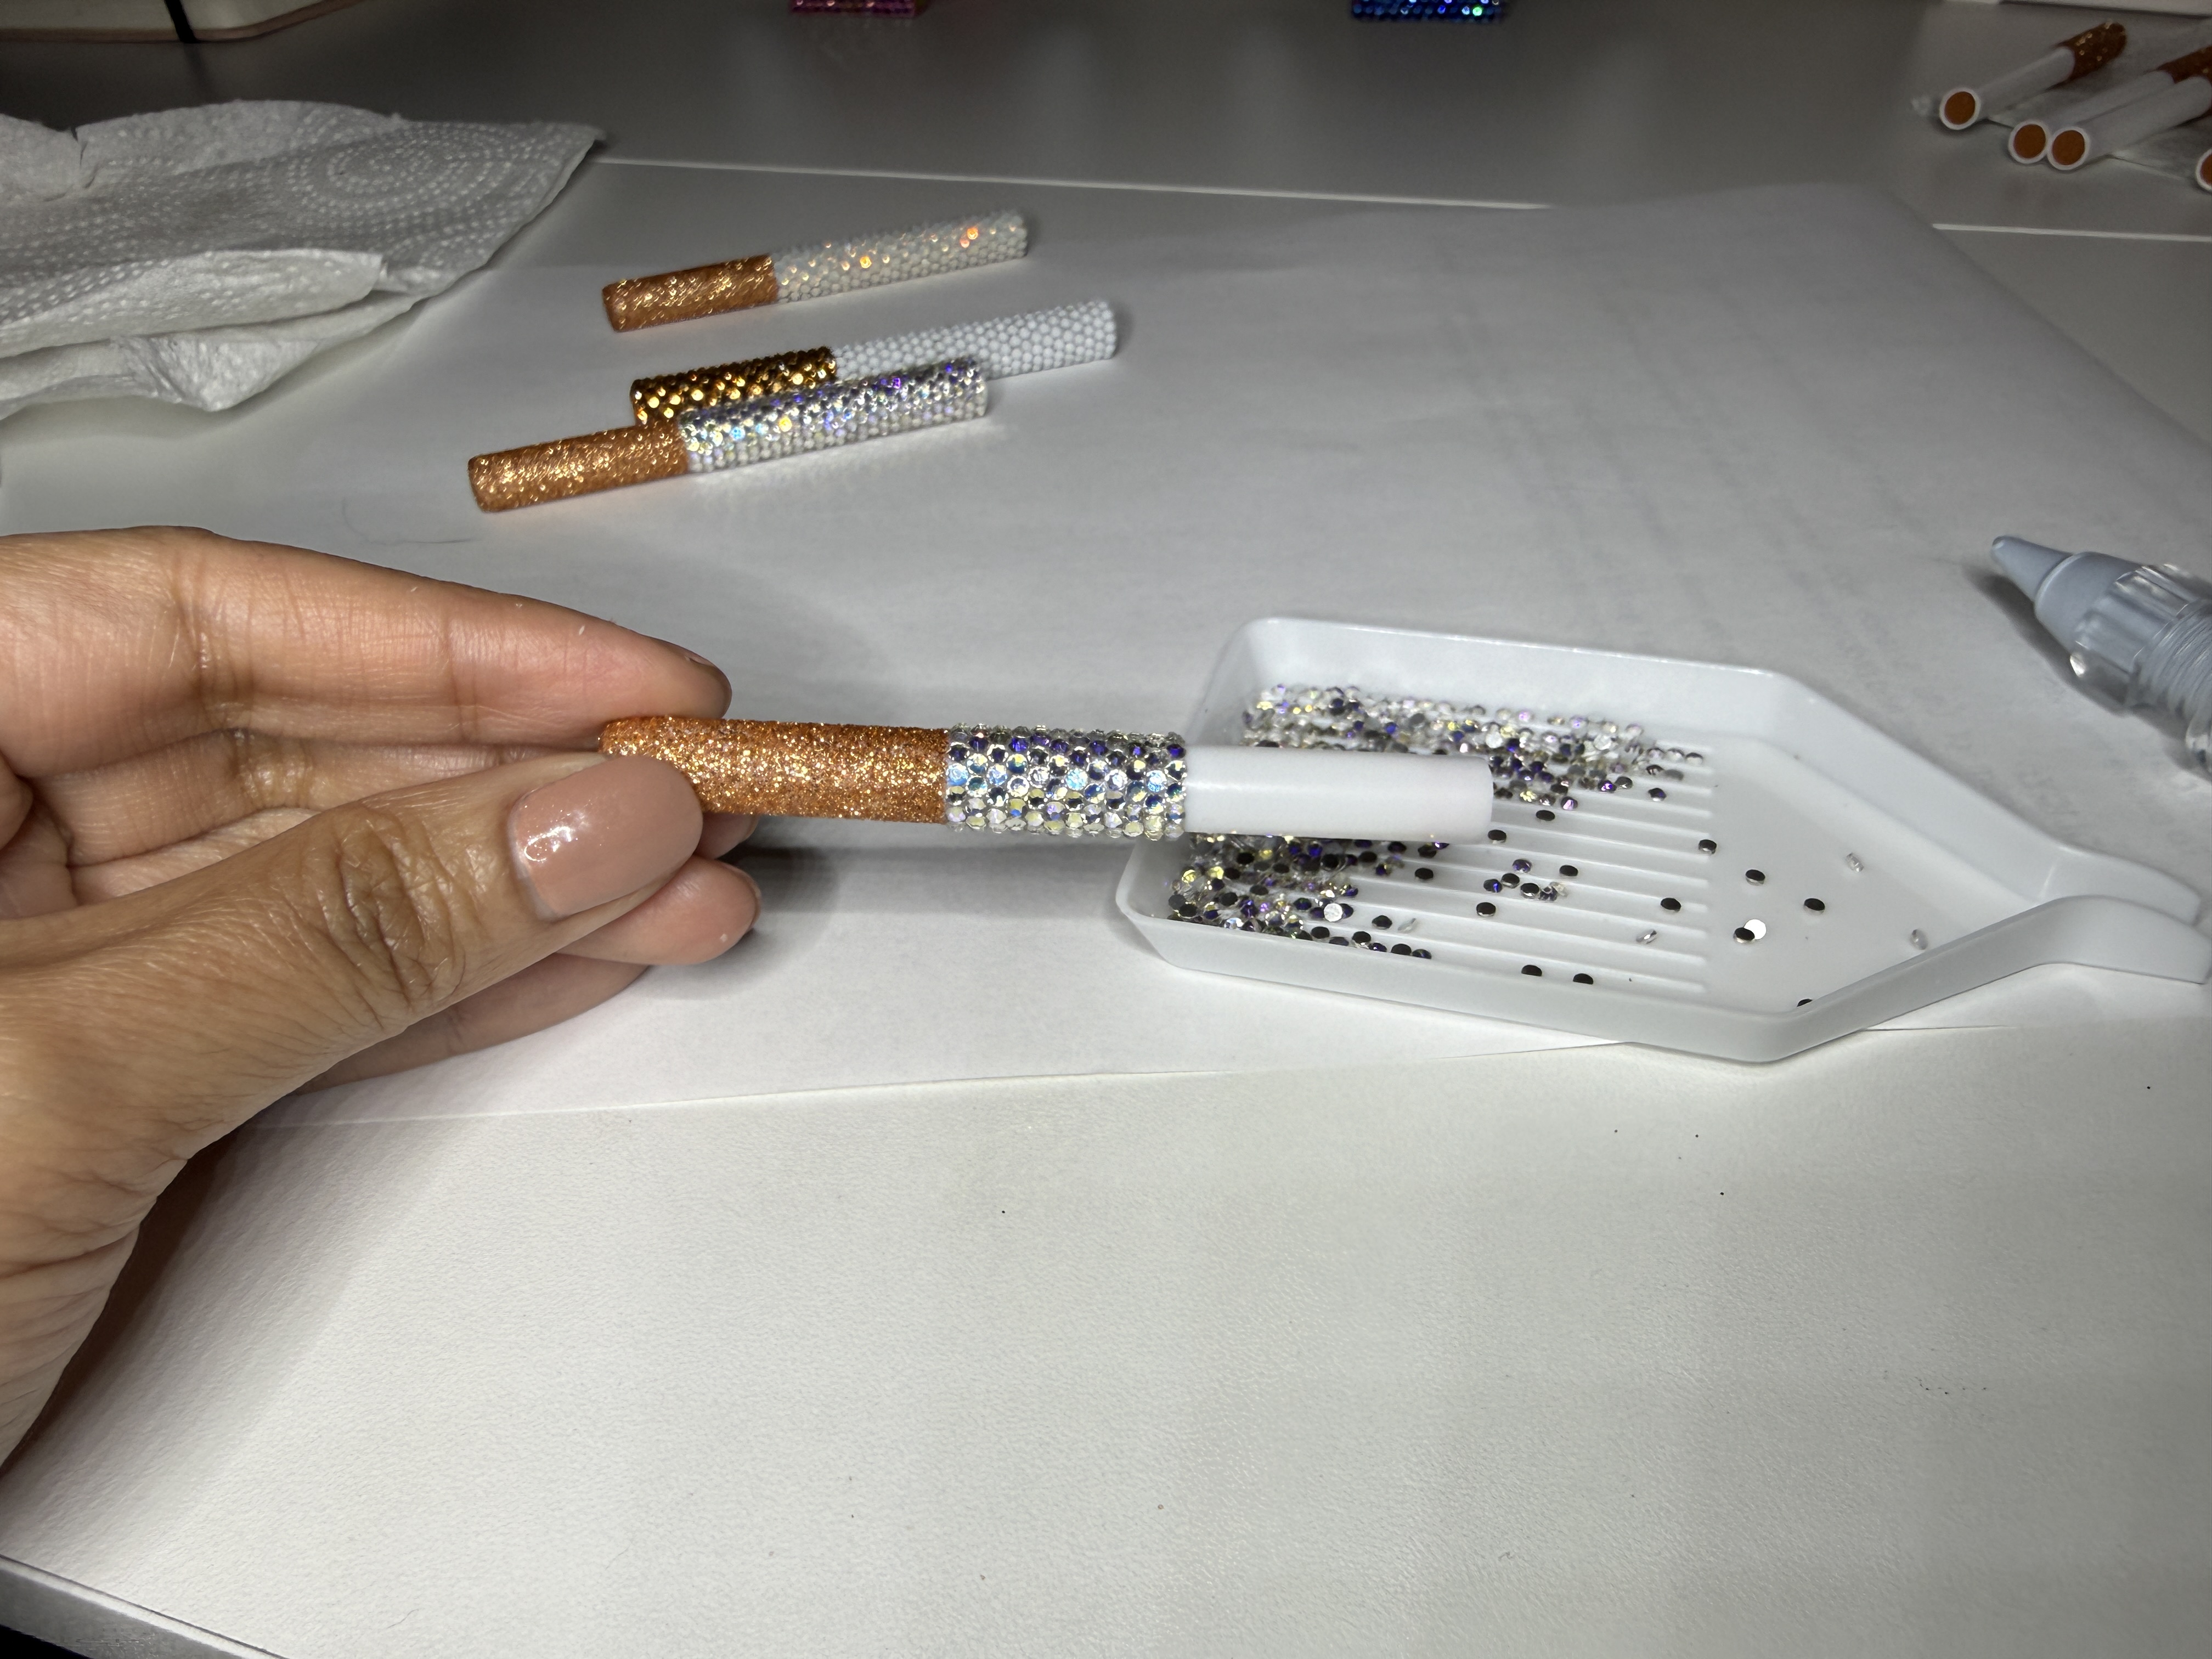
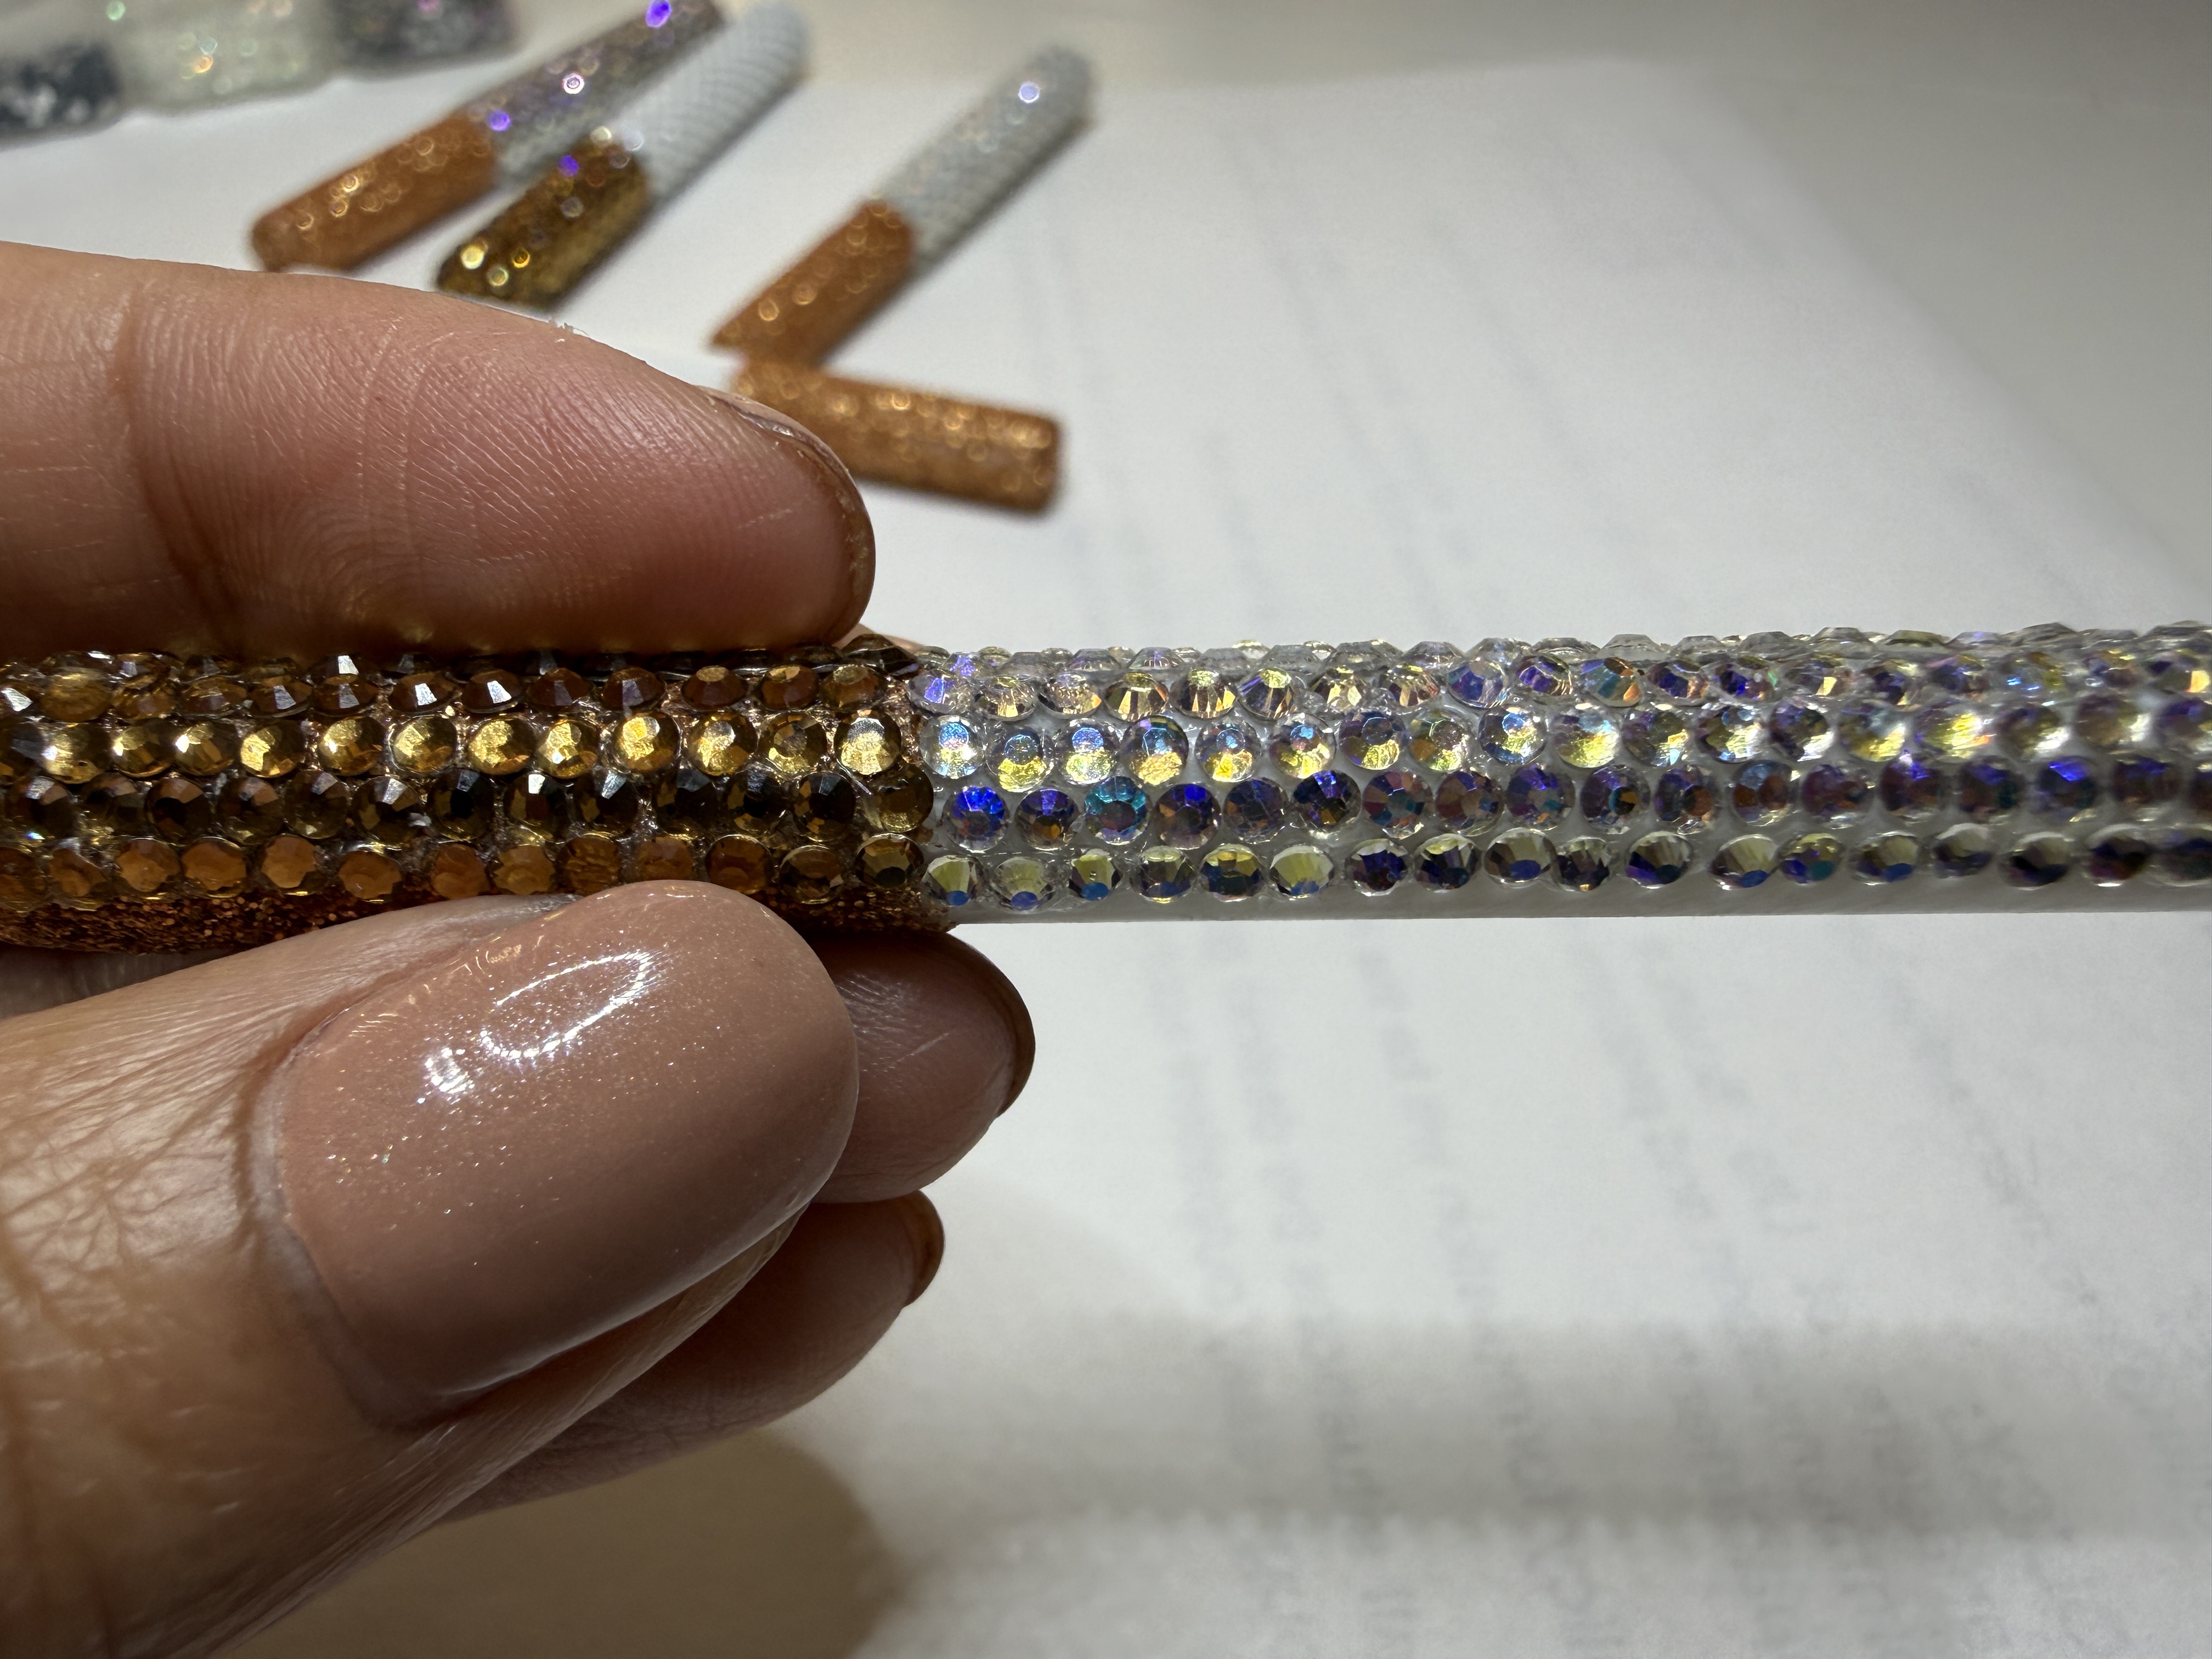
I started with the “white” rhinestones and worked in a circular pattern. I opted to work in a honeycomb pattern. I had other cigs I was experimenting with, and honeycomb was the way to go. I did this for both the white and filter parts.
I had picked different rhinestones to get an idea of which ones I wanted to represent the white part of the cig. I got a flat white, AB-coated clear, and opalescent rhinestones. All stones are ss6 except for the opalescent rhinestones I got. Those are Swarovski and ss5.
Making the Lit End


So the lit red end was sort of a last-minute addition. I used red glitter and Mod Podge the same way I did for the filter end. Then I used the red rhinestones, which are ss6, and sort of just felt it out as far as placement goes.
I was more okay with gaps peeping through because 1. there was red glitter underneath and 2. it’s not nearly as visible compared to the rest of the cigarette.
I’m just realizing now that I should have left the top part of the cig white if I was truly mimicking a cigarette, but what fun is that? I glittered the whole thing, so I was SOL.
I ended up just doing an outer circle on the top because I wanted to make sure I had clearance for the eye screw.
The Finished Cute Effect Cig


I’m quite pleased with how these turned out.
I normally like using gold hardware, but it clashes with the copper of the filter. Plus, the eye screws they came with were silver, and I don’t think I have gold ones that are large enough to work with the hole in question.
I put them on a ball chain that falls 18 inches. I wanted it long so I could use it as a cig to hold without choking myself. I think I like the clear AB one the best.
Final Thoughts

I’m glad I picked this project back up. I’ve clearly been holding onto it for a while, and it seemed like a fun project to properly finish. Of the ones I haven’t finished, I picked the cigarette because it seemed like the most straightforward thing I gave up on.
I also think having overly curated pictures is annoying. I was super annoyed when I saw the cat hair in my photos, but I’m also like, thank god. I can be real about how documenting things like this takes a lot of effort to be staged super well.
The cat hair happened in 2026 while I was finally finishing this project. It’s not cute. It’s not staged. It’s just what my desk looked like while I was working.