
Some links are affiliate links. If you choose to use them, it helps support the blog at no cost to you, and I really appreciate it.
In my previous post, I basically shared everything that went wrong with this portion of the Switch 2 DIY Series. I was about two hairs away from rage quitting. But honestly, sharing my missteps feels better than quietly starting over and pretending nothing bad happened.
So this became the new plan: I’m rhinestoning two sets of panda controllers and matching stands. Since I’m still trying to use rhinestones I already have, the stands ended up needing to be different colors. I also didn’t want to buy more acrylic paint, so I mixed what I already had. I’m not rhinestoning the underbelly or portions of the backside because the terrain starts getting weird back there and I still want these to feel comfortable to actually use.
Supplies I Used


General Supplies
- Acrylic Paints: I didn’t have a purple shade, so I mixed pink, blue, and some gold together.
- B-7000 Glue: I’m giving up my tried and true E-6000 for the moment. This felt like a good opportunity to finally get acquainted with B-7000 since I’m extremely late to the party.
- Silhouette America Rhinestone Picker Tool: This was a complete impulse buy because I’m always willing to try new stoning tools.
Stands
Universal Controller Stands: These took about a week to arrive both times. I ordered them separately because originally I was only planning on making one.
Color Shifting Rhinestones in “Volcano”: ss12 and ss6. These came from some online rhinestone site I no longer use because the quality was questionable, but I really wanted to use what I already had. I genuinely cannot remember the name of the website.
Sunstone Crystals Rhinestones in Light Vitrial: ss10, ss8, and ss6. I already had a lot of ss6 and less than a gross of ss8, so I made a trip to the rhinestone store and bought 10 gross of ss10. I forgot what size the older rhinestones were, which is why the sizing doesn’t perfectly match.
Wireless Controllers
Stoga Wireless Panda Controllers: I bought both secondhand from Mercari.
Sunstone Crystal Rhinestones in Light Rose and Jet Black: ss6
Beadsland Rhinestones in Black: ss3. This was the smallest size available.
Beadsland Rhinestones in Light Pink: ss4. This was the smallest size available.
Repainting the Stands
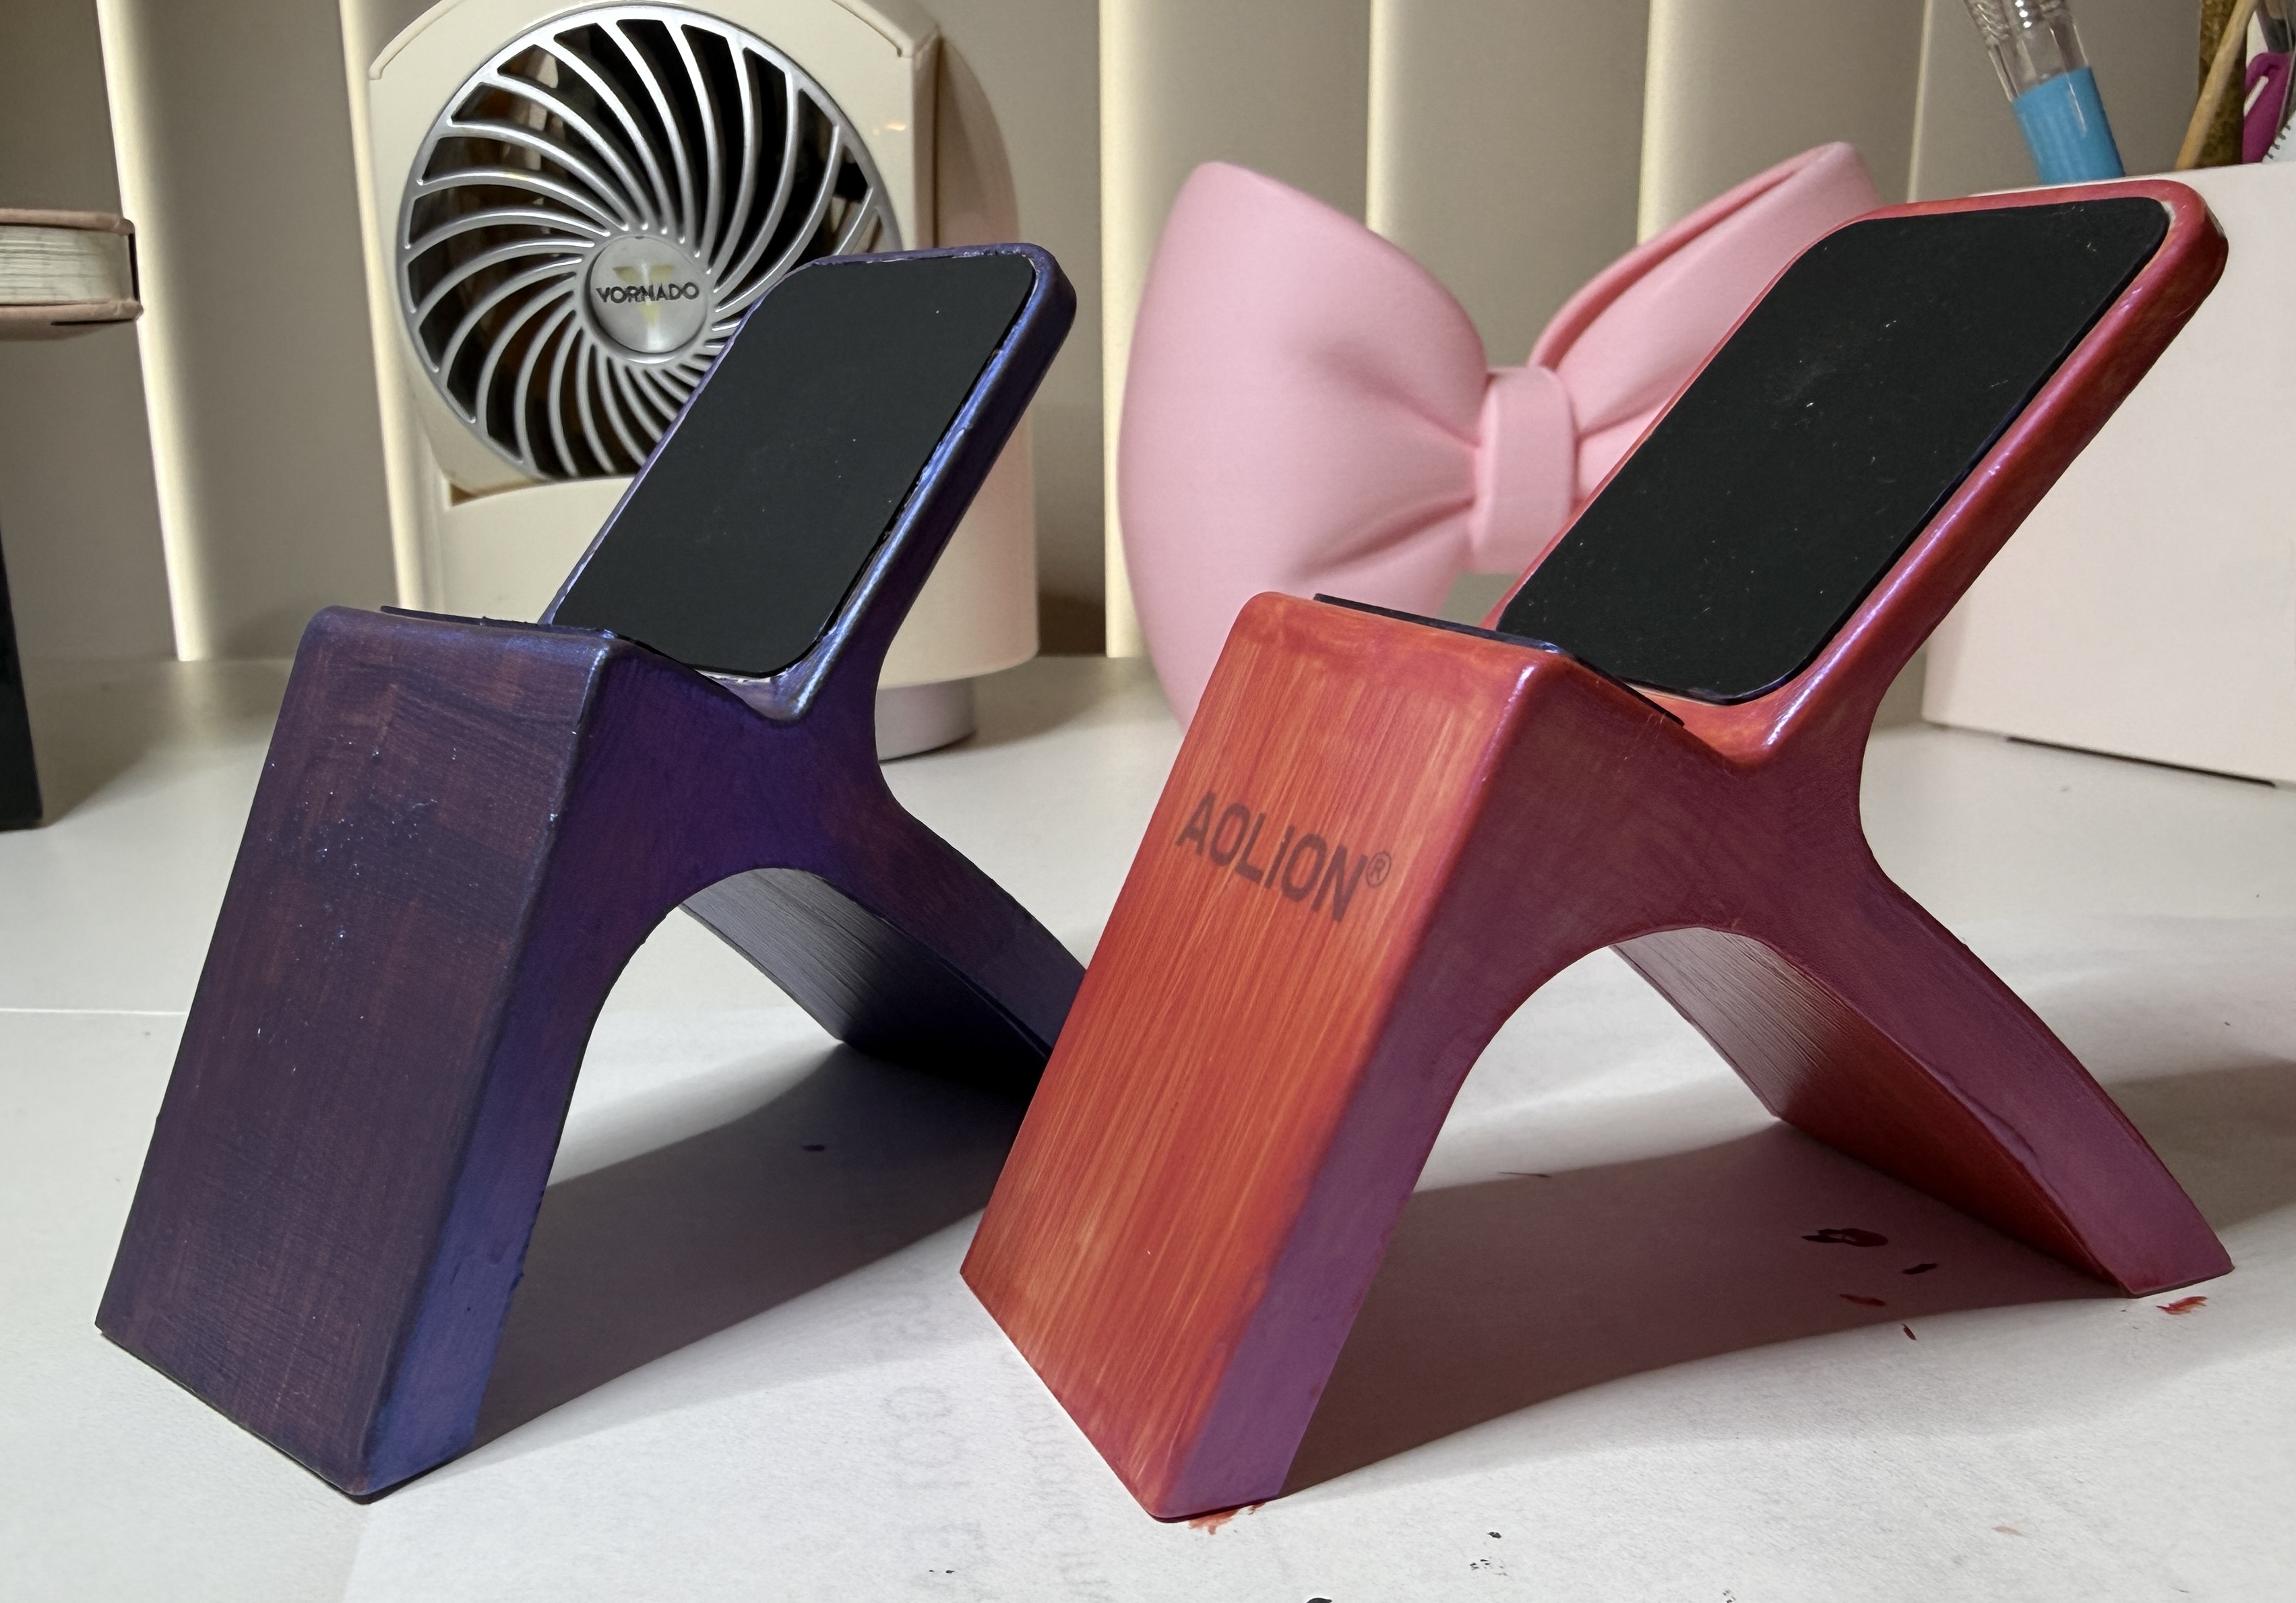
The first thing I did was repaint the stands. The entire goal was to lower the contrast between the rhinestones and the base itself because white underneath the stones was just way too stark. I mixed the purpley shade using pink, blue, and some gold paint, while the other stand stayed more straightforwardly pink.
I immediately ran into streaking problems because of the paint brush I was using, but I’m in the middle of moving and I knew better than to start digging through boxes trying to locate another brush. Instead, I just kept building up thin layers and letting them dry in between.

At one point I thought maybe a sponge would solve the streaking issue, but instead it mostly just absorbed the paint even after I wet it. I also taped off the first stand because after scraping rhinestones off the previous version, I was not in the mood to approach this casually. Ironically, by the second stand I realized it was actually pretty easy to just paint carefully around the black rubber portions without taping anything.
Figuring Out the Stone Placement

I started with the purple stand and used a honeycomb pattern, filling in awkward areas with ss6 stones whenever I needed to. Most of my brain power honestly went into figuring out the side configurations because once multiple stone sizes get involved, things stop lining up as predictably.


The sides were obviously the weirdest. I started along the sharpest angle first and basically free styled the rest from there. This is also where repainting the stand helped tremendously because any tiny gaps blended in instead of screaming at me visually.
Stoning the Controllers

I actually owned the pink controller a while back, but sold it once I got the Switch Pro Controller. I regretted it immediately. So when I got my new Switch, I decided to hunt another one down.
I originally ordered one from Newegg, but between the delayed shipping and them sending me the wrong controller entirely, things got messy fast. While waiting for that situation to resolve itself, I found the pink controller on Mercari. Apparently, I also bought the black one sitting in my cart at the same time. Even though I only planned on doing one controller originally, I’m glad it worked out like this.
I knew I only wanted to use ss6 rhinestones. If I could have gone smaller, I probably would have, but ss6 is the smallest size available from the rhinestone store I like going to in person. Tiny rhinestones are my favorite aesthetically, but I also wanted the controllers to still feel comfortable in my hands. The lower profile helped with that a lot.

This part of the project was thankfully much more successful. I decided to rhinestone only the ears and colored eye portions of the panda controllers. I started by finding the straightest possible line I could work from because I knew if I started from a curved area first, things could get weird very quickly. Once I completed the first line, I actually walked away and let everything dry because I didn’t want any shifting while building off that foundation.

I approached the ears the same way, starting from the bottom and slowly building upward.
The Tiny Rhinestone Problem

Once I finished the pink controller, I realized I still wanted to fill some of the visible open spaces. That led to me ordering ss4 rhinestones because the local store’s house brand unfortunately doesn’t go smaller than ss6.

I followed the same overall process for the black controller, but the black ended up being way more forgiving visually. I think darker rhinestones naturally hide spacing issues better, so even when placement wasn’t perfect, it still blended together nicely. The pink controller, unfortunately, was much less forgiving.

When the smaller rhinestones finally arrived, I immediately struggled with the ss4 pink stones. Eventually I ended up scraping them off and starting over again. Thankfully I was able to salvage and reuse a good amount of the rhinestones, but I still needed untouched stones mixed in because there simply weren’t enough reusable ones left. The ss3 black rhinestones filled spaces pretty easily. That was a win!
At this point I realized this project had officially become rhinestone-hungry. It took more than half of 10 gross of ss6 stones just to finish everything.
Final Result

At the end of the day, trust your gut.
Most people probably wouldn’t go through the painstaking annoyance of scraping rhinestones off and restarting projects multiple times, but I knew I would have regretted leaving certain parts unfinished or visually off. With the stands, I regretted not painting the bases and ignoring the quality of the rhinestones I originally used. With the pink controller, I restarted because I didn’t want to look at it every day and feel irritated after putting so much effort into it.
Now that I can finally see the full project together, I’m genuinely happy with how it turned out. And honestly, that’s probably the entire reason DIYers keep putting themselves through projects like this in the first place. Next up is the dock!