
Some links are affiliate links. If you choose to use them, it helps support the blog at no cost to you, and I really appreciate it.
I’m not sure how many people will need a cloud for a DIY project, but since I decided to throw one into one of mine, I figured I’d share what I learned.
I was watching YouTube one day and came across a video from Aumipon. She mentioned that she doesn’t mind showing how she makes her polymer clay projects because not everyone can simply buy whatever they want. If someone really wants to make something, she wants them to have the opportunity to make it themselves.
I really liked that.
Even though I didn’t go into detail about making this cloud in my Switch 2 dock post, I wanted this part of the project to exist for anyone who liked how the dock turned out and wanted to recreate it themselves.
This cloud ended up being the piece that made the whole dock feel finished.
After I finished piping the dock, I started arranging the Birthday Bears on the cover before gluing everything down. The problem was, it just wasn’t looking like what I had in my head. I honestly considered quitting the Switch 2 series altogether because I couldn’t make the design work.
In the end, I decided not to use the black bears. I was disappointed, but then I realized I hadn’t lost them. They had simply become part of a future project instead.
I decided to incorporate a cloud because the Birthday Bears needed somewhere to sit. Their shape made it feel like they were meant to be resting on one, and a cloud just seemed to fit.
Here’s how I made it.
Supplies I Used
Foam Clay: I landed on foam clay after my first cloud completely failed. I’d never knowingly worked with any kind of clay before, so this was a first.
Parchment Paper: A great surface to work on and trace on.
Sharpie: I intentionally used a lighter color because I wasn’t sure if the ink would bleed into the clay. Spoiler alert: it can, and it did.
Paper: I printed a cloud at the size I wanted so I’d have something to trace and sculpt from.
Random Clay Tools: I don’t know what any of them are called. I owned exactly one random clay tool, but a proper clay roller would’ve been helpful.
Learning and Working with a New Material: Foam Clay

I chose foam clay because it’s lightweight and gave me plenty of working time. The biggest downside, according to the manufacturer, is that projects can shrink while drying.
So…I was gambling.
I read through the reviews first, and thankfully they weren’t flooded with people saying everything shrank dramatically. Looking back, I probably should’ve made a test piece first. Thankfully, the package contained plenty of clay, so I figured I’d just start over if the shrinkage ended up being too noticeable.
This clay feels surprisingly nice to work with. It’s soft, lightweight, and somehow even made my hands feel softer while I was using it.
I left mine white, but I could see myself experimenting with coloring it in the future. Maybe that’s my next project.
As I worked through the cloud, I let every stage dry completely before moving on to the next.
Making the Cloud
The first thing I did was draw the kind of cloud I wanted and print it at the size I needed. I also knew it needed some depth because I wanted the Birthday Bears to sit on it like they’d been hanging out there all along.

Next, I traced the cloud onto parchment paper. Let the ink dry or it will smear. One tracing became the larger back cloud, while the other became the smaller front cloud. I built both separately.
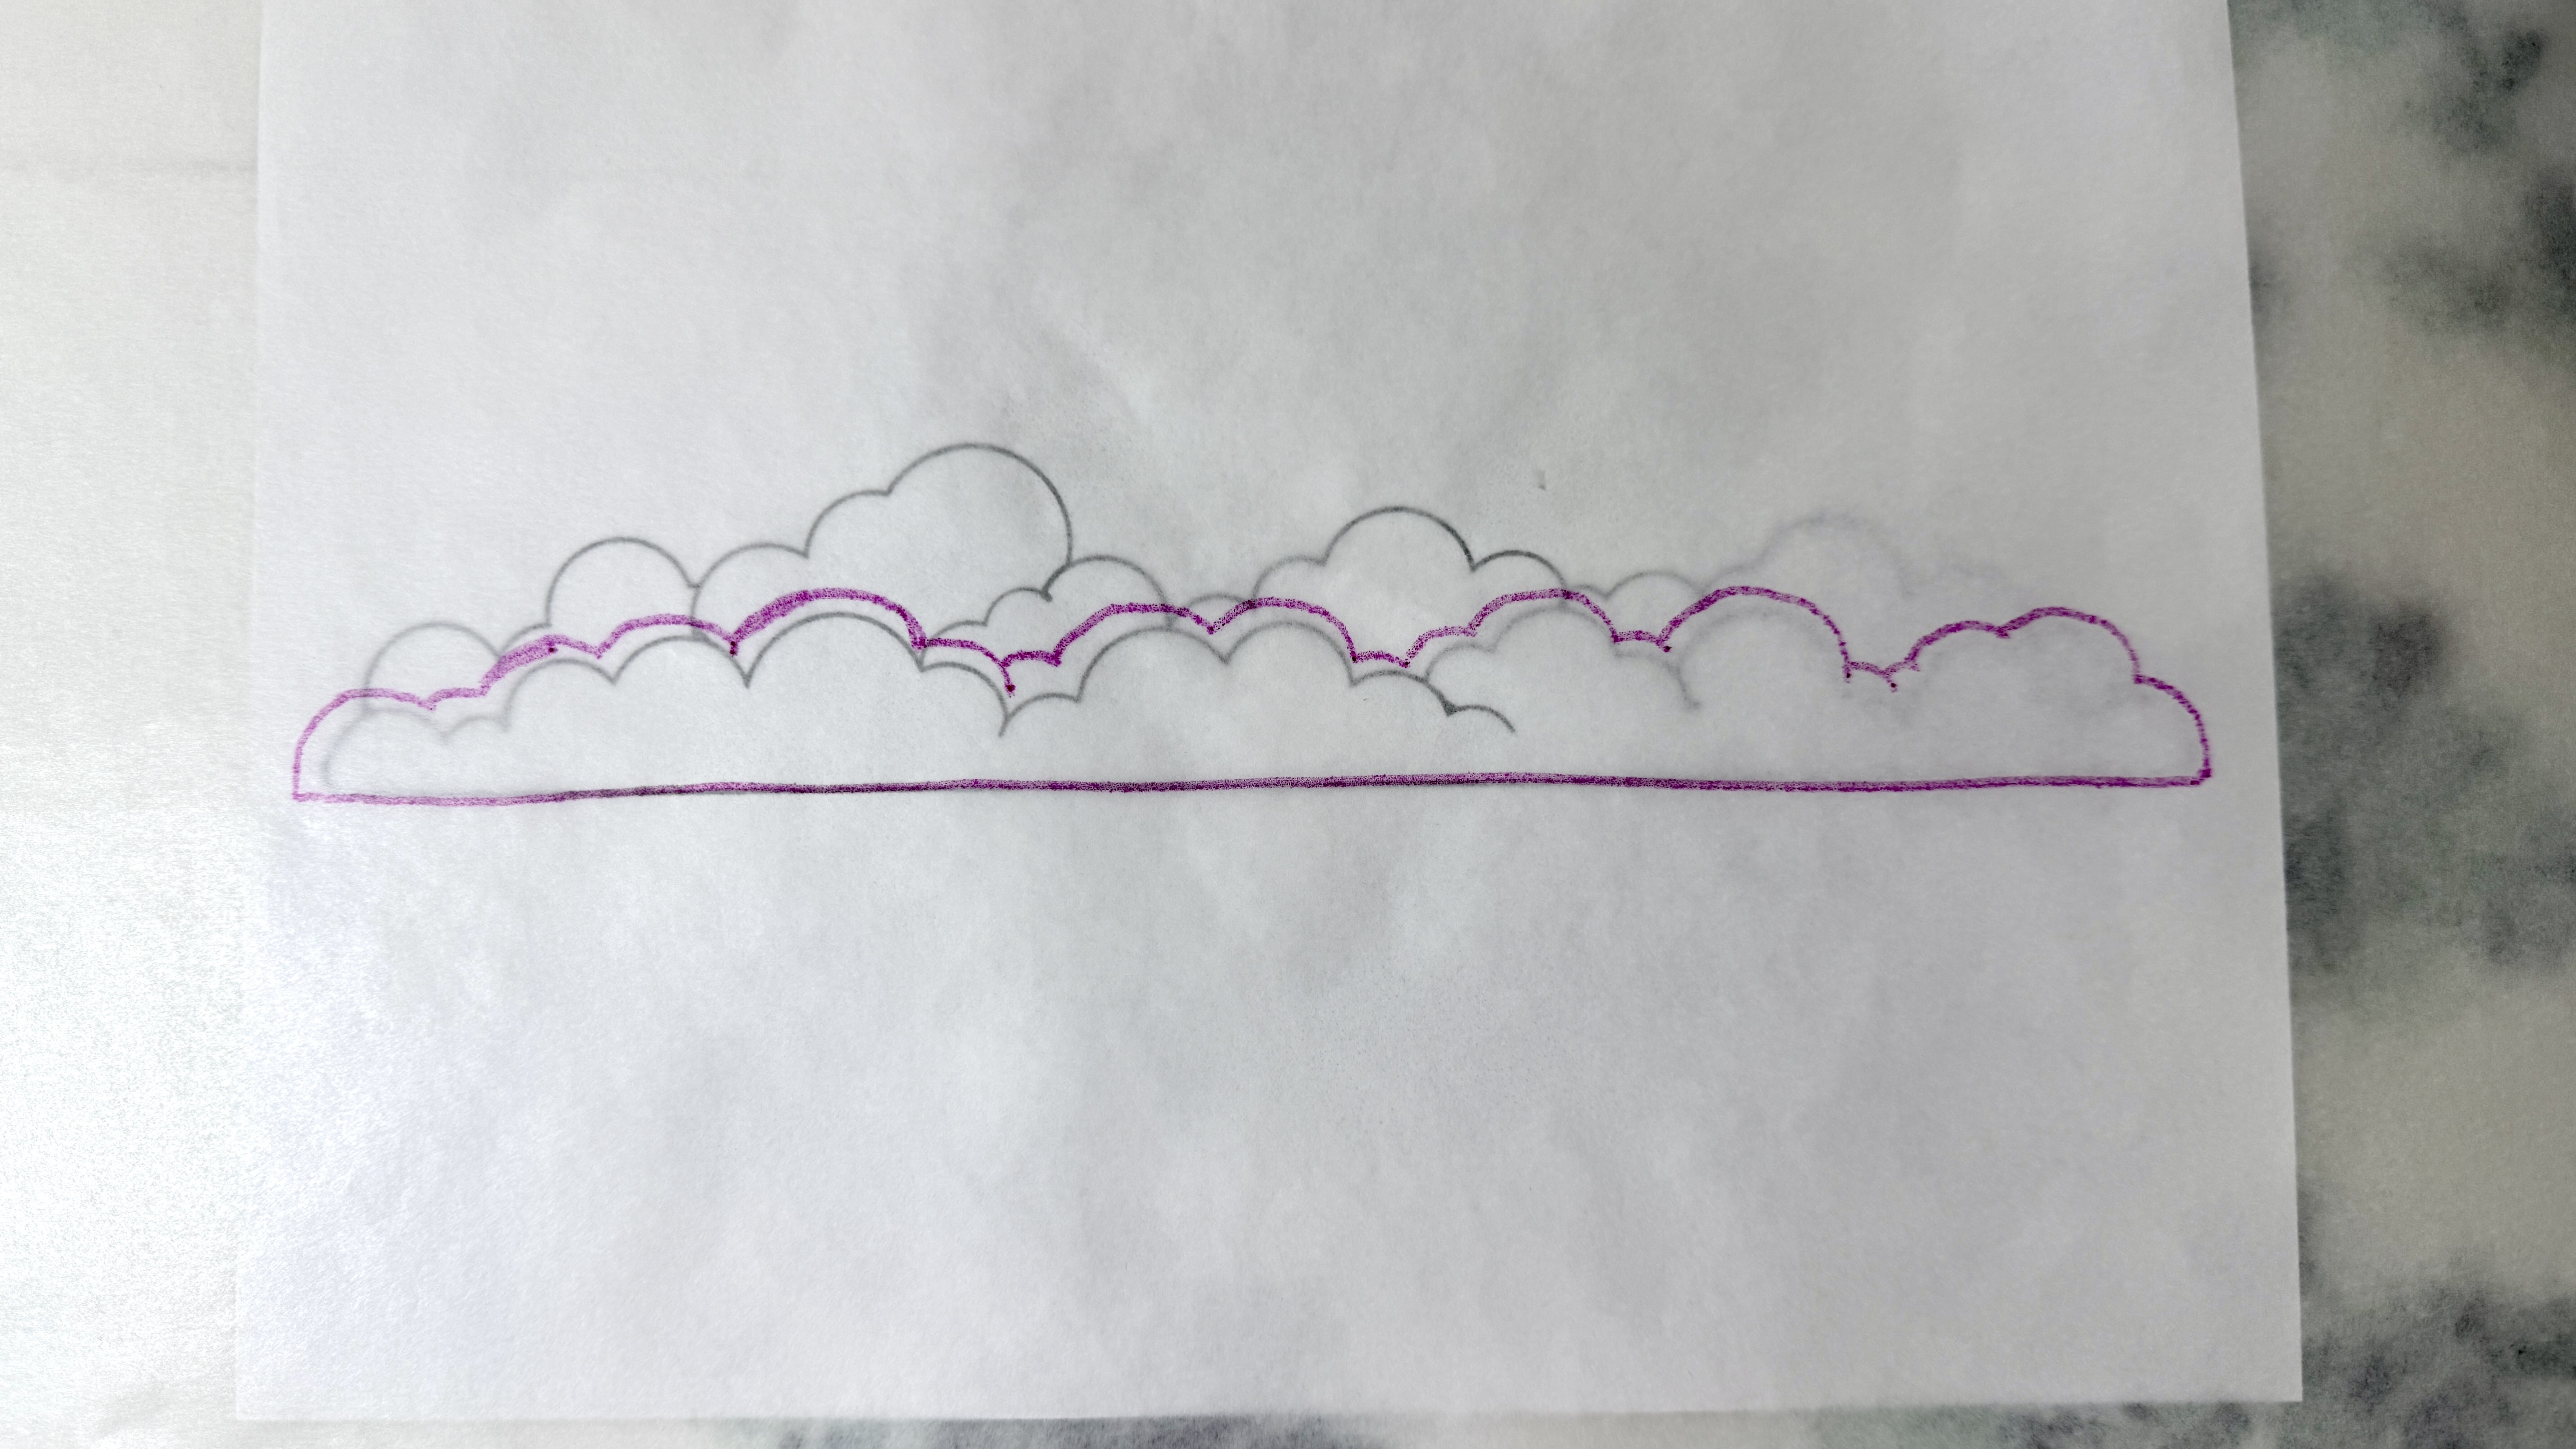
I started by making a simple base for each cloud that was about the thickness of a sugar cookie.
Honestly, it felt like I was making cloud cookies.
Nothing needed to be perfect here. It just needed to resemble a cloud. I built the rounded sections individually so they’d stand out a little more once everything came together.


To make the clouds fluffy, I rolled a bunch of little clay balls and blended them into the bases. For the larger cloud, I concentrated most of the volume toward the top since that would be the most visible. The smaller cloud was just fun to fluff up.
I tried to keep everything smooth, but I wasn’t worried about visible seams.


One reason I wasn’t overly concerned about perfection was because I rolled out a thin sheet of clay afterward. I wish I’d had an actual clay roller, but a smooth pen worked surprisingly well.

I draped that sheet over the clouds I’d Frankensteined together and used my one random clay tool to trim away the excess.


This is what they looked like afterward.

To join the two clouds together for my Switch dock, I rolled little clay balls and temporarily placed the Birthday Bears in between the clouds so I could figure out how much space I needed between them. As you can see, the Sharpie I used bled onto the foam clay. I purposely picked a lighter color for this specific reason.

Once I knew the spacing, I basically pretended the two clouds were the sides of a taco and needed a bottom.

This was the finished result.

I added the Birthday Bears and piped decoden cream around everything to ice the cloud. That’s also why I wasn’t worried about making every inch of the cloud perfect. Once everything came together, this little last-minute addition ended up tying the entire dock together.
Final Thoughts
It’s not unusual for one of my projects to pivot halfway through. In this case, my original idea just wasn’t working, so I built a cloud instead.
That decision forced me to work with a material I’d never considered using before.
I’ve wanted to try polymer clay for a while, but the cost of getting started, along with everything I felt like I needed to learn first, kept pushing it farther down my list. I didn’t even know foam clay existed until I started figuring out how to solve this problem.
This is probably the only time you’ll hear me thank the Besos Boutique algorithm. If it hadn’t shown up while I was searching for clay, I probably never would’ve discovered foam clay in the first place.