
Some links are affiliate links. If you choose to use them, it helps support the blog at no cost to you, and I really appreciate it.
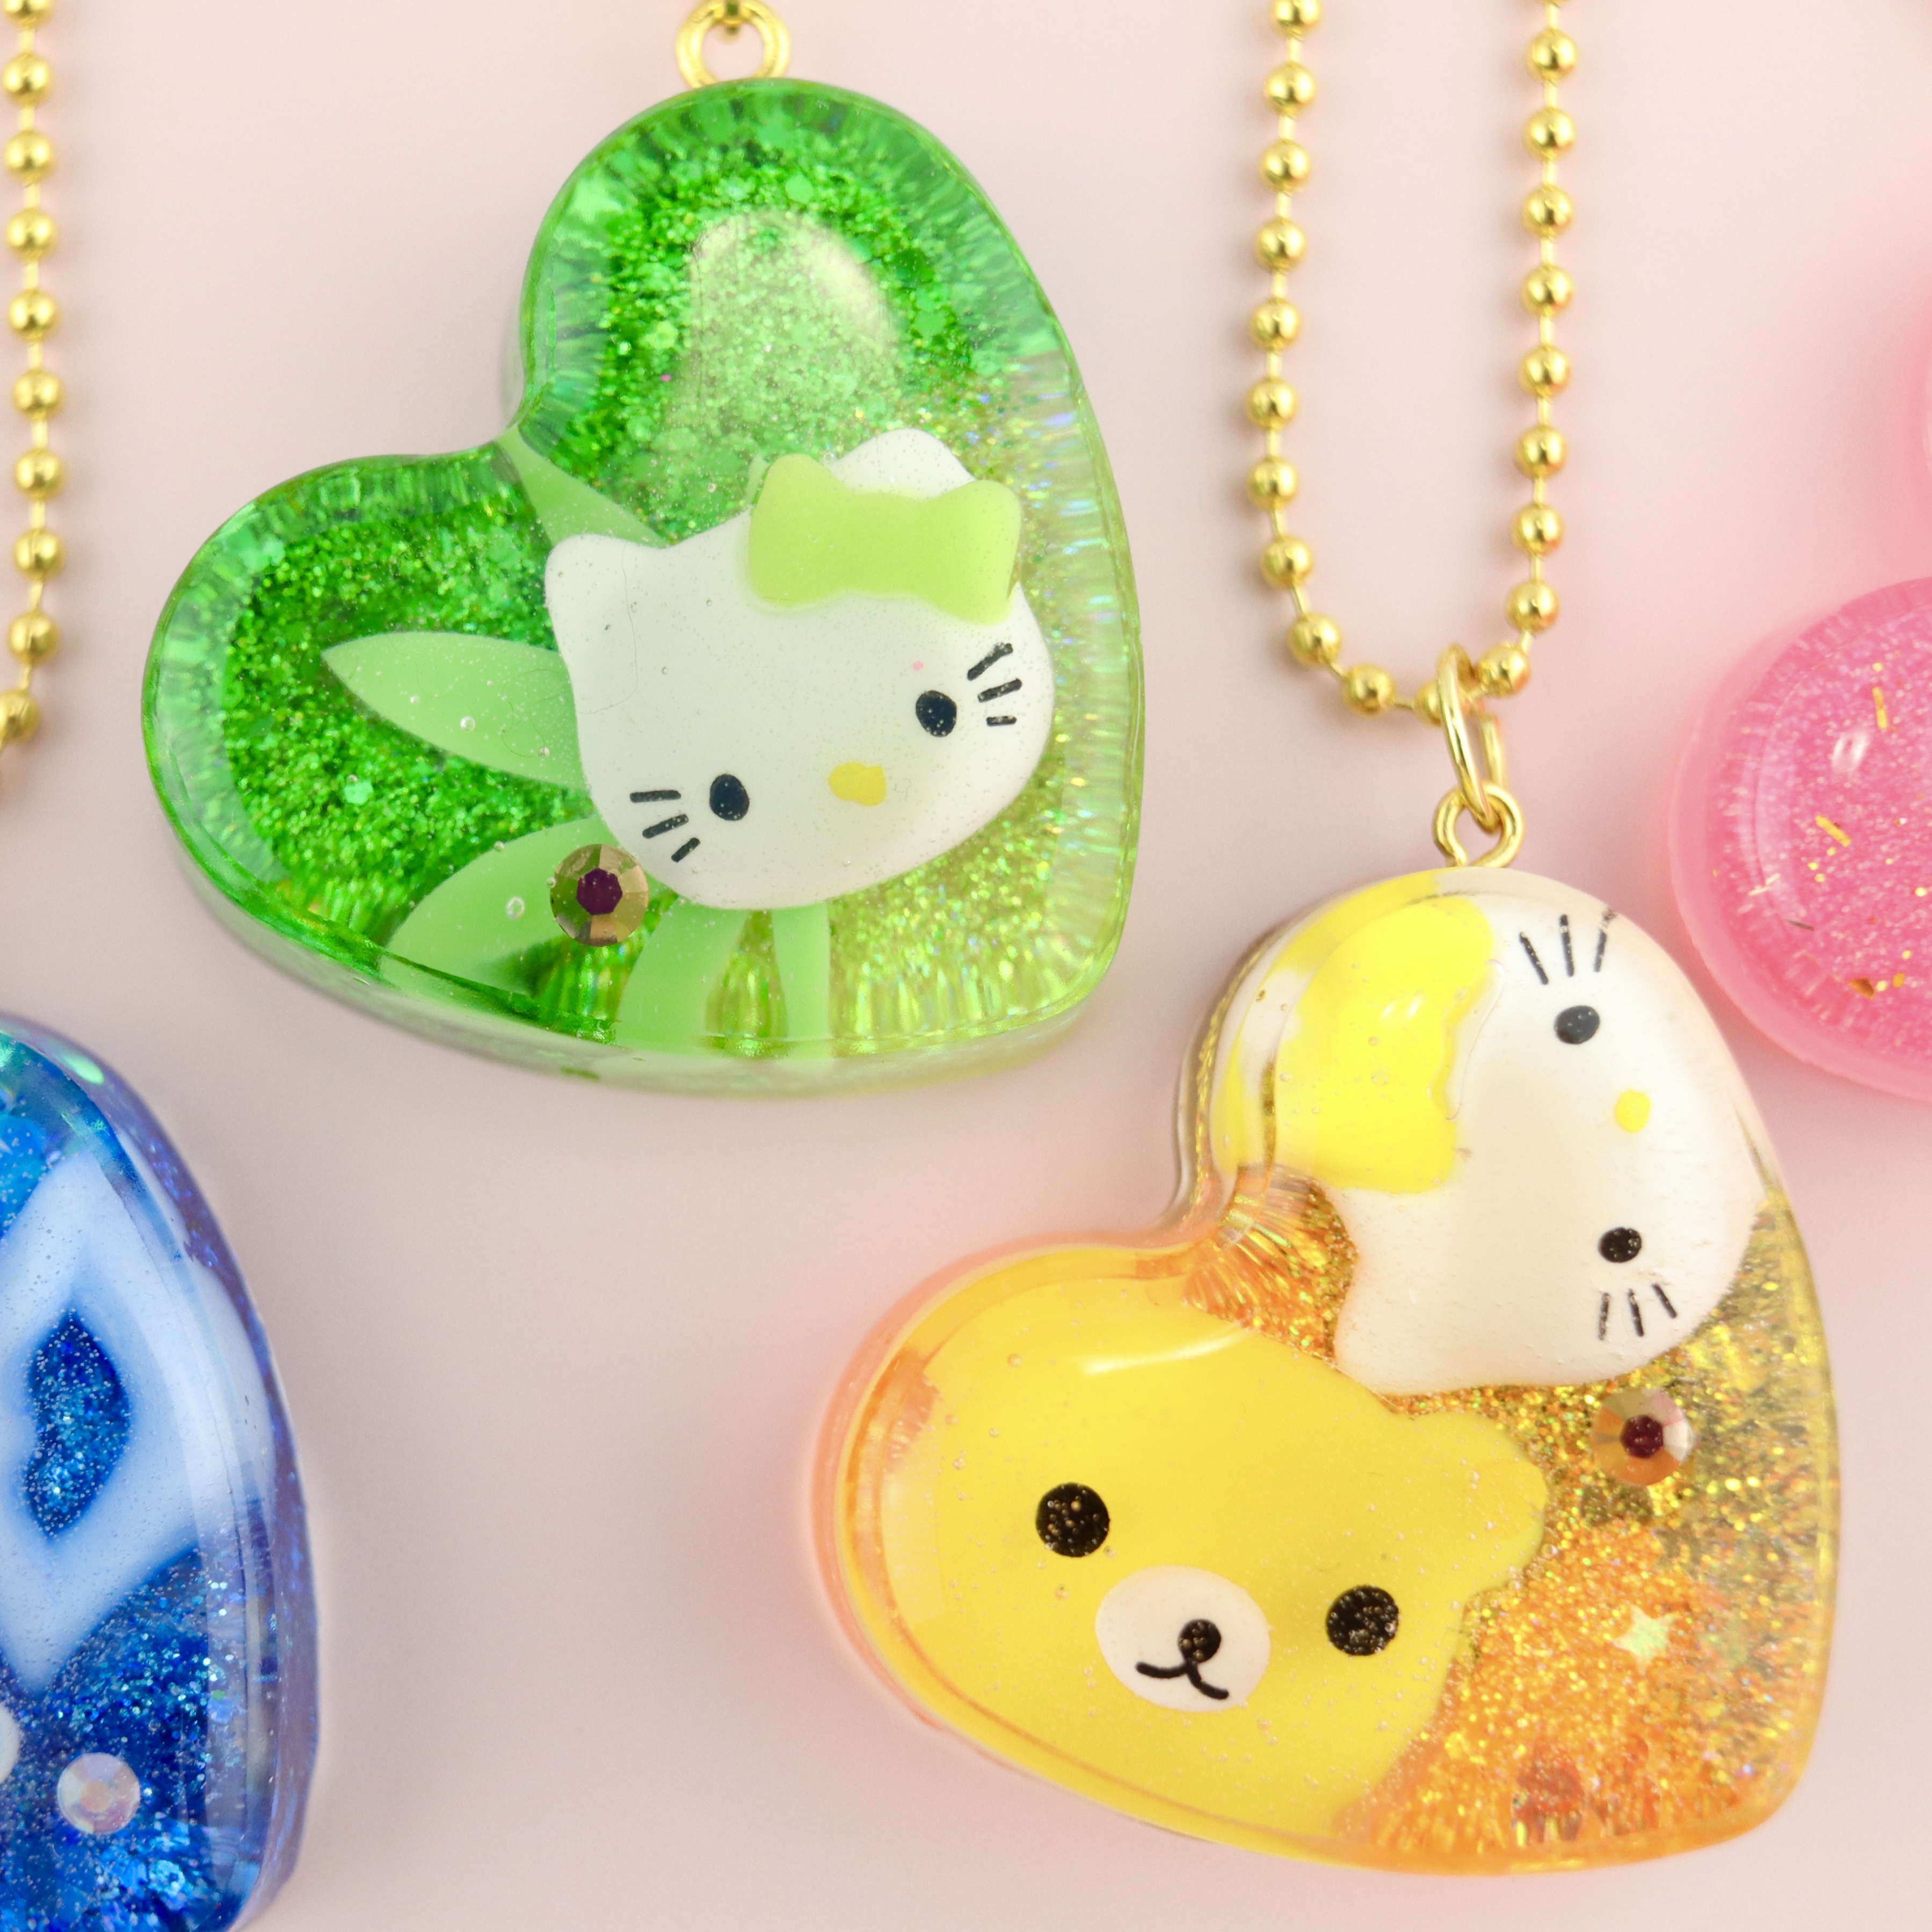
Layering resin is the difference between something looking intentional and something looking like everything just sank where it wanted.
No shade, but I’ve definitely received pieces I paid good money for, only to realize they were probably done in one or two pours. The larger cabochons end up right at the front because they sank to the bottom of the mold. It still looks cute, but it’s not what I thought I was looking at.
When I started making my own jewelry, I leaned in the opposite direction. More layers, more time, more control.
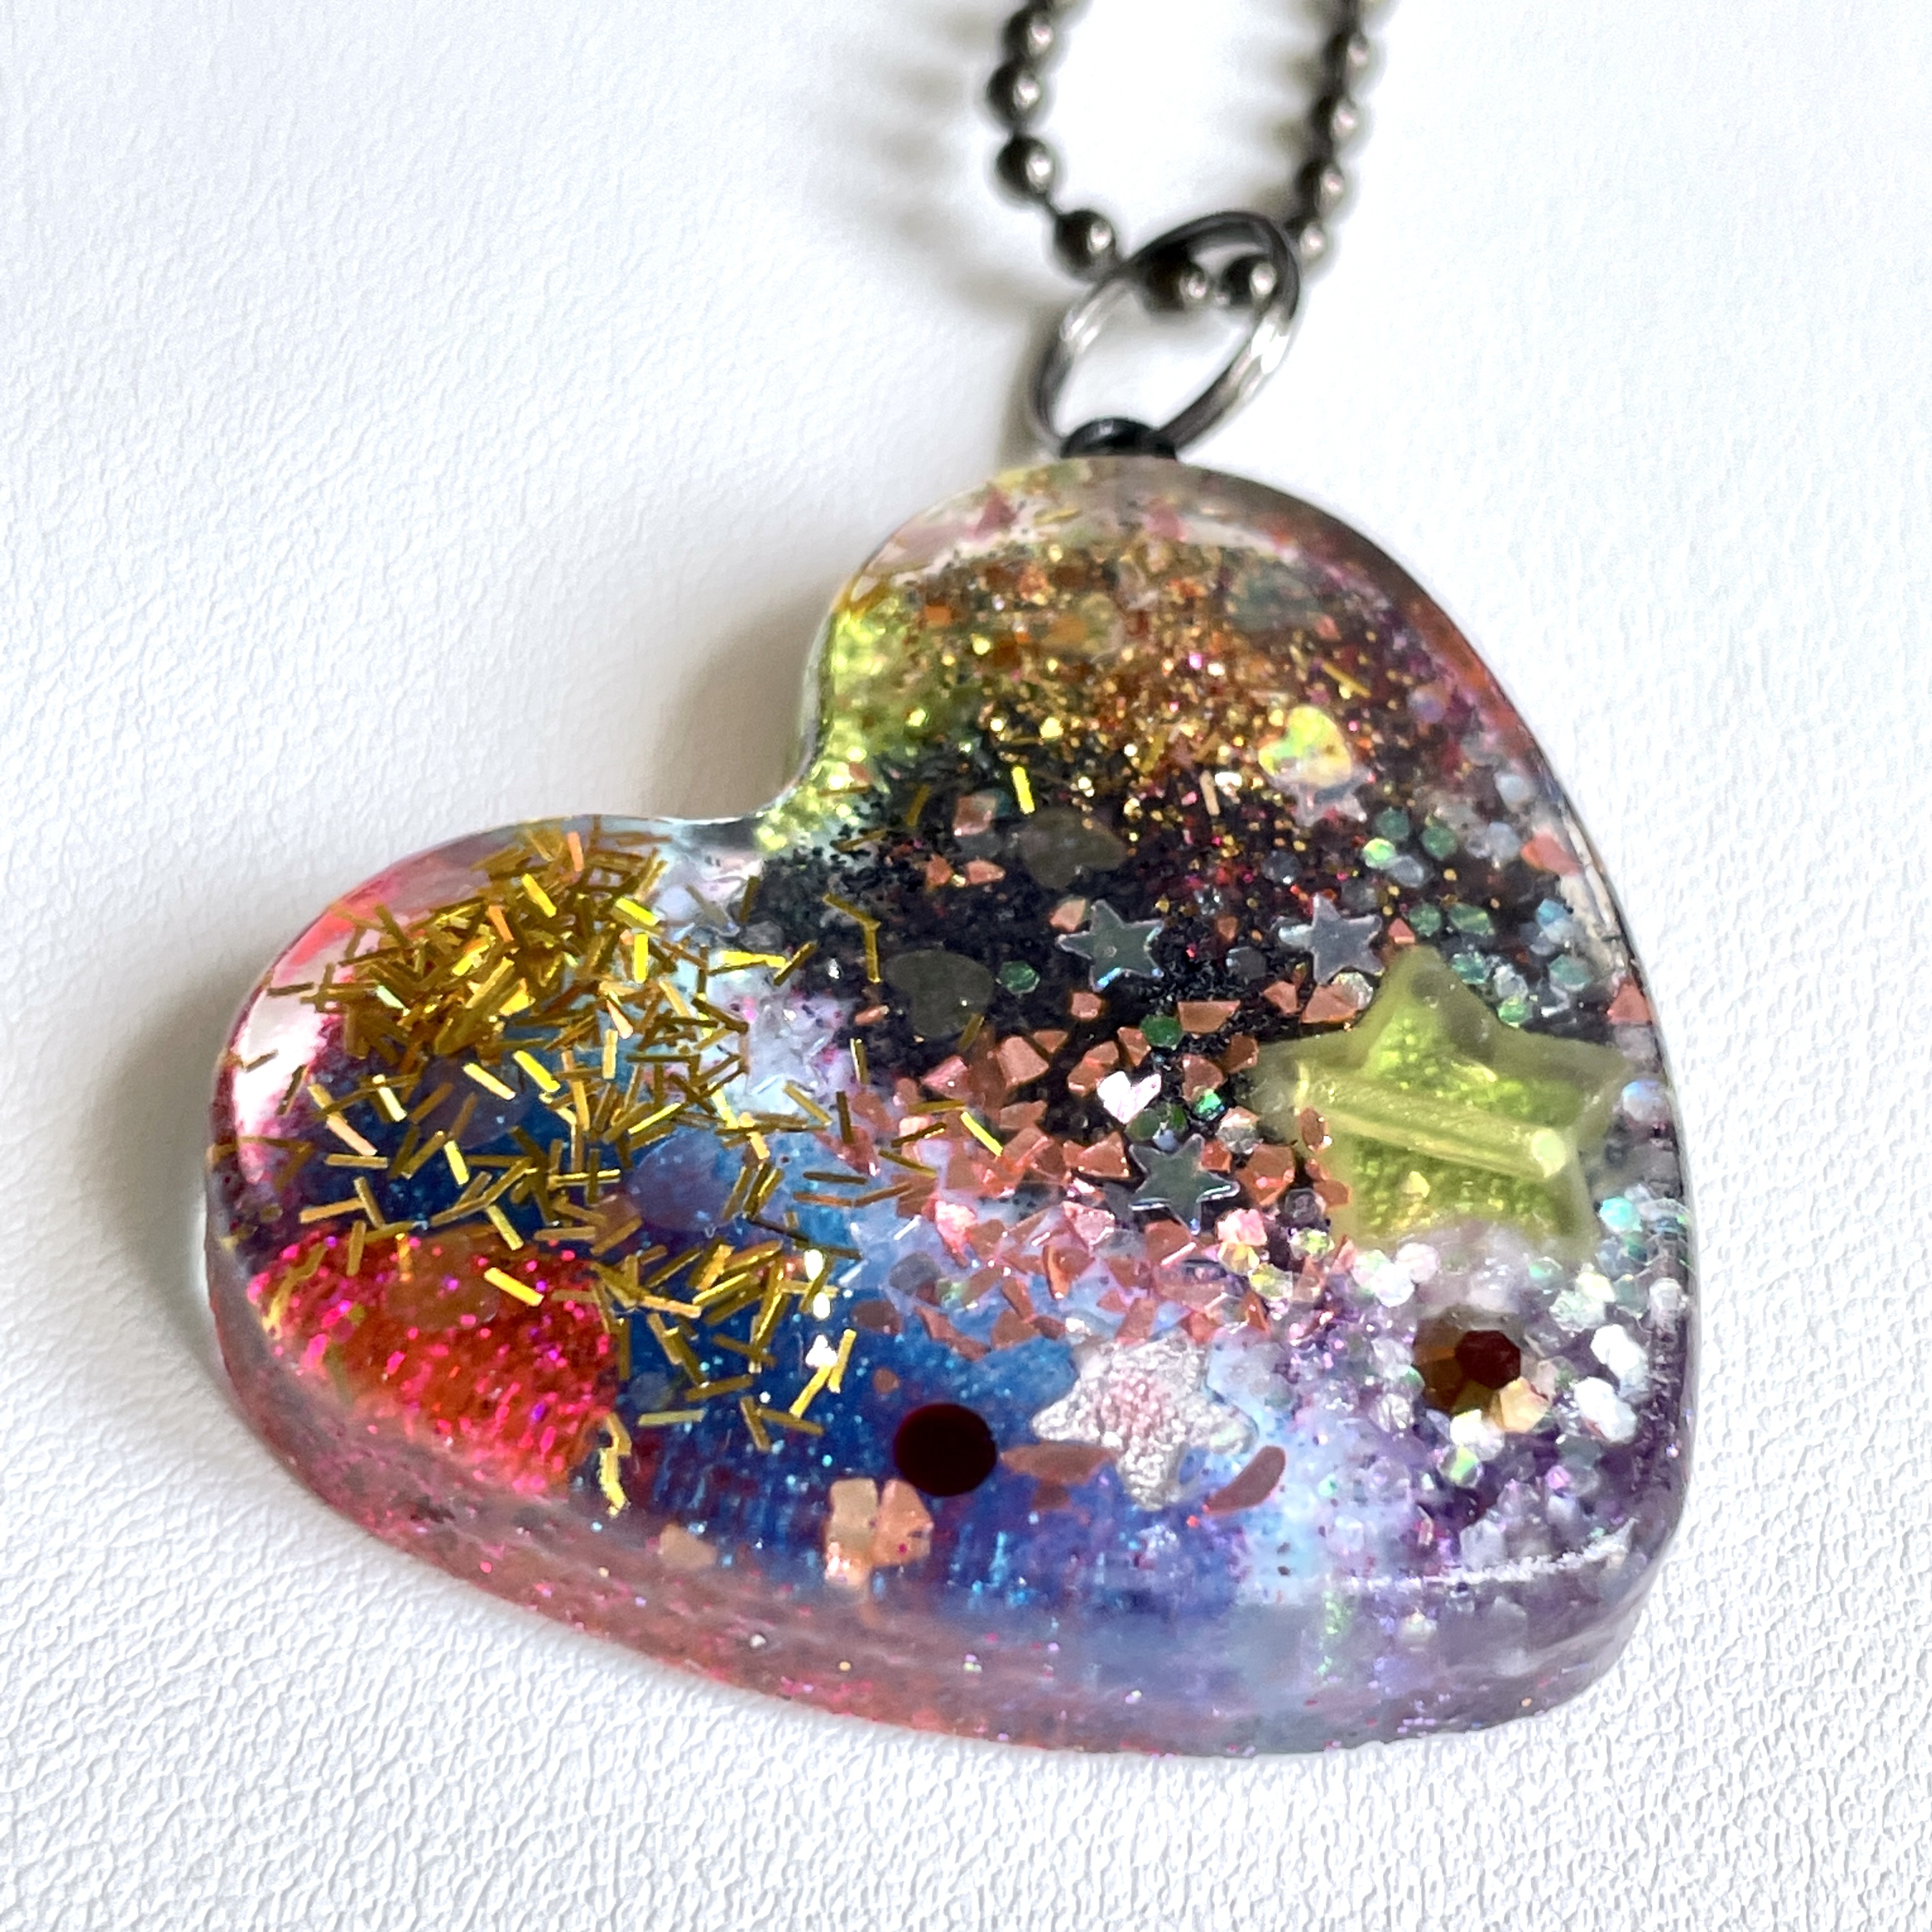
The first OG Heart I made that actually worked was built with glitters, beads, and expired eyeshadows. I poured and cured everything in layers so nothing could sink and settle together. When I popped it out, I finally saw depth. That was the moment I knew I could start using more interesting components.
I’m going to try to show how I think about placement before I start pouring. It’s a little more work up front, but the result is way more satisfying.
Also, I’m not a graphic artist. These visuals are doing their best.
This isn’t about mixing resin or ratios. This is just how I decide where things go. Grab your resin kit and let’s start brainstorming.
Things Being Placed in Resin
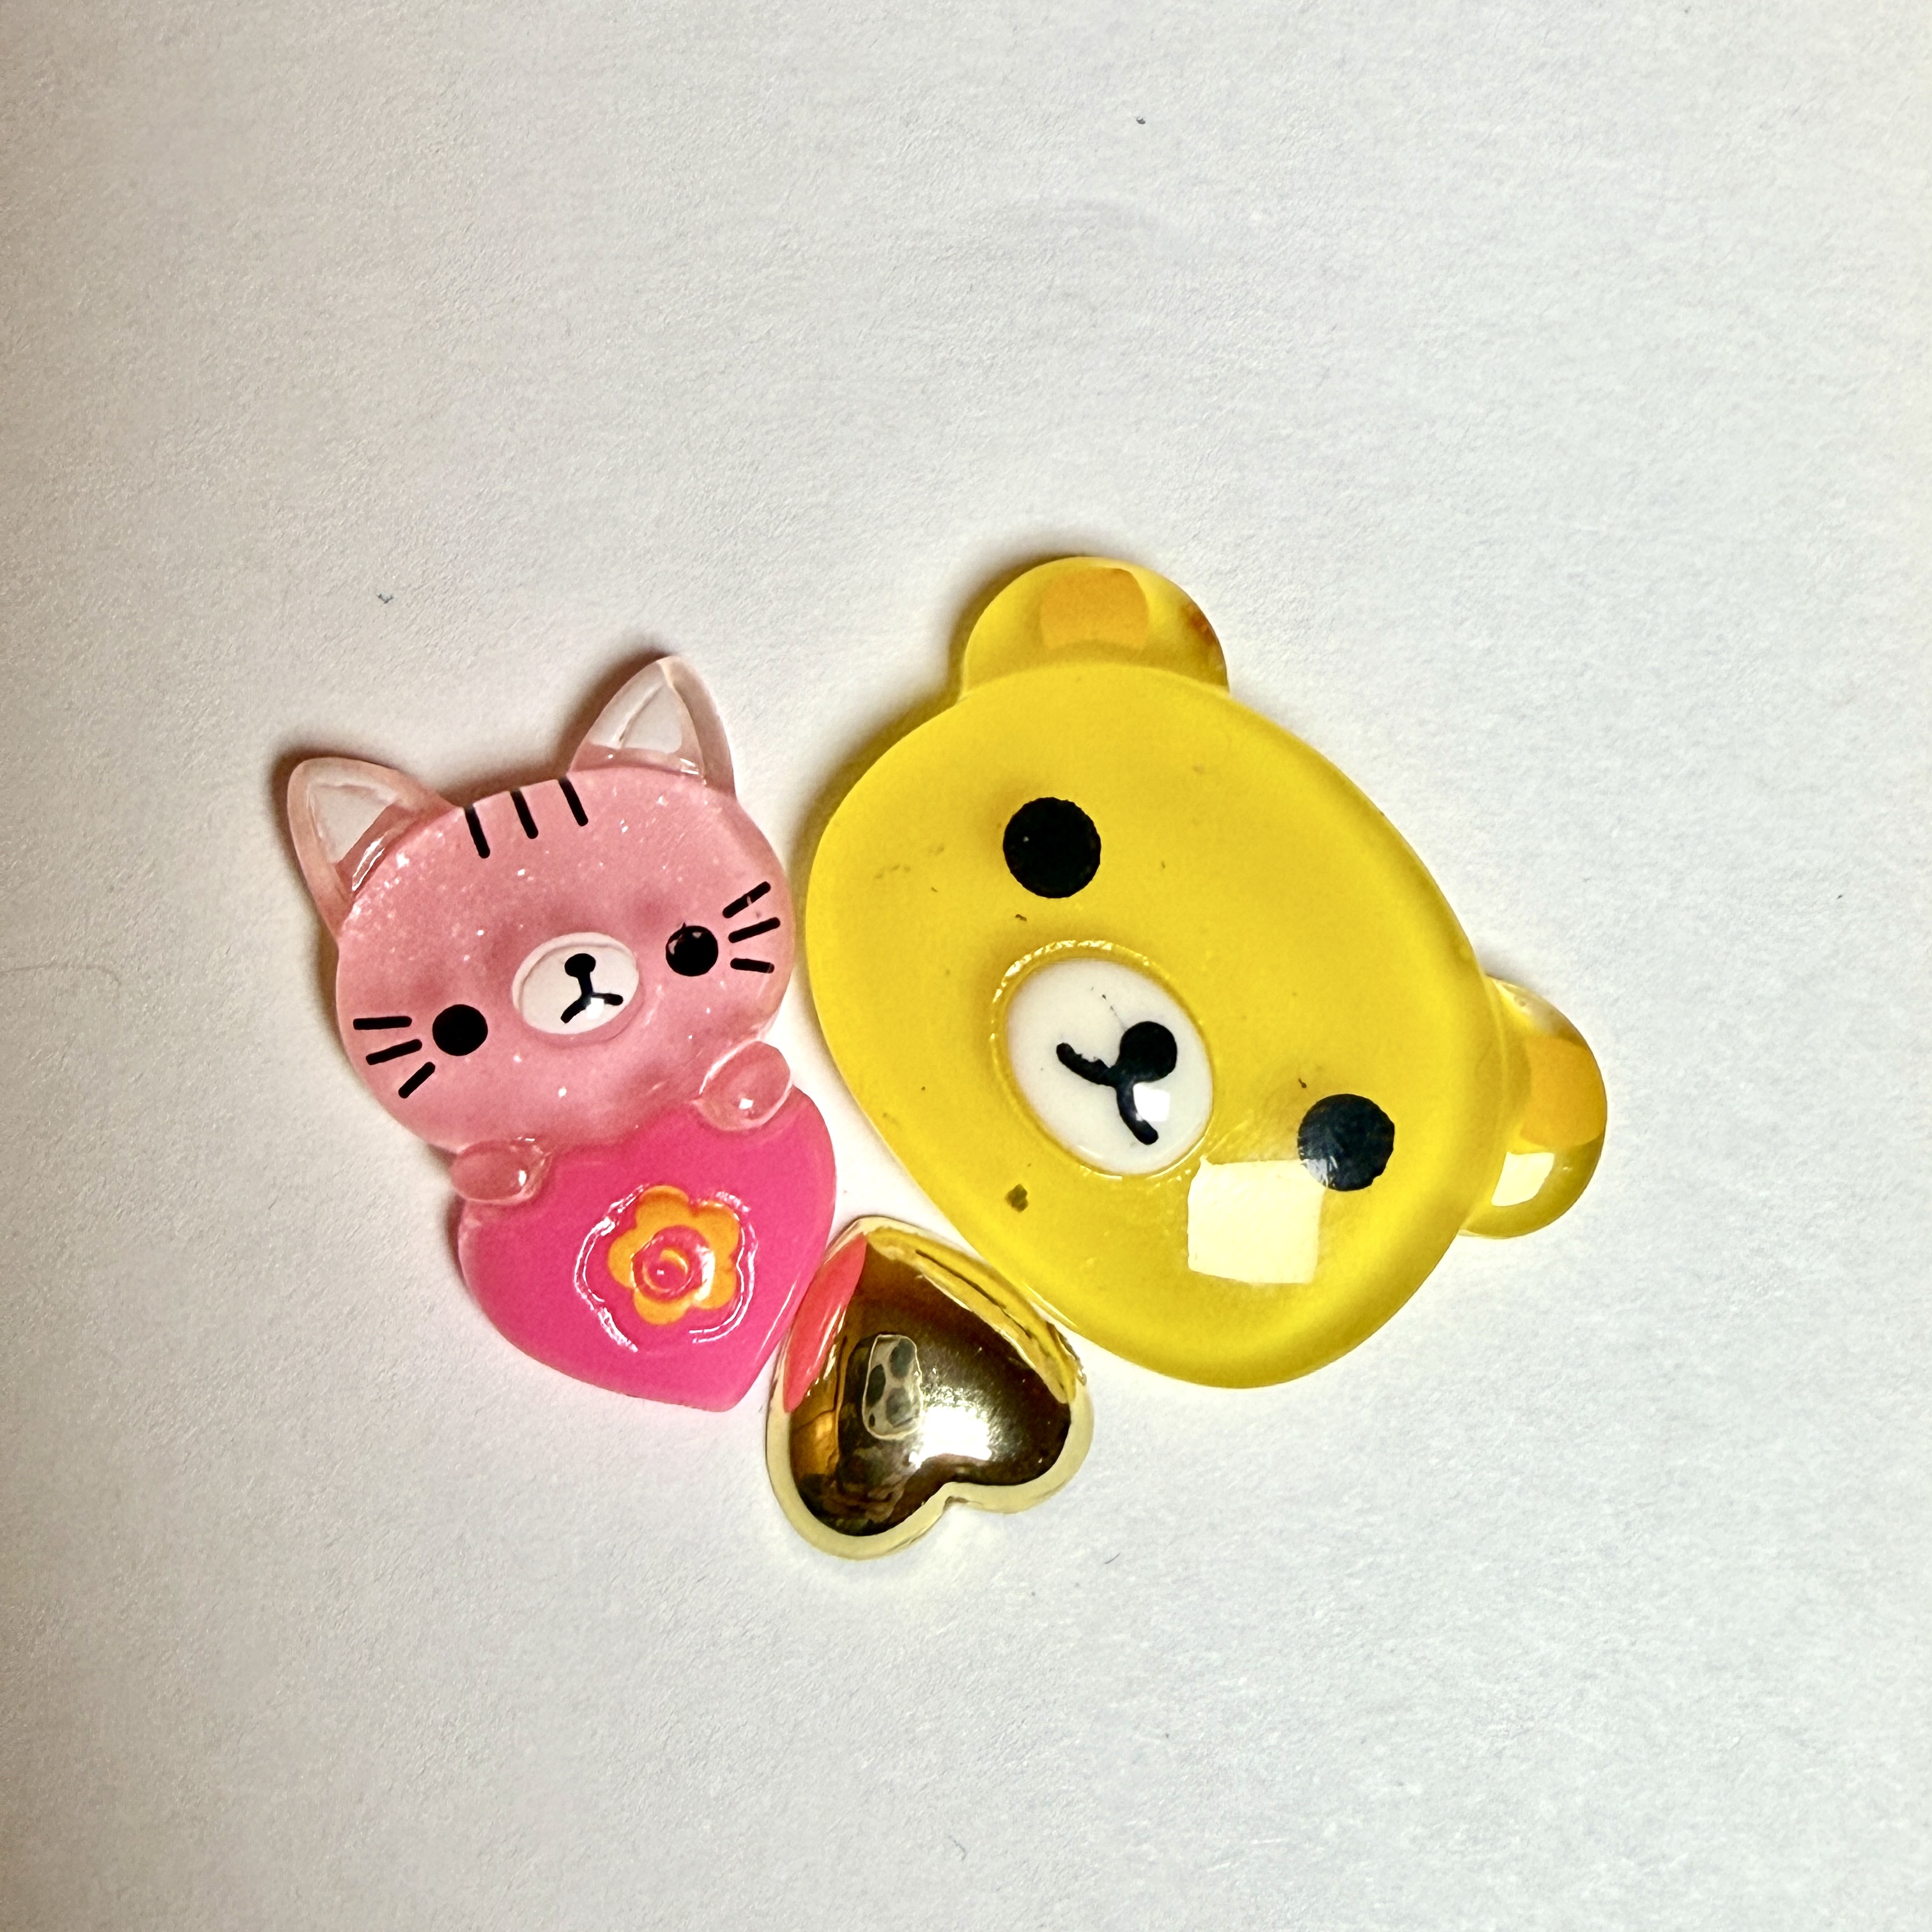
Large components
I used yellow cabochons here because yellow was my mom’s favorite color.

Medium components
I spelled out Blonde Asian in letter confetti. Yes, it was as annoying as it looks. This is my go by these days when I blog for the Cute Effect and my other blog.
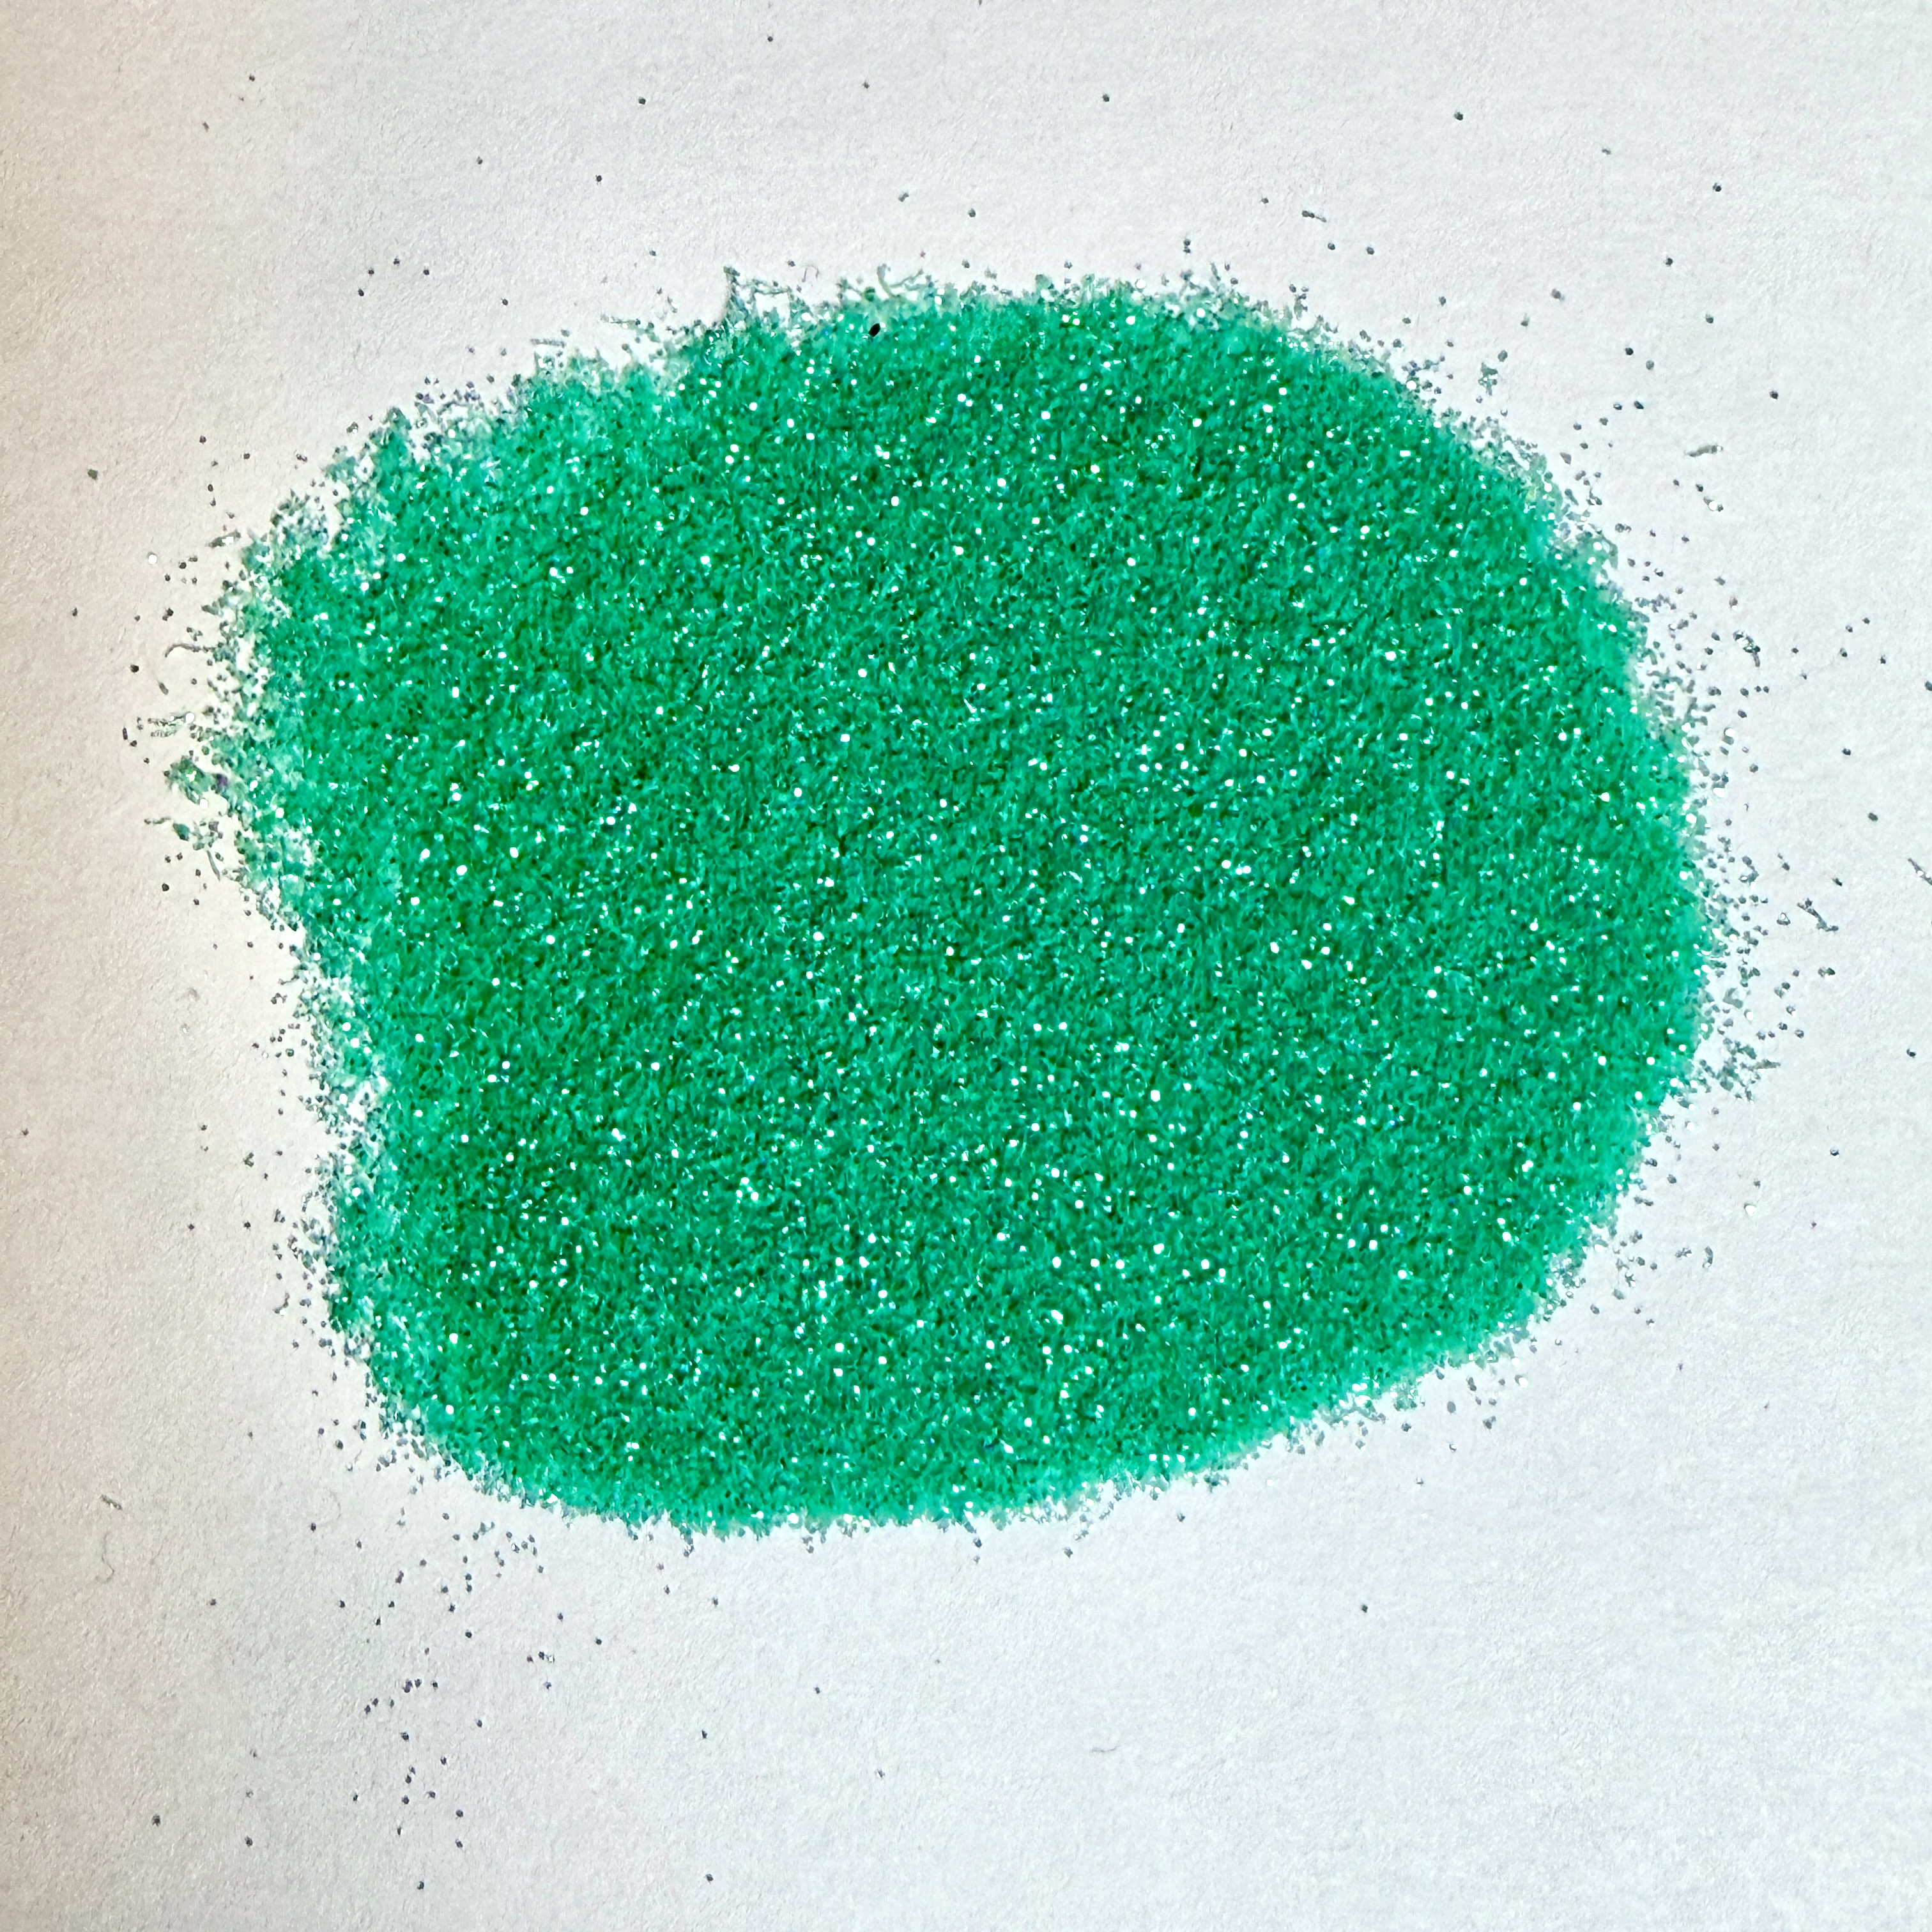
Small components
A teal glitter to fill in the background and pull everything together.
The Process
First, I pour a thin, clear layer of resin. It’s boring, but it matters. This is what keeps everything you’re adding from floating up to the front later. Use a heat gun to remove bubbles and let it cure.
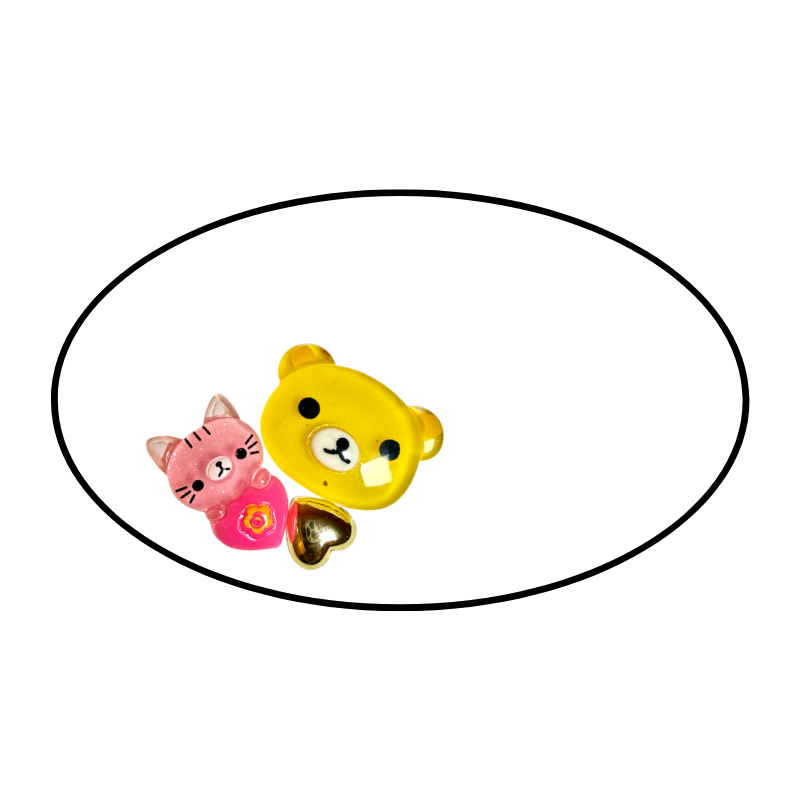
Next, I place the largest components face down. You have to think in reverse. This is what it would look like from the front if you could take it out of the mold. I pour another thin layer, use a craft stick to adjust anything that moved, hit it with the heat gun, and let it cure.
Once that layer is set, I move on to the medium pieces. This is where it gets a little annoying because everything has to be reversed. Letters especially.
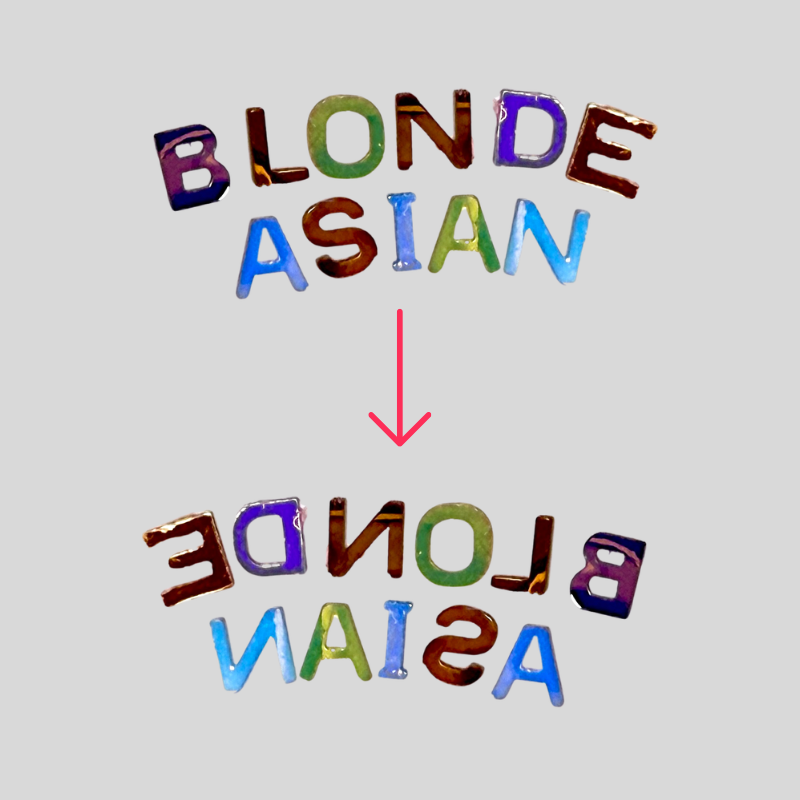
What you’re placing should make sense when viewed from the front, not how it looks while you’re working on it. Once it looks right, I pour another thin layer, adjust anything that drifted, and remove bubbles.

For the final layer, I add glitter to build the background. I use enough to make it look full. When pouring the last layer of resin, go slowly. If you pour too fast, you’ll push the glitter around and end up with patchy spots. If that happens, you can add more glitter or move it around with a craft stick.
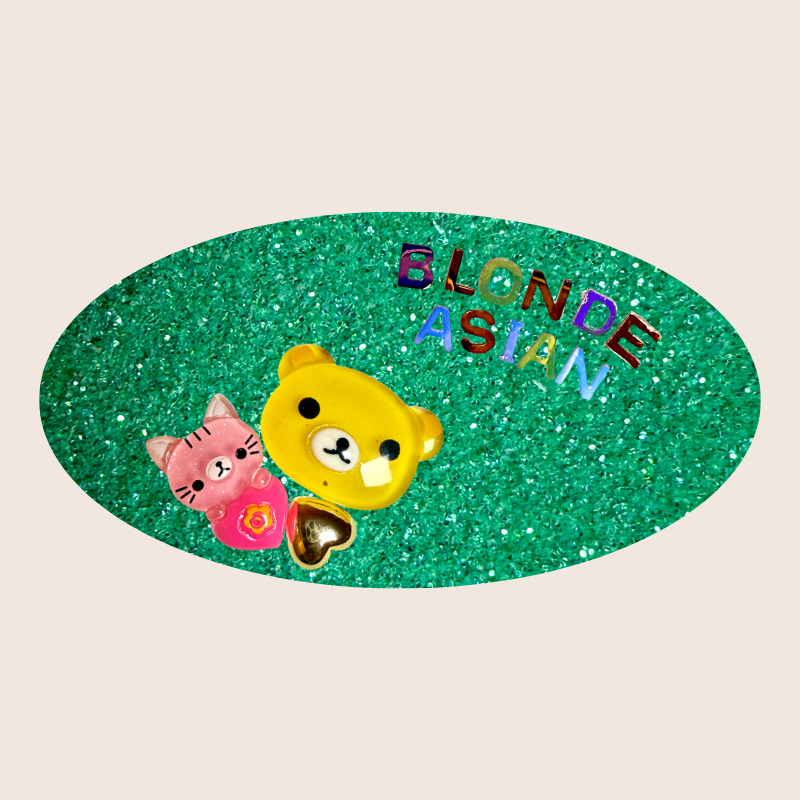
At this stage, the heat gun helps with bubbles and also helps settle the glitter so it lays evenly. When you de-mold it, it should read as one complete piece with actual depth instead of everything sitting in the same layer.
Conclusion
There isn’t one correct way to work with resin, but layering was a game changer for me.
It took a lot of trial and error to get here. A lot of pieces where everything shifted, sank, or ended up competing with each other. This approach is what helped me slow down and actually think about placement instead of just hoping it worked out.
What I like about working this way is that it doesn’t require perfect planning. It just requires you to think one layer ahead. What needs to be seen first, what supports it, and what can vibe in the background.
Once you start thinking like that, your pieces stop looking random. They start looking like you meant to make them that way.
