
So Little Time . . . So Many Options
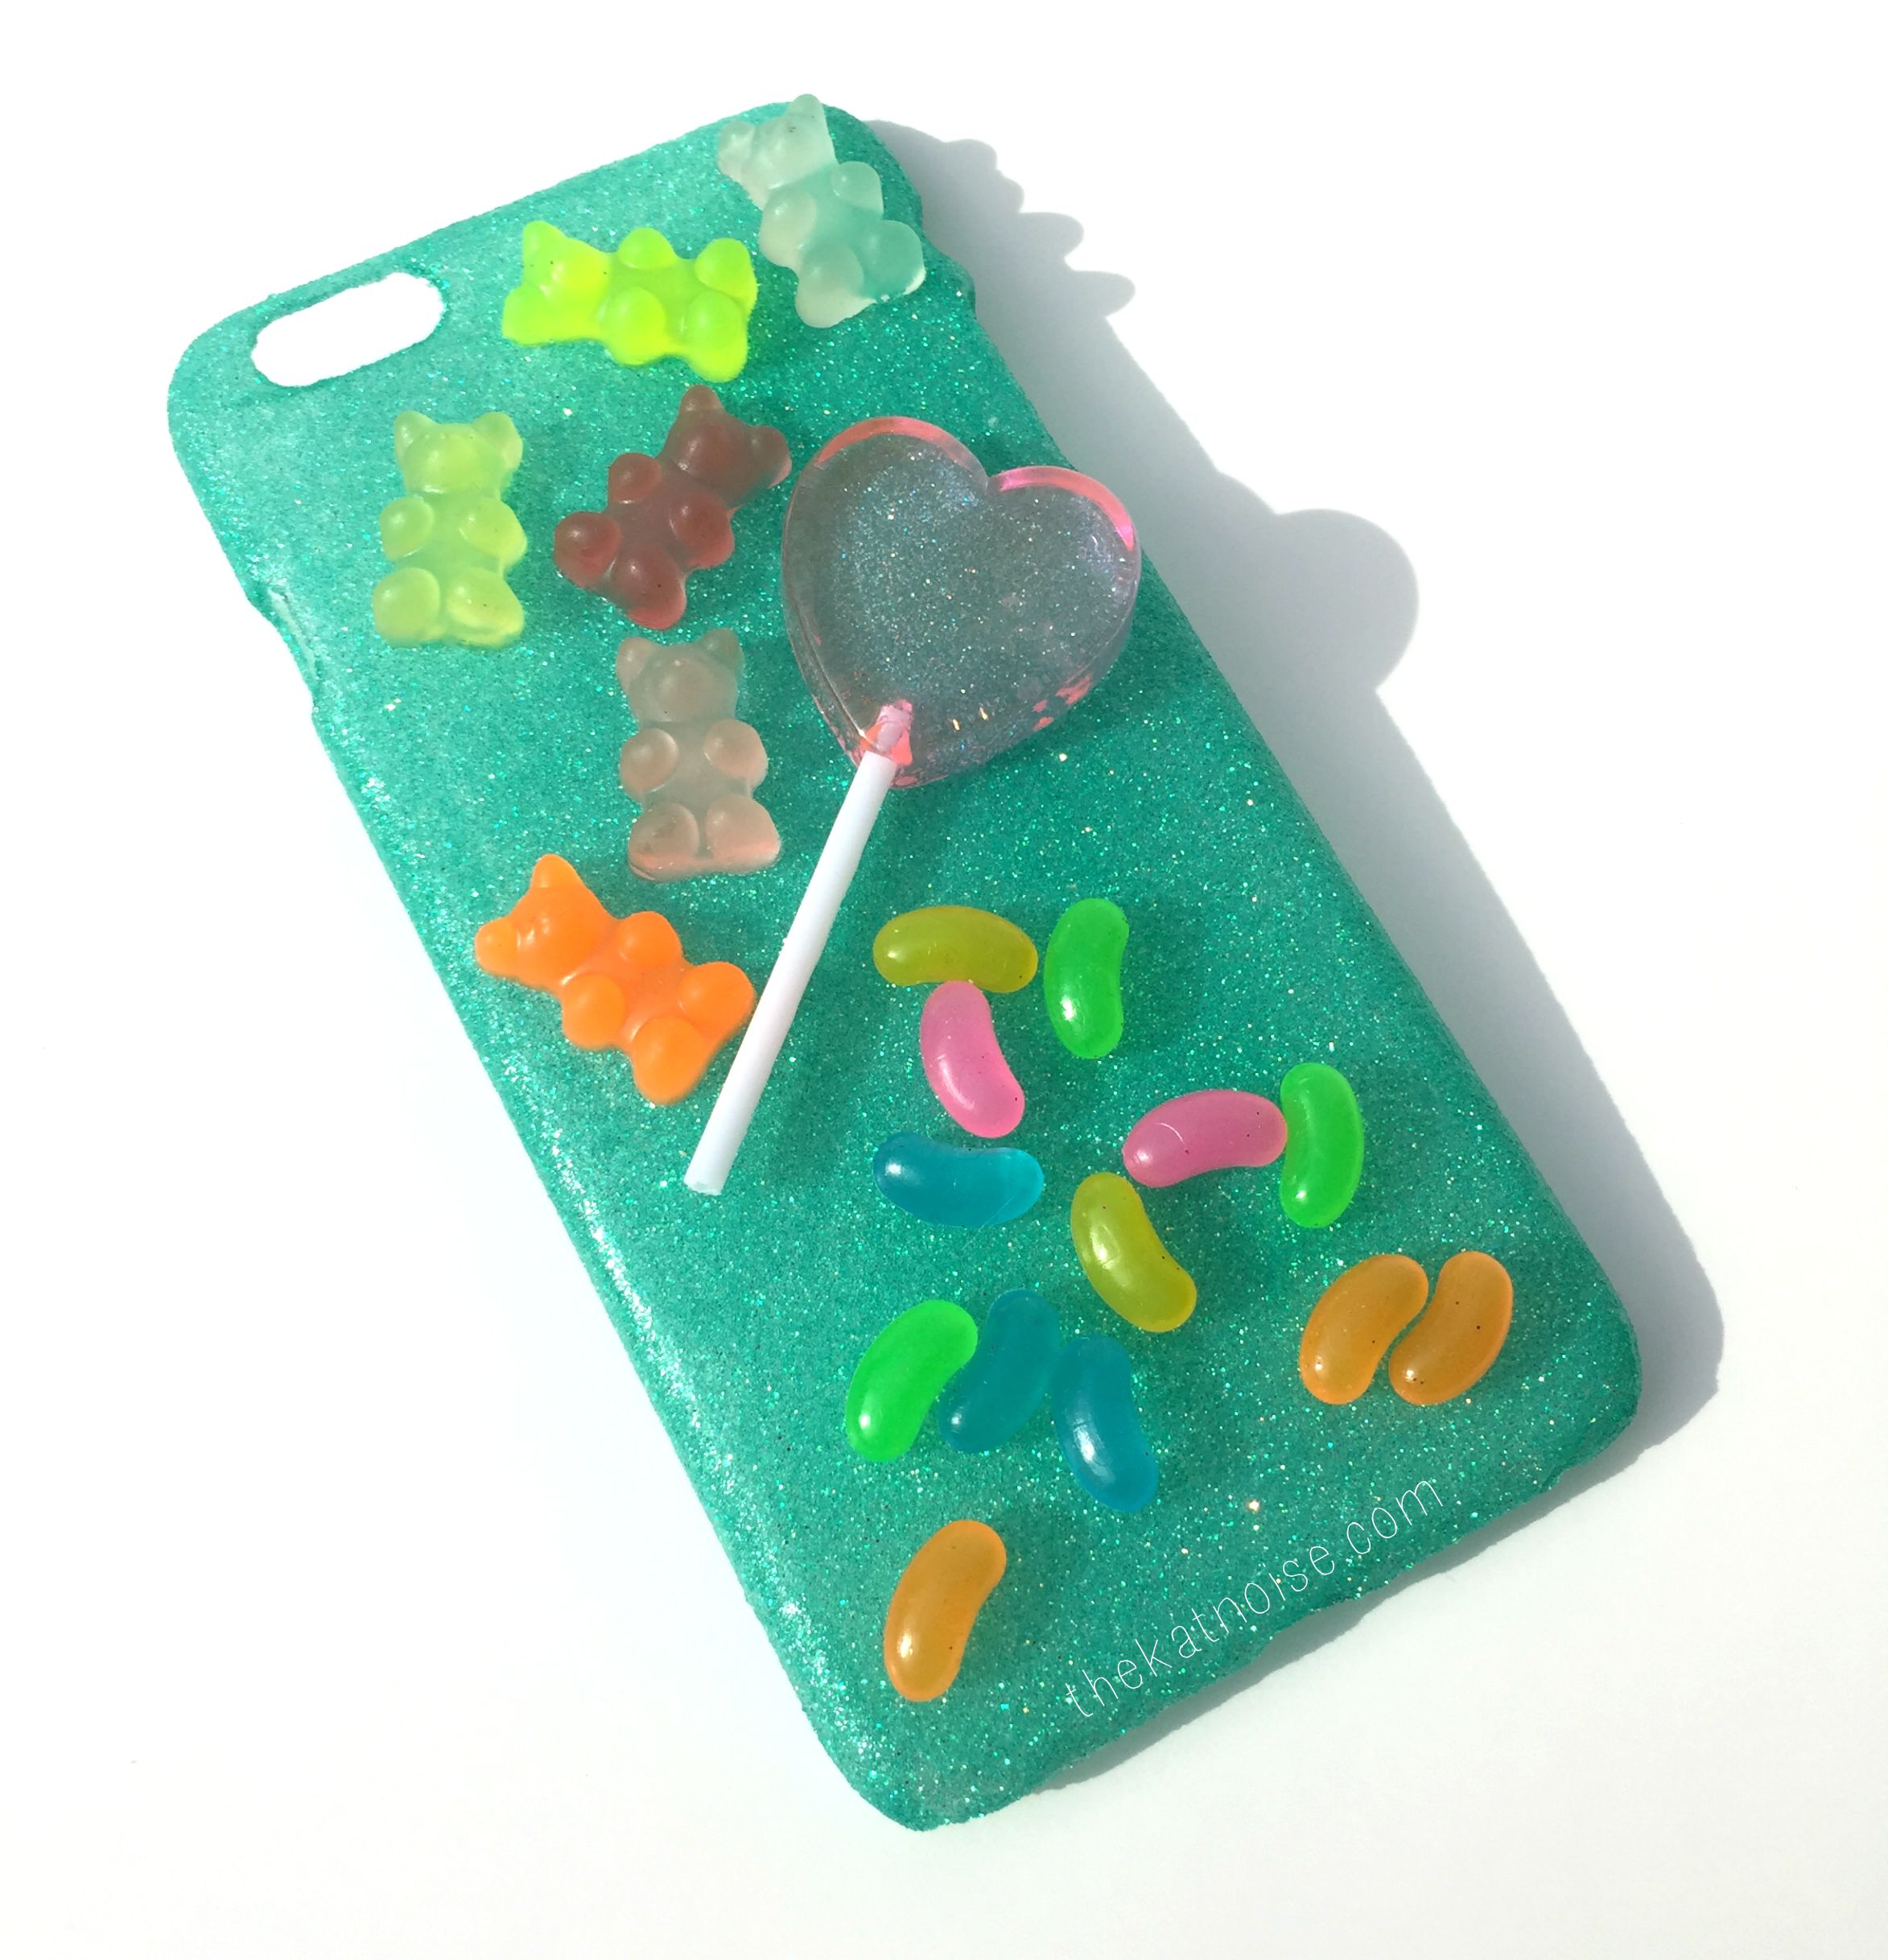 There are many things I like to do with the phone cases I make. One thing I love to do is use glitter to create a sparkling canvas for the other components to dance on. Since I have begun to establish an online presence, I realized quickly that having great items to sell isn’t always enough. People like to have options and it’s only fair that they have the opportunity to see what they’re potentially buying. I’ve seen countless listings that have great products and offer different color options. As I scroll through the pictures, there aren’t any swatches or examples. This would require a potential customer to take the extra step to message them to inquire about these options. Frankly, it’s a way to miss out on a sale. The easier you make it for the buyer, the more likely you will get the sale. Instead of making every color/texture/fabric variation for photographing, it can be to your benefit to make swatches. In this blog post, I will share my experience with creating glitter swatches.
 Supplies
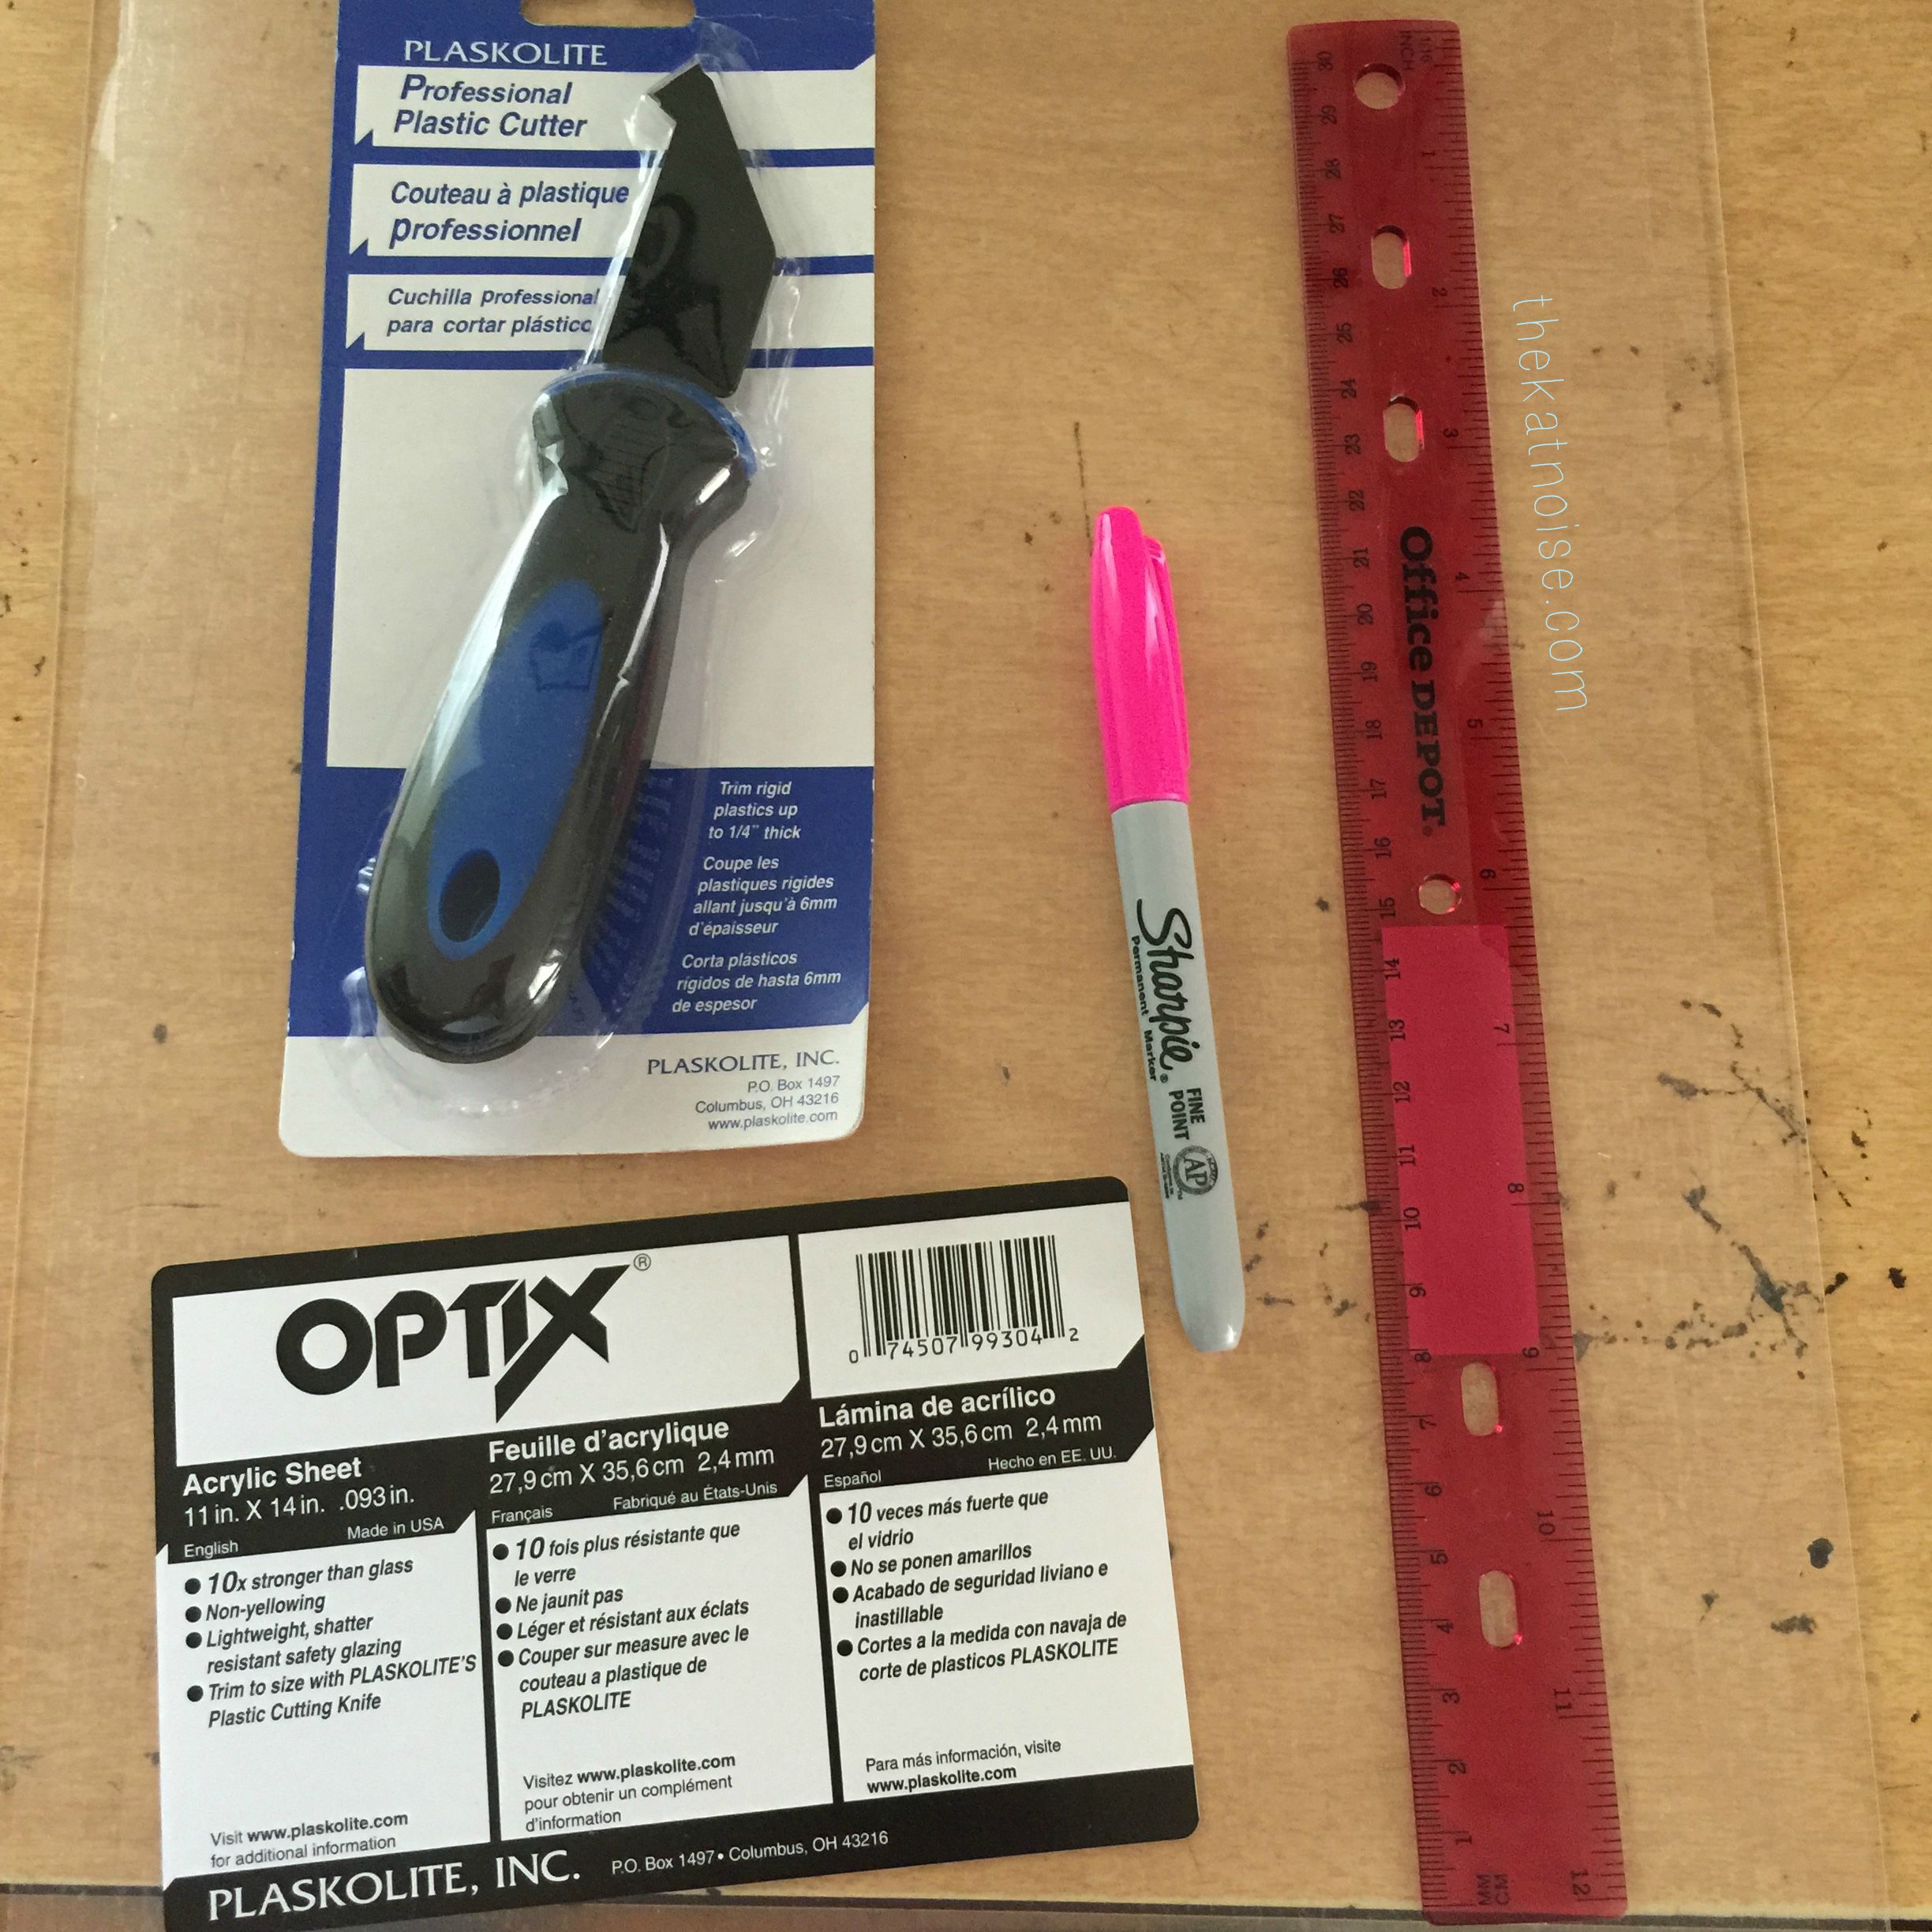
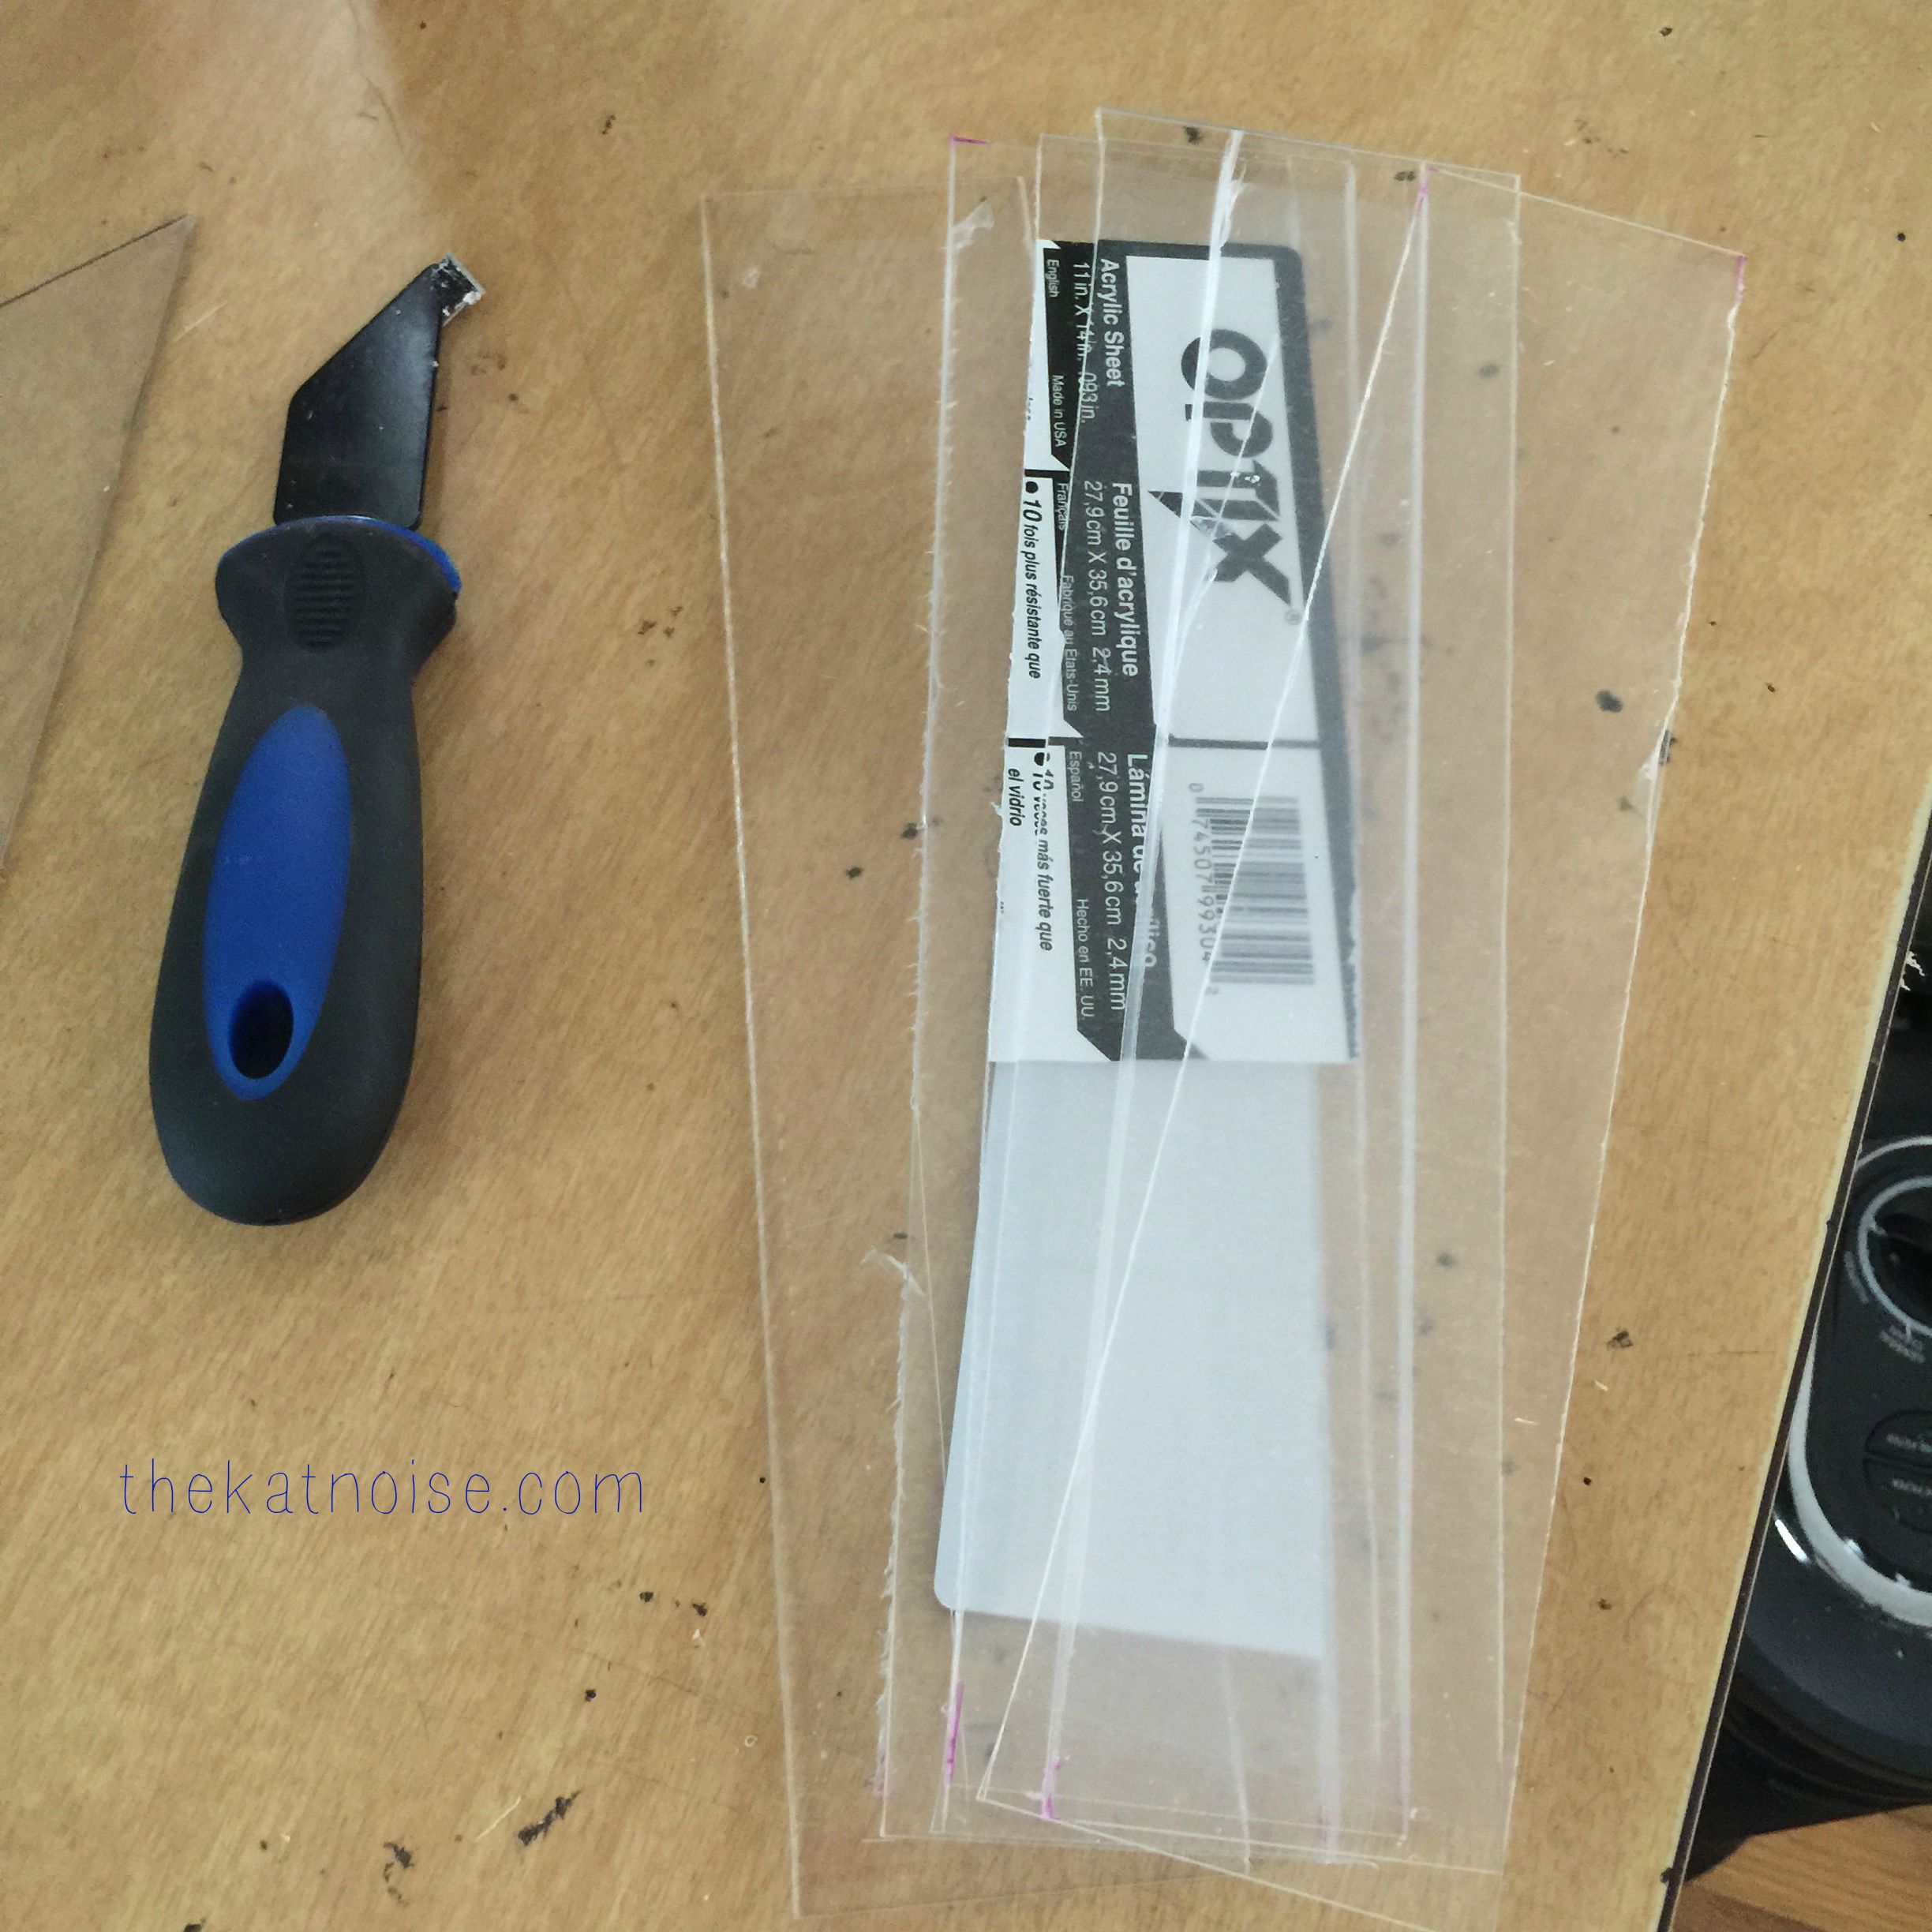
- Acrylic Sheet
- Acrylic Cutting Knife
- Ruler
- Sharpie
- Clamp
The acrylic sheet will come with a thin plastic lining attached to it. I left this on to avoid getting little scratches on it. I had no idea how this was going to go so I wanted to play it save. If you’re uncomfortable using tools that are like box cutters, I recommend doing a YouTube video search and see what can work for you.I did this project inside, but I found myself constantly vacuuming to keep the area around me tidy. This is pretty straight forward. Essentially, you will measure even pieces of acrylic, cut them and then glitterize them. Here we go! Hold on!
Let’s Get Started!
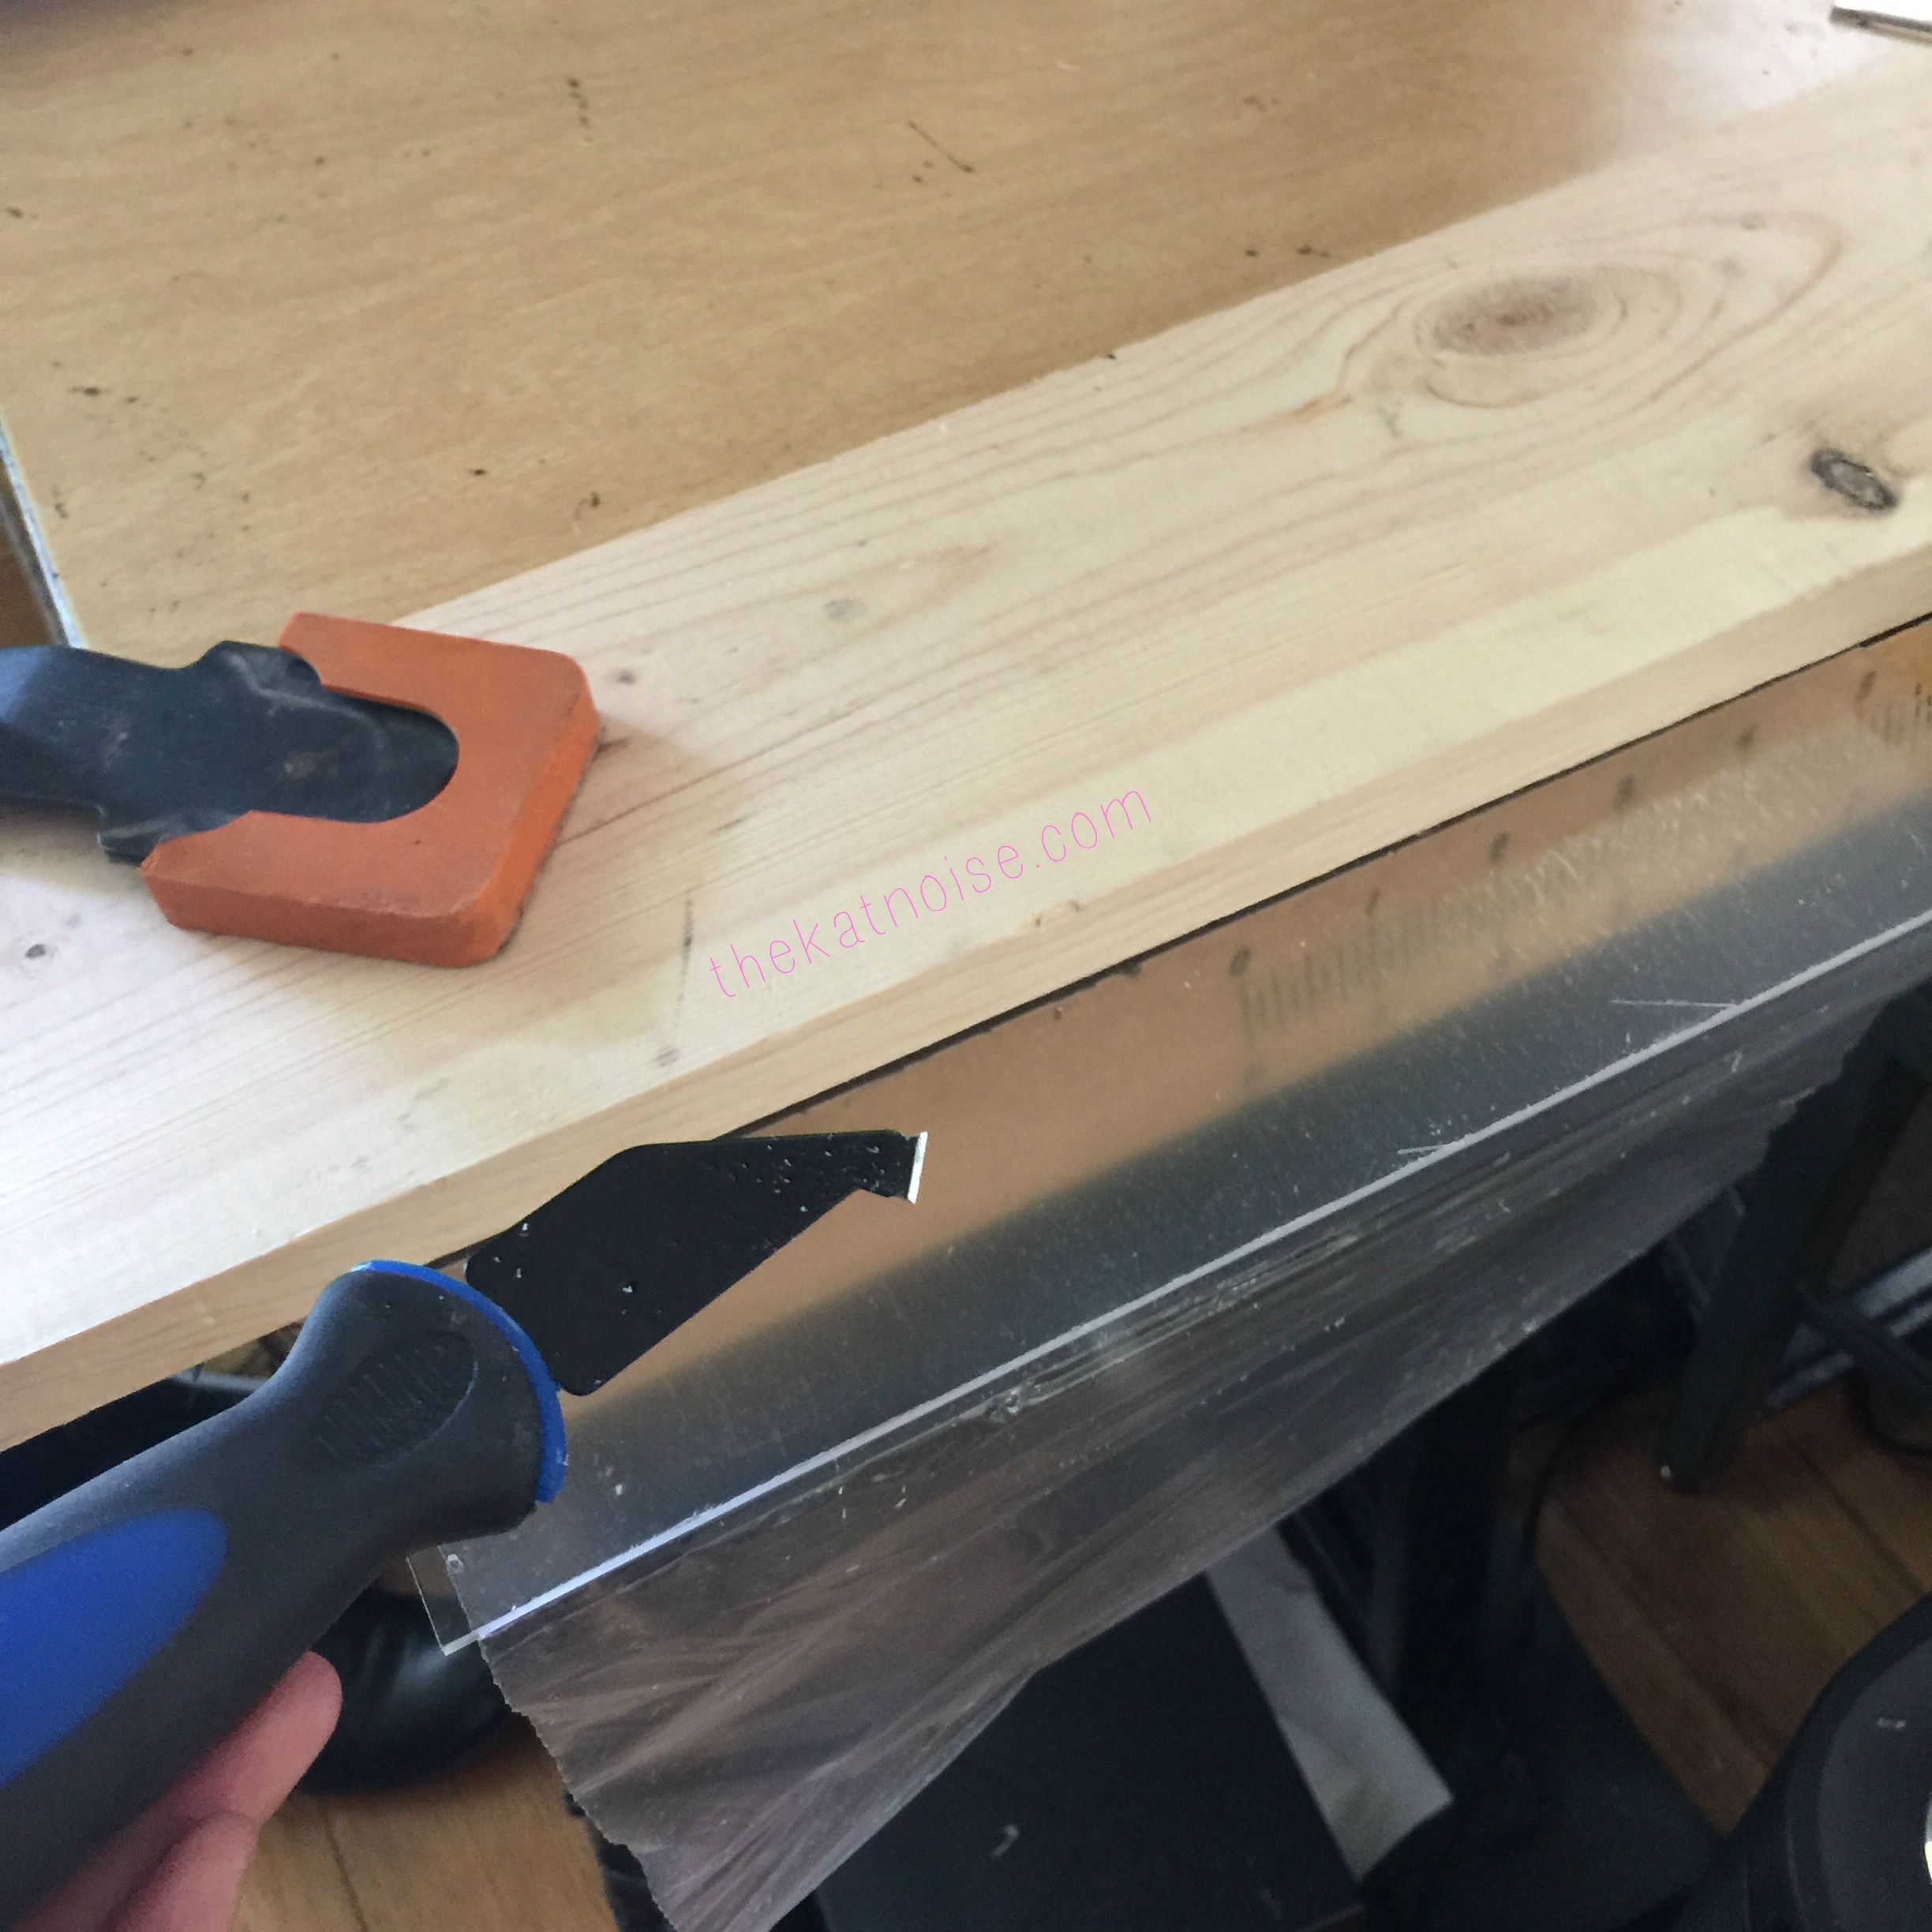
To begin, I used the sharpie and ruler to measure and score where I wanted to make cuts for my acrylic. I took the measurements that were given on the sheet and did some math to see how I could maximize my materials for my purposes. You may want larger or smaller cuts than I have made. I used a piece of wood to help clamp down the acrylic sheet so that my cuts were straight. The sheet can slide and get away from you pretty easily.
This is what it looks like when you take the cutter and slide it across the sheet a few times. Sort of like sawing (but not really), you’ll turn up some “dust” of sorts. It isn’t a one cut nelly process. It take several strokes to score it. The instructions say to score the sheet half way through its thickness before you can make a “cut.” When you’re scoring, start with light pressure. I used light pressure at first, and as i got more comfortable, I pressed harder. I didn’t want to go at it so hard at first because I didn’t want to make a mistake and have piece of acrylic with a huge scratch in it.
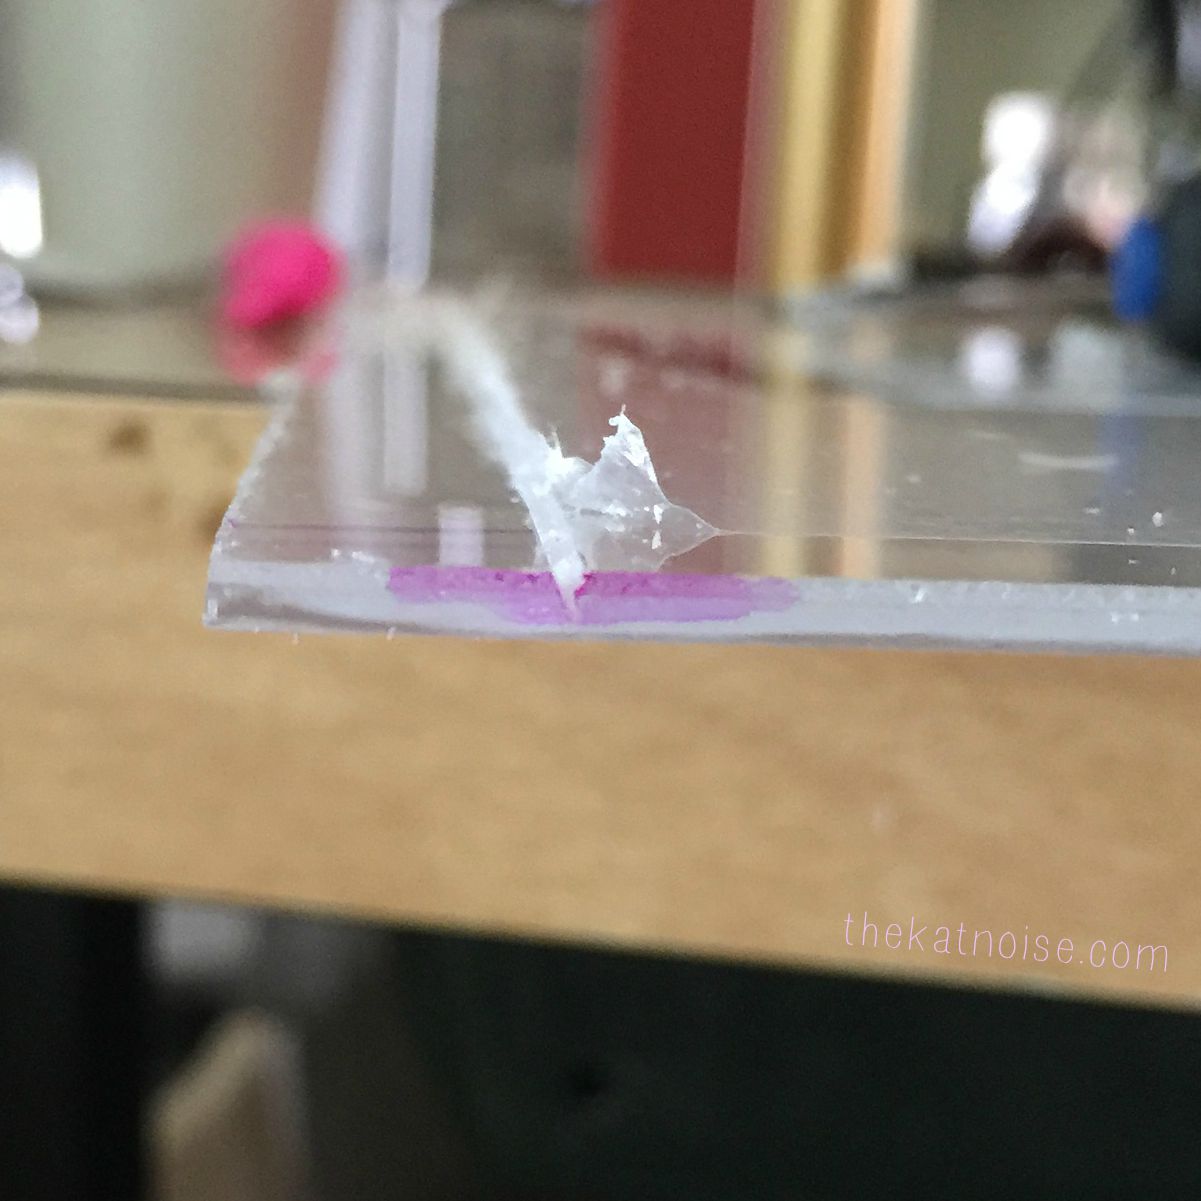
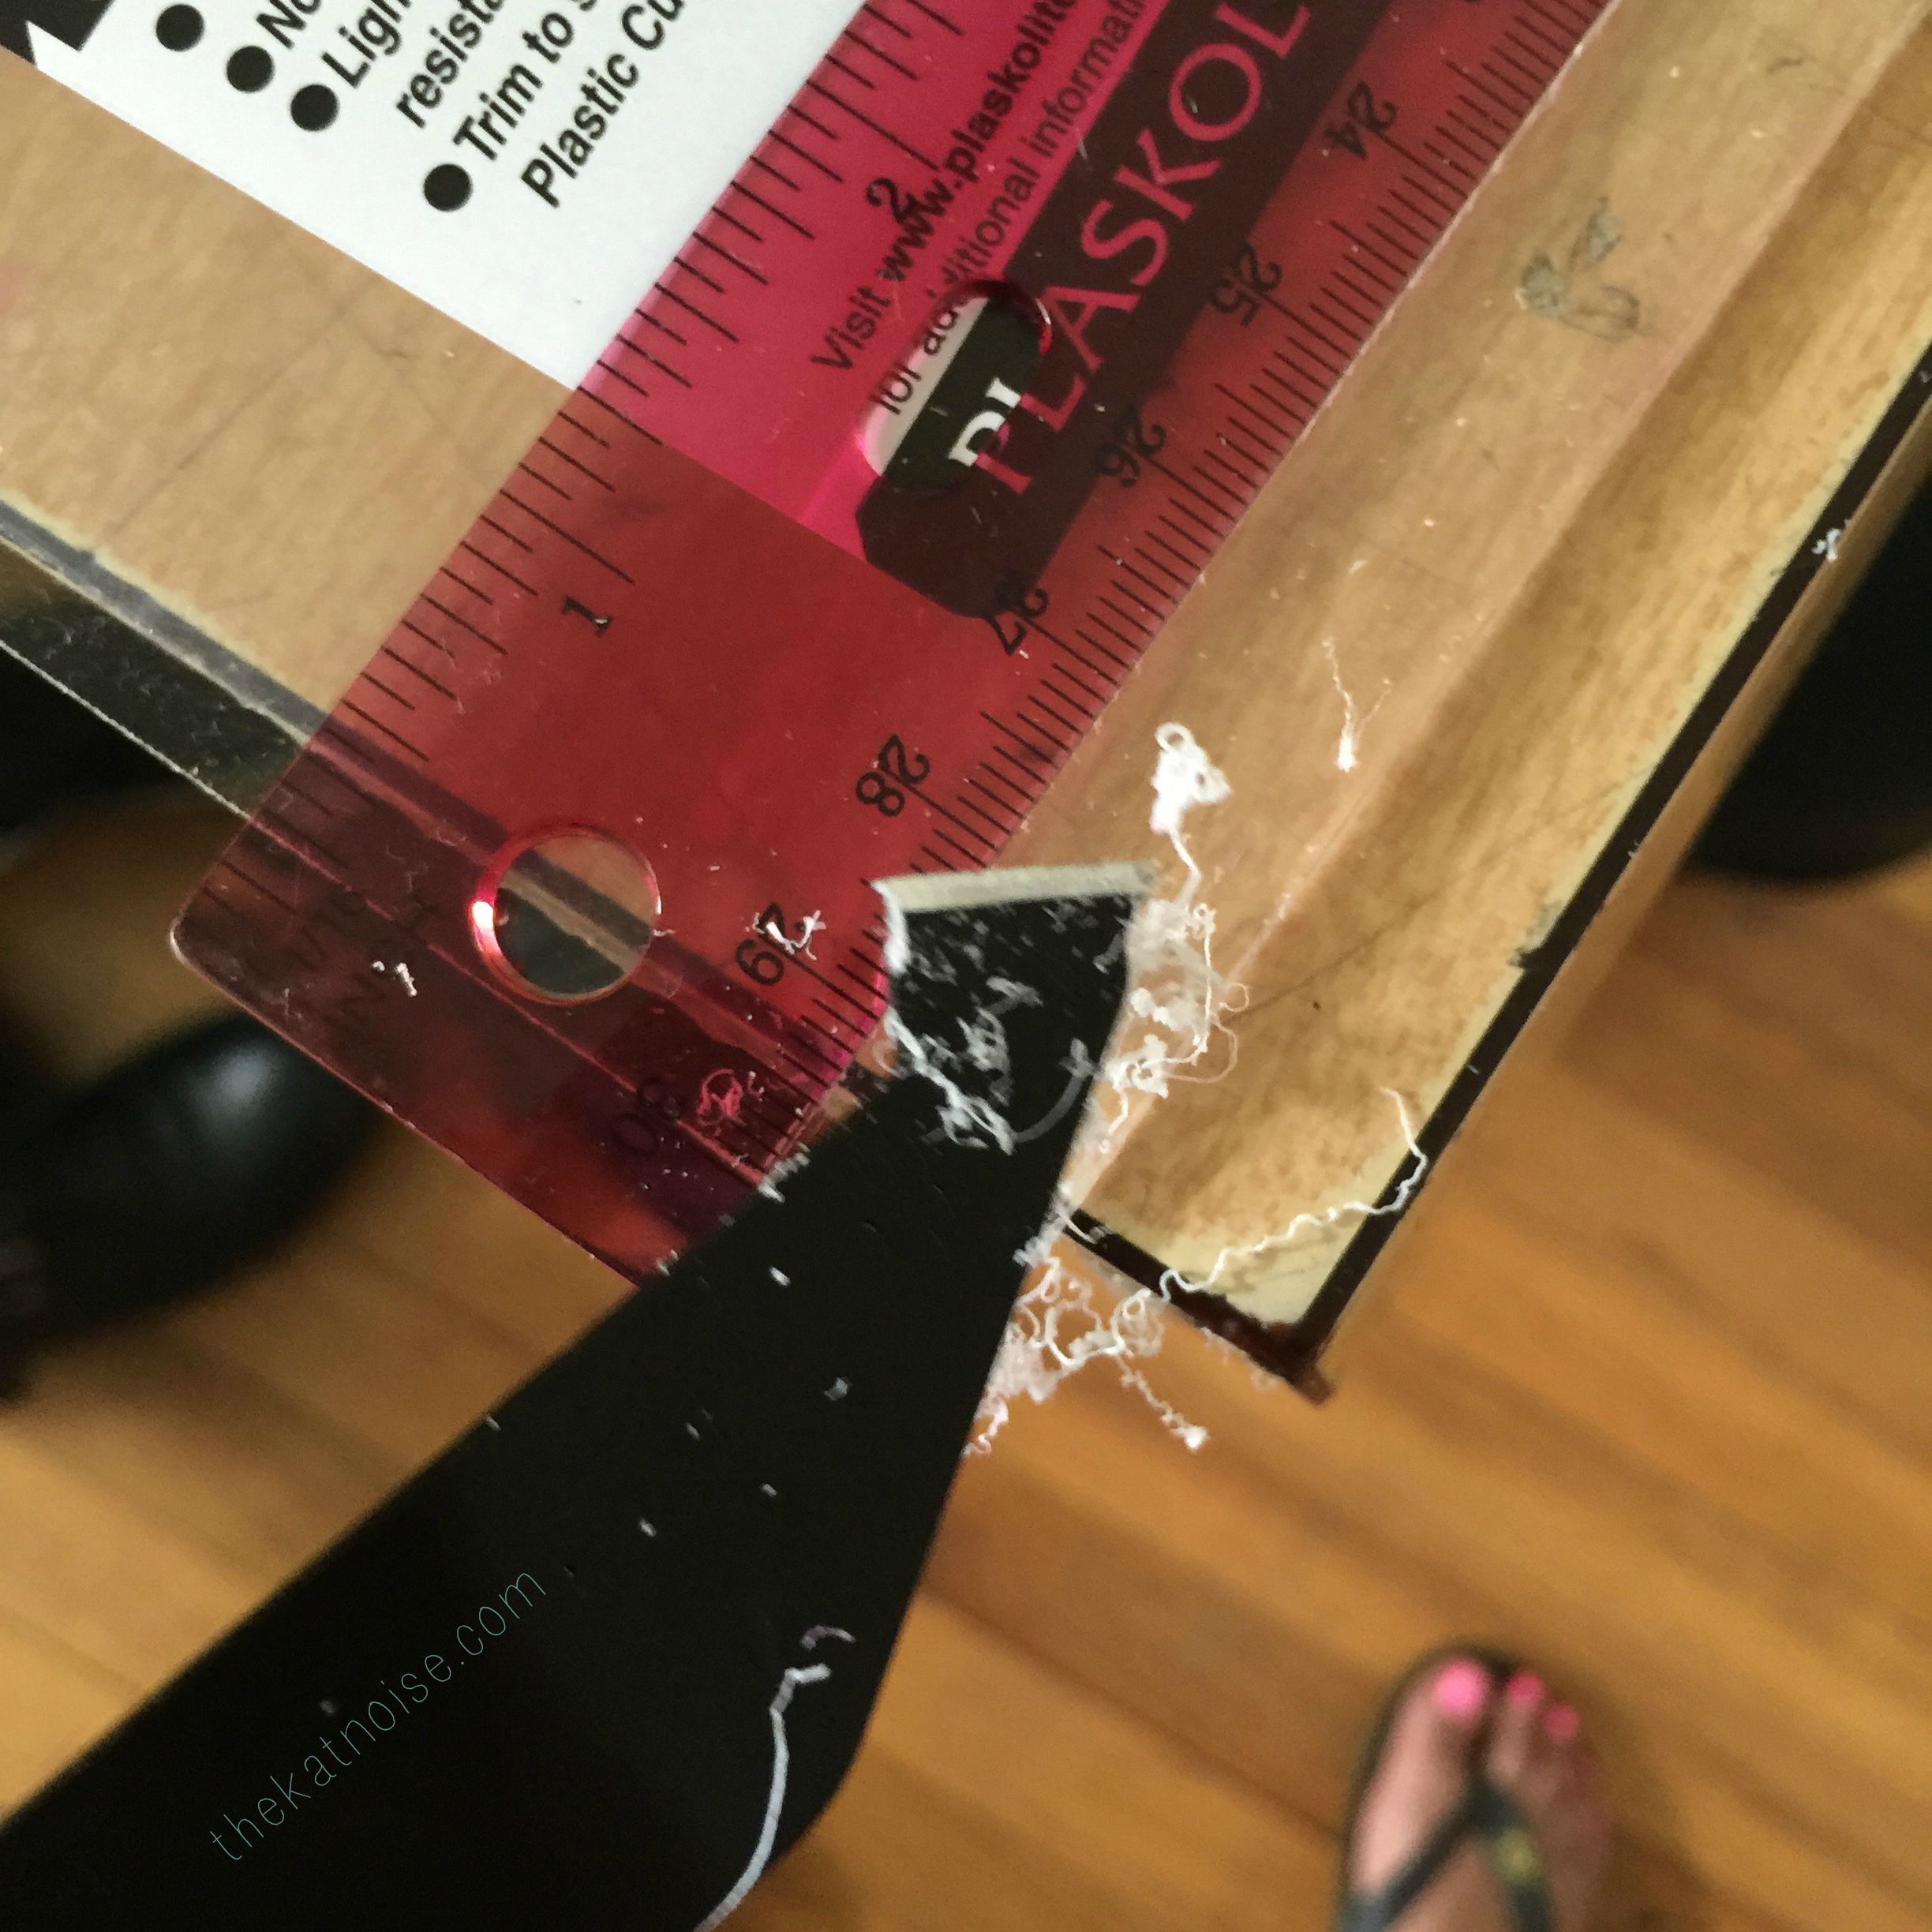
Here is a close up of my half way score. I used the sharpie to color the edge so the glove was easier to spot. Once you get to this point, you take your hand and hit the end hanging off the edge of the table. The force should be enough to make a clean break. It’s surprisingly easy and it will make you feel like a karate champion! Also, by keeping the protective plastic on, then piece will just dangle. It won’t fall on the floor. I like to minimize the chance of anything breaking or getting scratched.
I chose to slice them the short way because it was less room for error. I was also less likely to have a cooked line. After I did this, I cut them even smaller. It was at that point that I removed the protective plastic sheet. When I was finished, I noticed my cuts weren’t super equal. I didn’t use a clamp initially. Also, when I did incorporate it, i didn’t have it on super tight. I wasn’t totally looking for accuracy, but simple things would have made my outcome a bit neater.
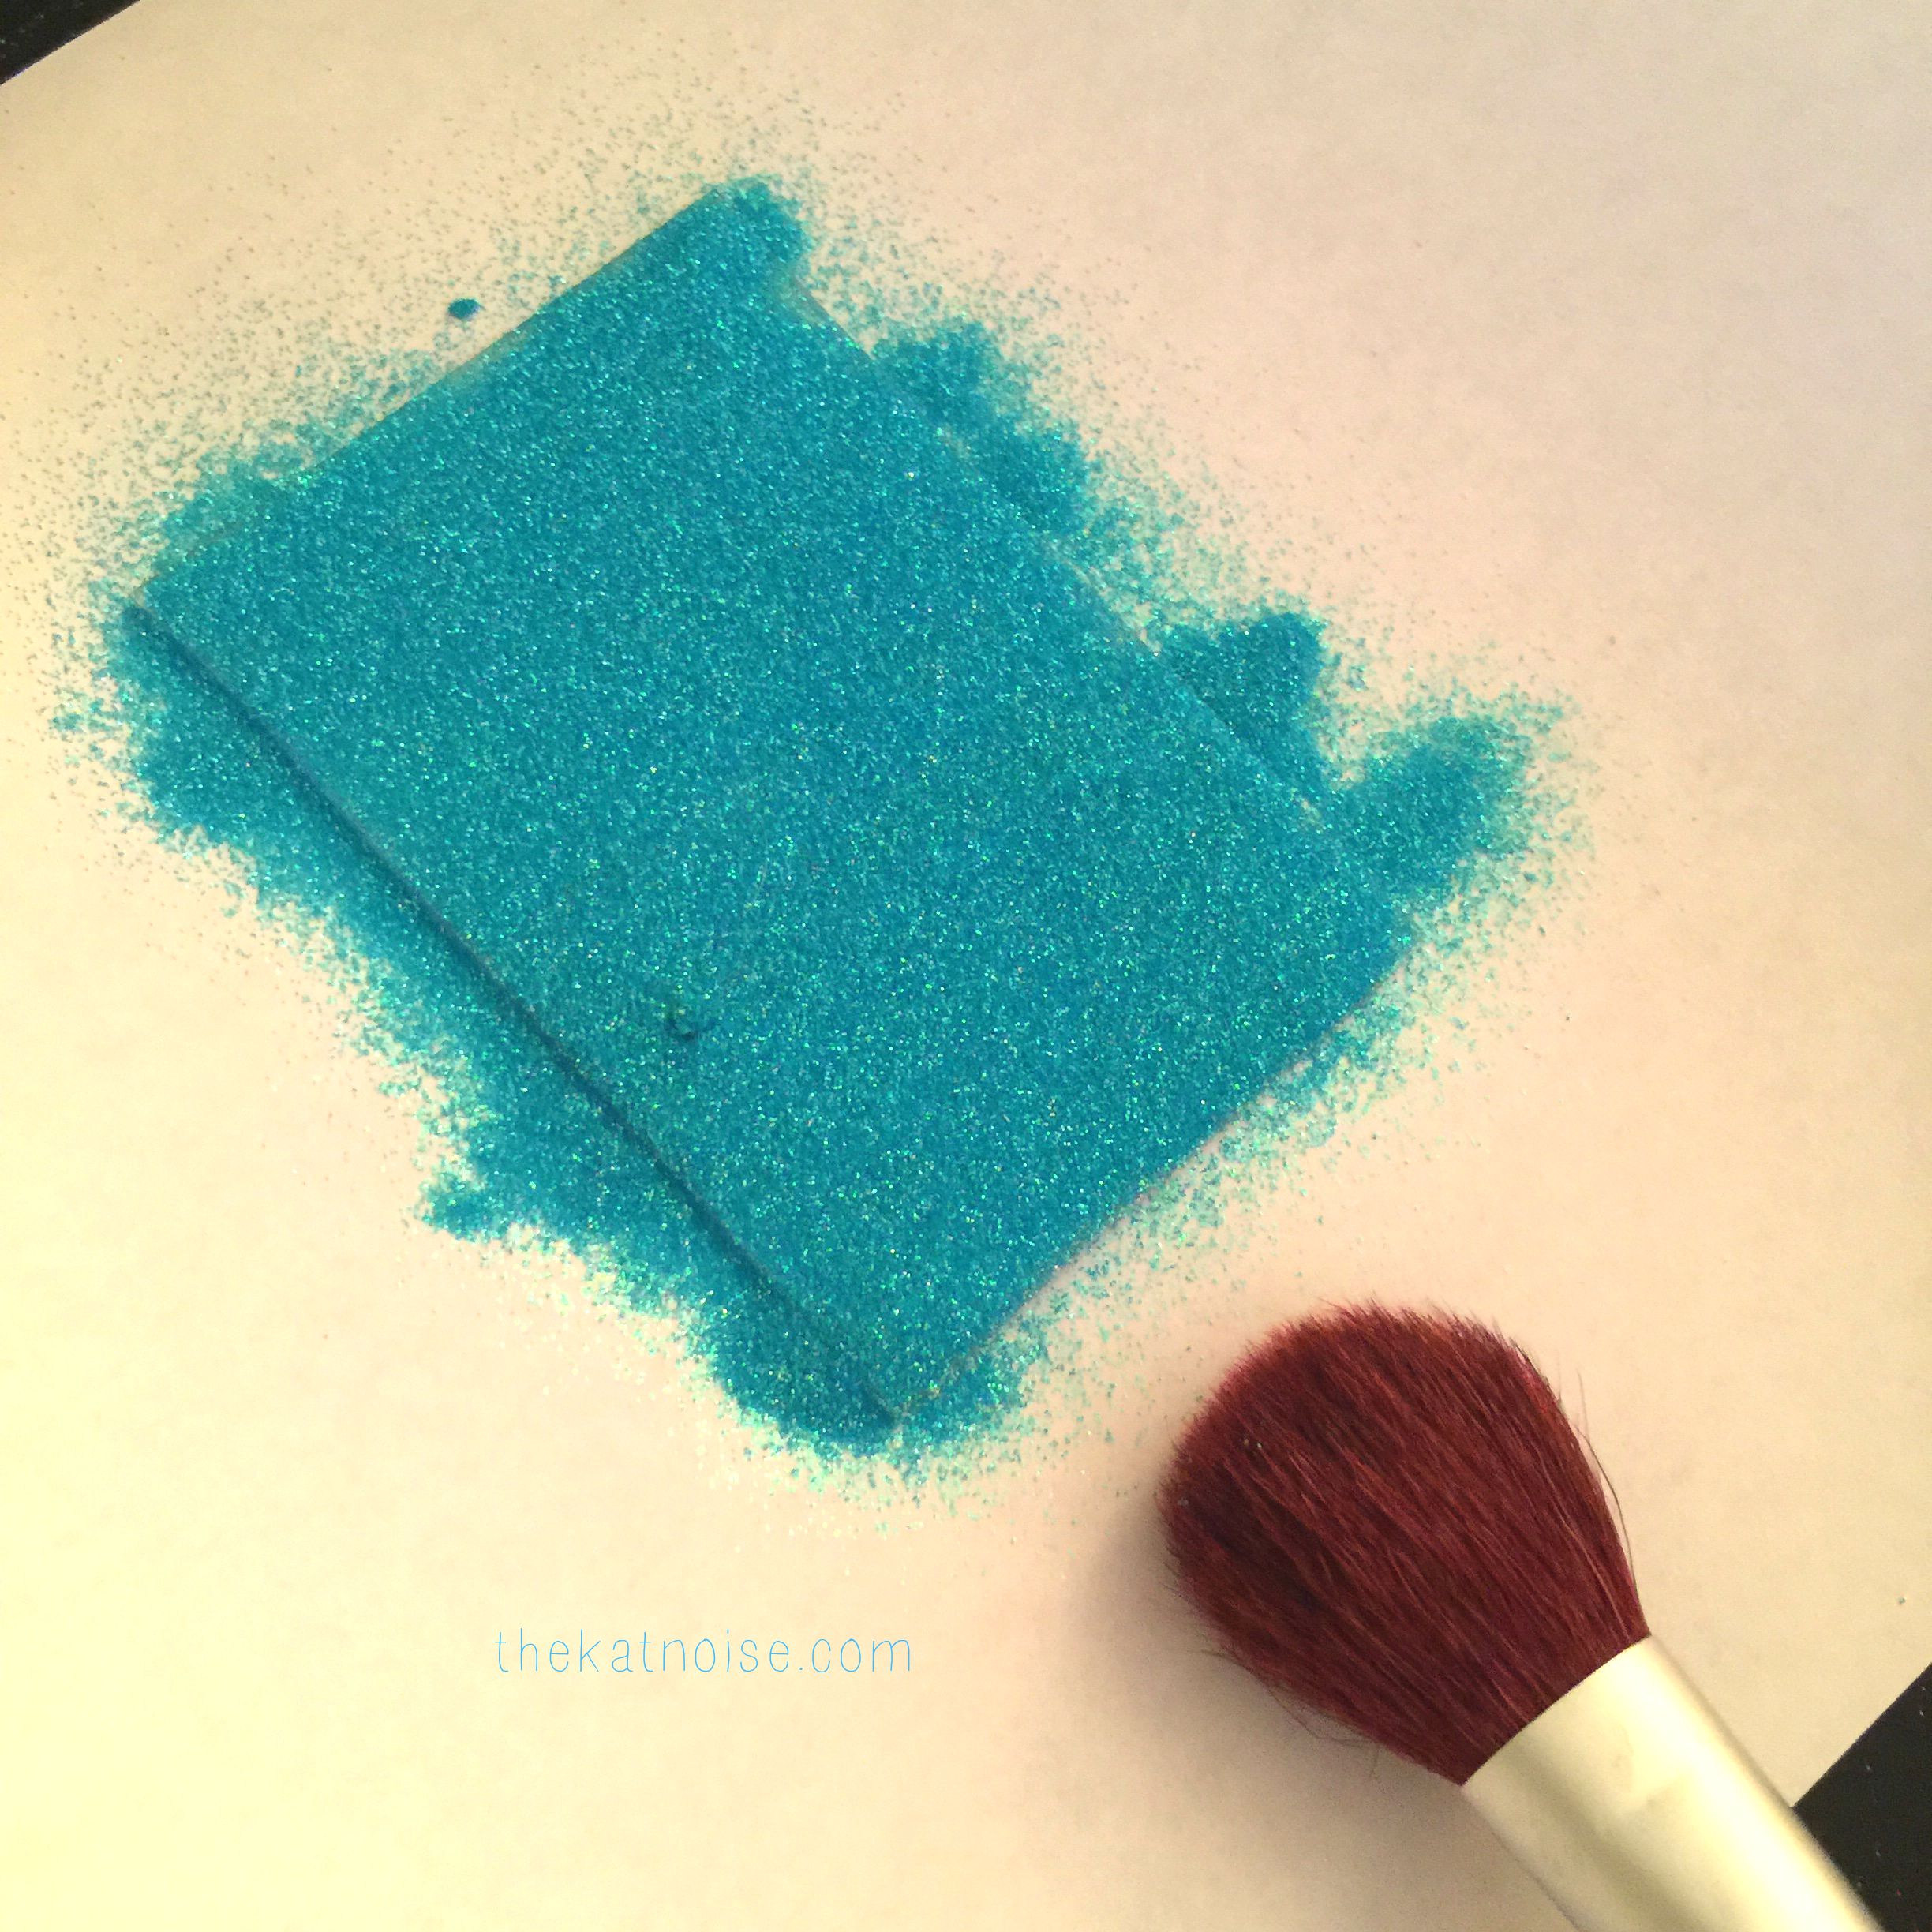
Then, I coated them with 2 layers of glitter and sealed them. The trick is to let the glitter and whatever agent you use to adhere glitter to completely dry before adding another layer. If you do it too soon, it will cake up. Caked up glitter is human error, just like makeup!
Here is what they started to look like after one coat. The tiles are pretty much all the same size, but you can see some of the unevenness. I bet you can do better than I did. This was a project that took a bit longer than I wanted it to, so I found myself rushing. If you space it out over 2 days or so, they will come out lovely!
The Sparkling Conclusion
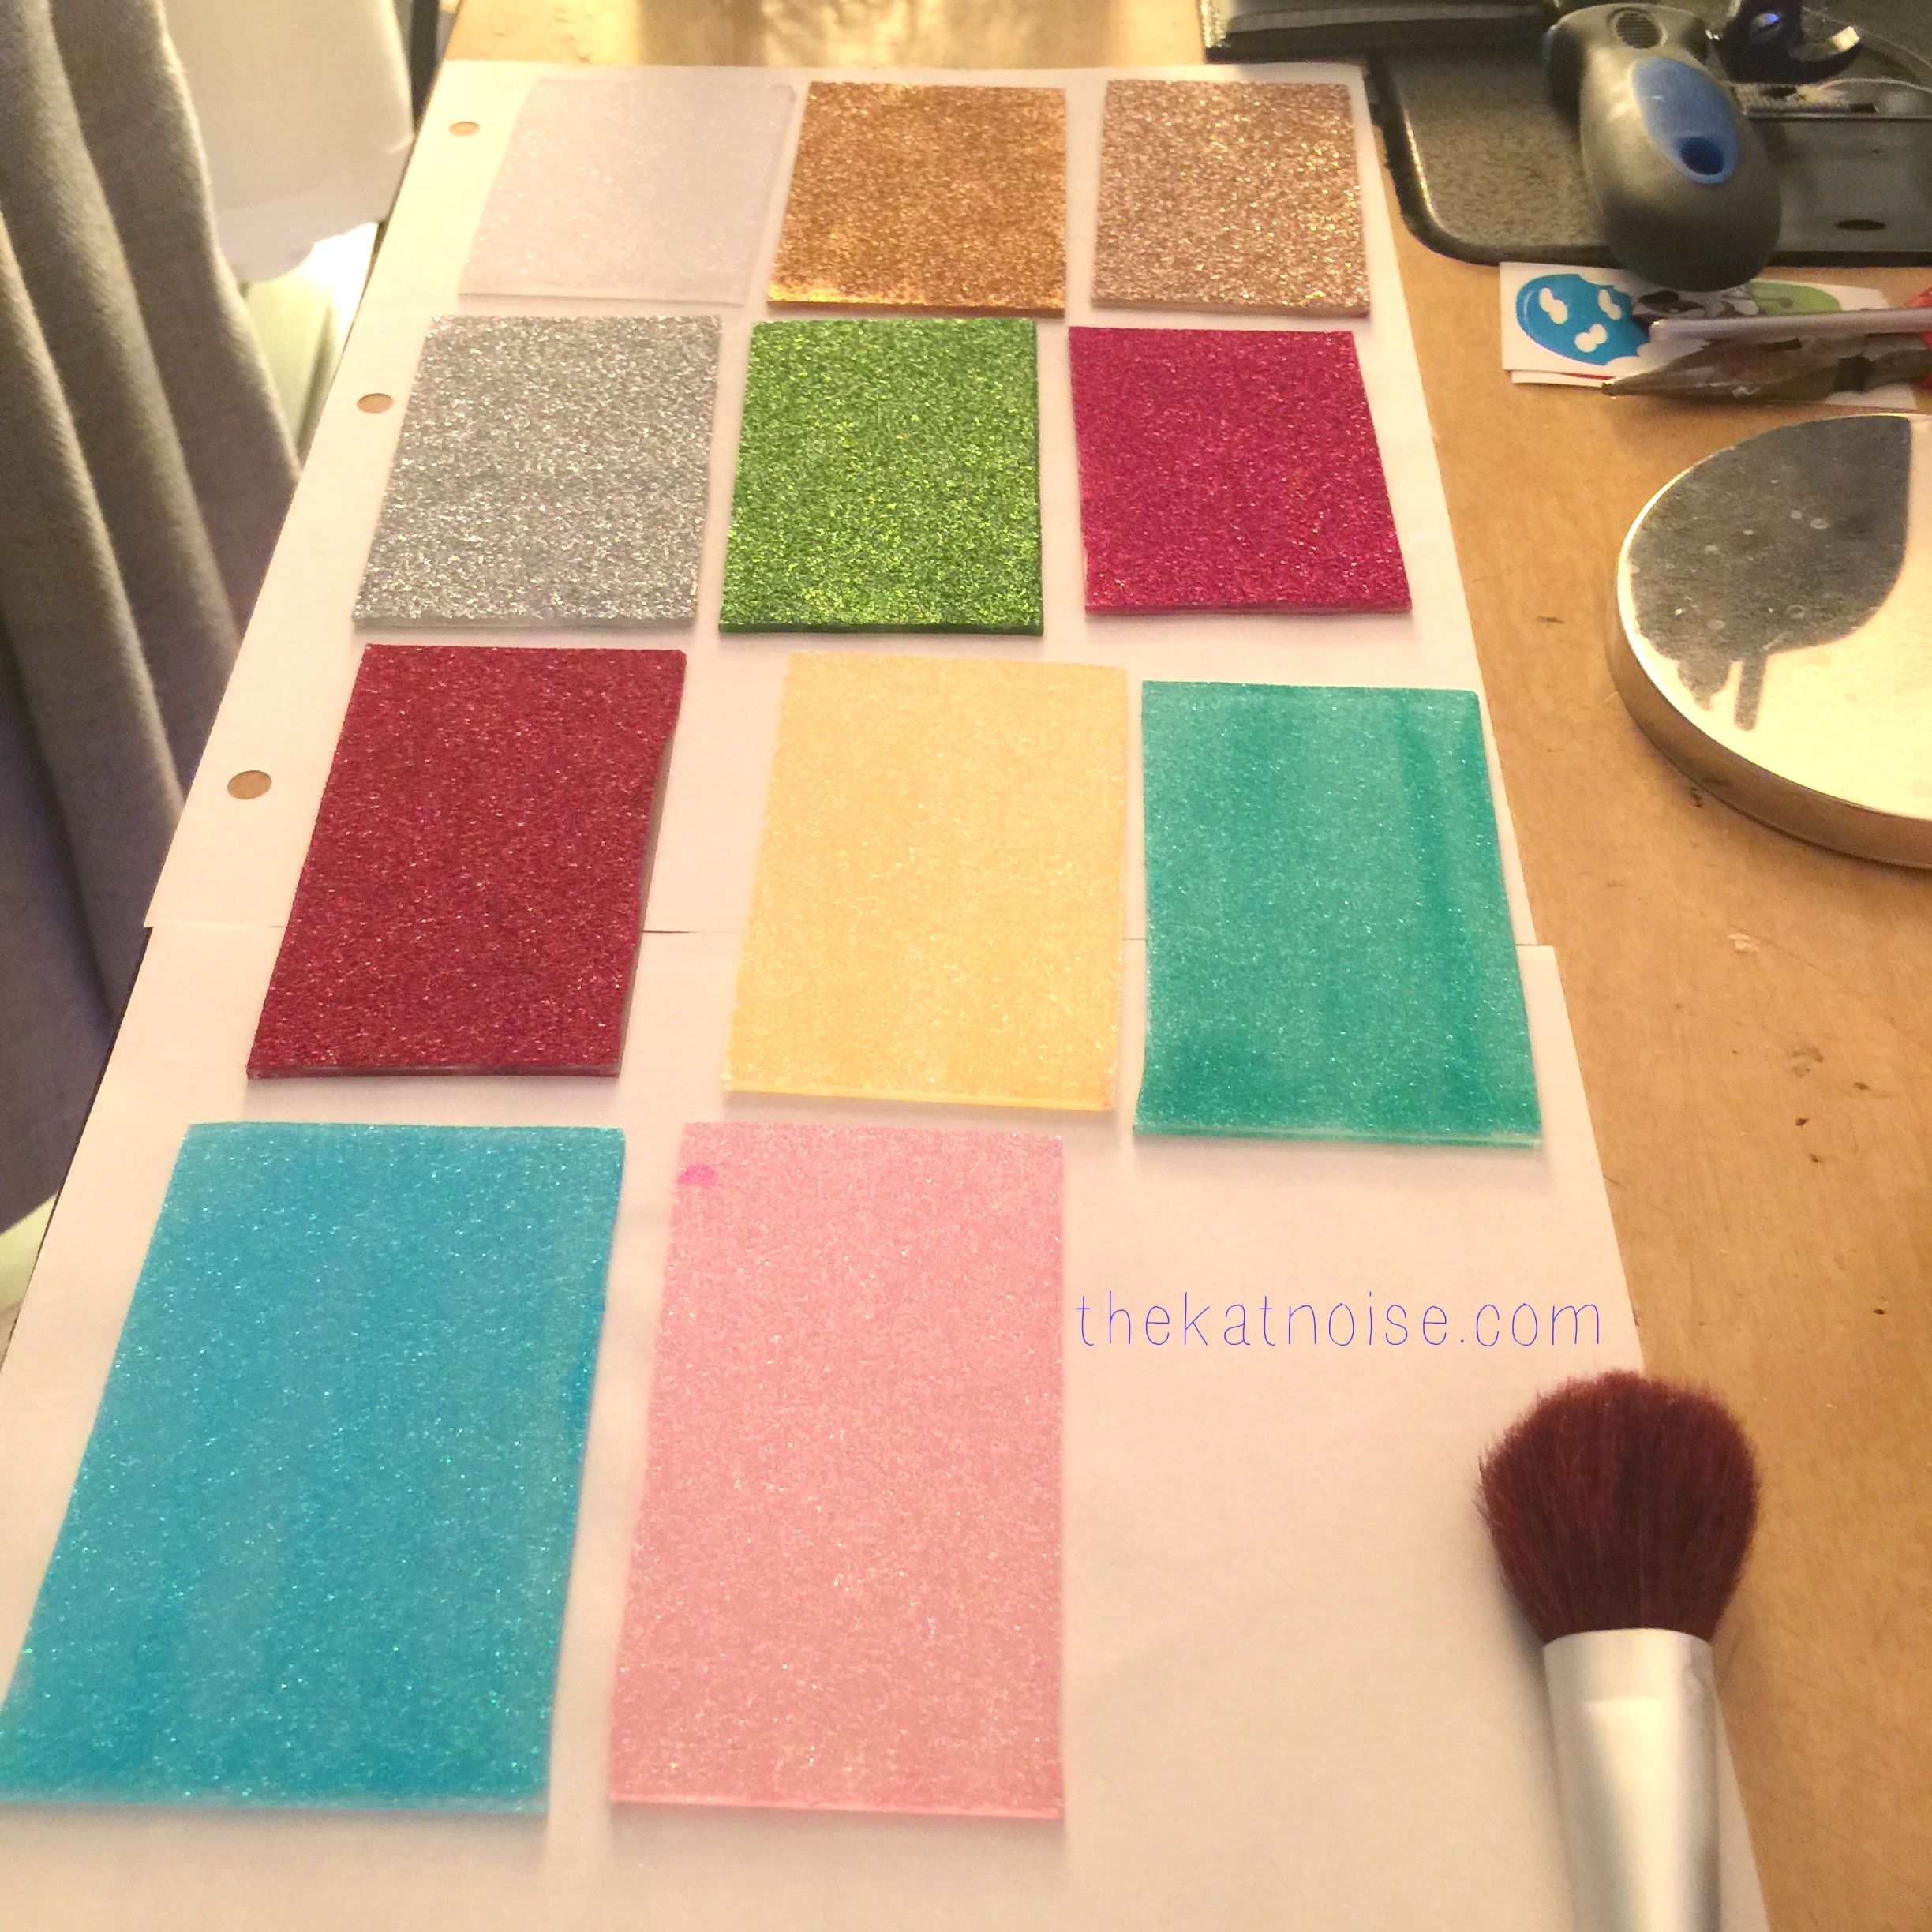
Two ways to look at this. Swatching is a great way to show your customers their options. One of my goals is to eventually be in a craft show. This will be a great way to show people, face-to-face, the potential quality of their custom order and it will make things easier for me on an administrative end. No guessing, even if people want color combos, I can definitely identify what is desired.
Aside from physical swatches, these are much easier to manipulate and photograph. Photographing glitter is tricky to begin with let alone a bigger object that may not lay the way you want it to. Plus the cost to swatch something like this is much less than creating individual, in my case, phone cases just to photograph. With all the different models, you never know what will or won’t sell, then you’re stuck with product you can’t move. This is a cost-effective idea that can make you look that much more professional. I’m always looking to the future and I want to see my decoden projects evolve and my business grow. Check out my video to see the swatches shine!
