
Affiliate links are included in this post. I may earn a small commission if you purchase through them, at no extra cost to you.
WORKING WITH FINISHED SURFACES
Here is a simple way to deal with smooth or finished surfaces. A lot of “true” base supplies may come to you unfinished which makes it easier to envision and deco. However, if you are using items that were already meant to serve as a finish product, the surface may be non-porous which can cause components to slide or peel off. Painted surfaces may also be problematic as some may react with your adhesive causing unsightly blemishes. Here is a simple way to deal with smooth or finished surfaces.
What I Used
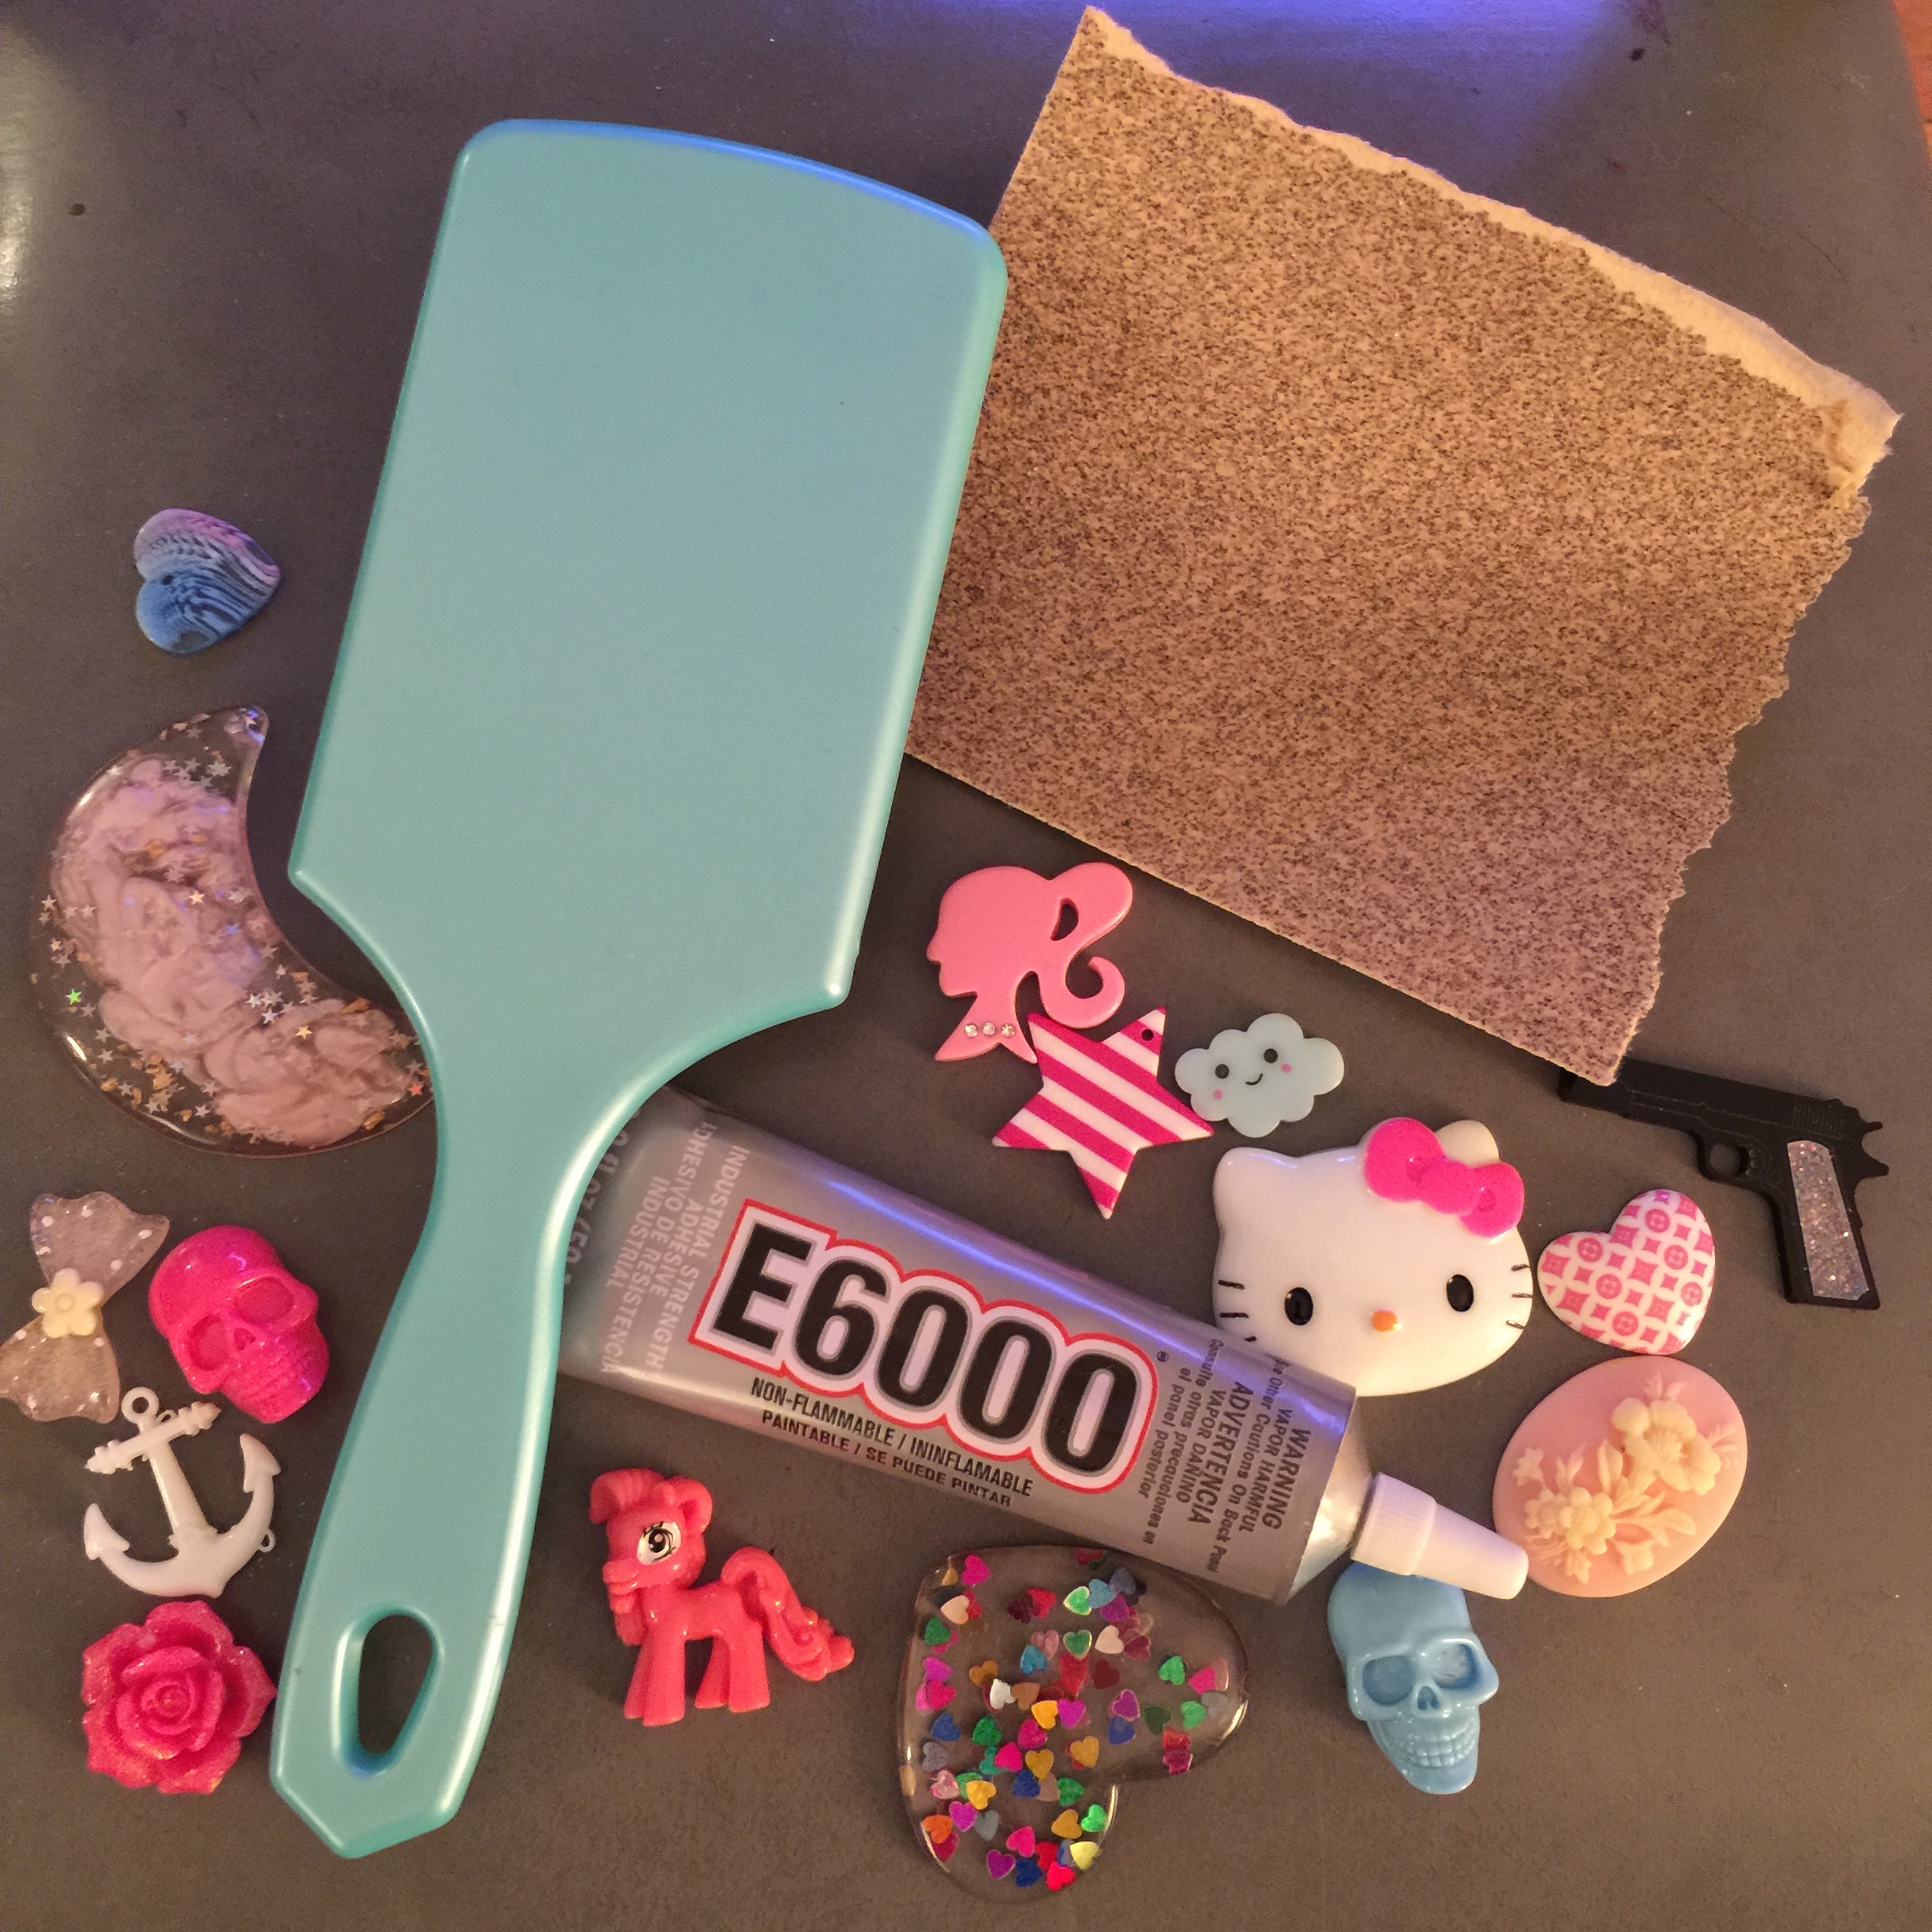
- Adhesive of choice. I am using E6000
- Item you wish to deco. I am working on a paddle brush I bought from Big Lots.
- Cabochons and rhinestones of your choosing
- Sandpaper
Why Sandpaper Works
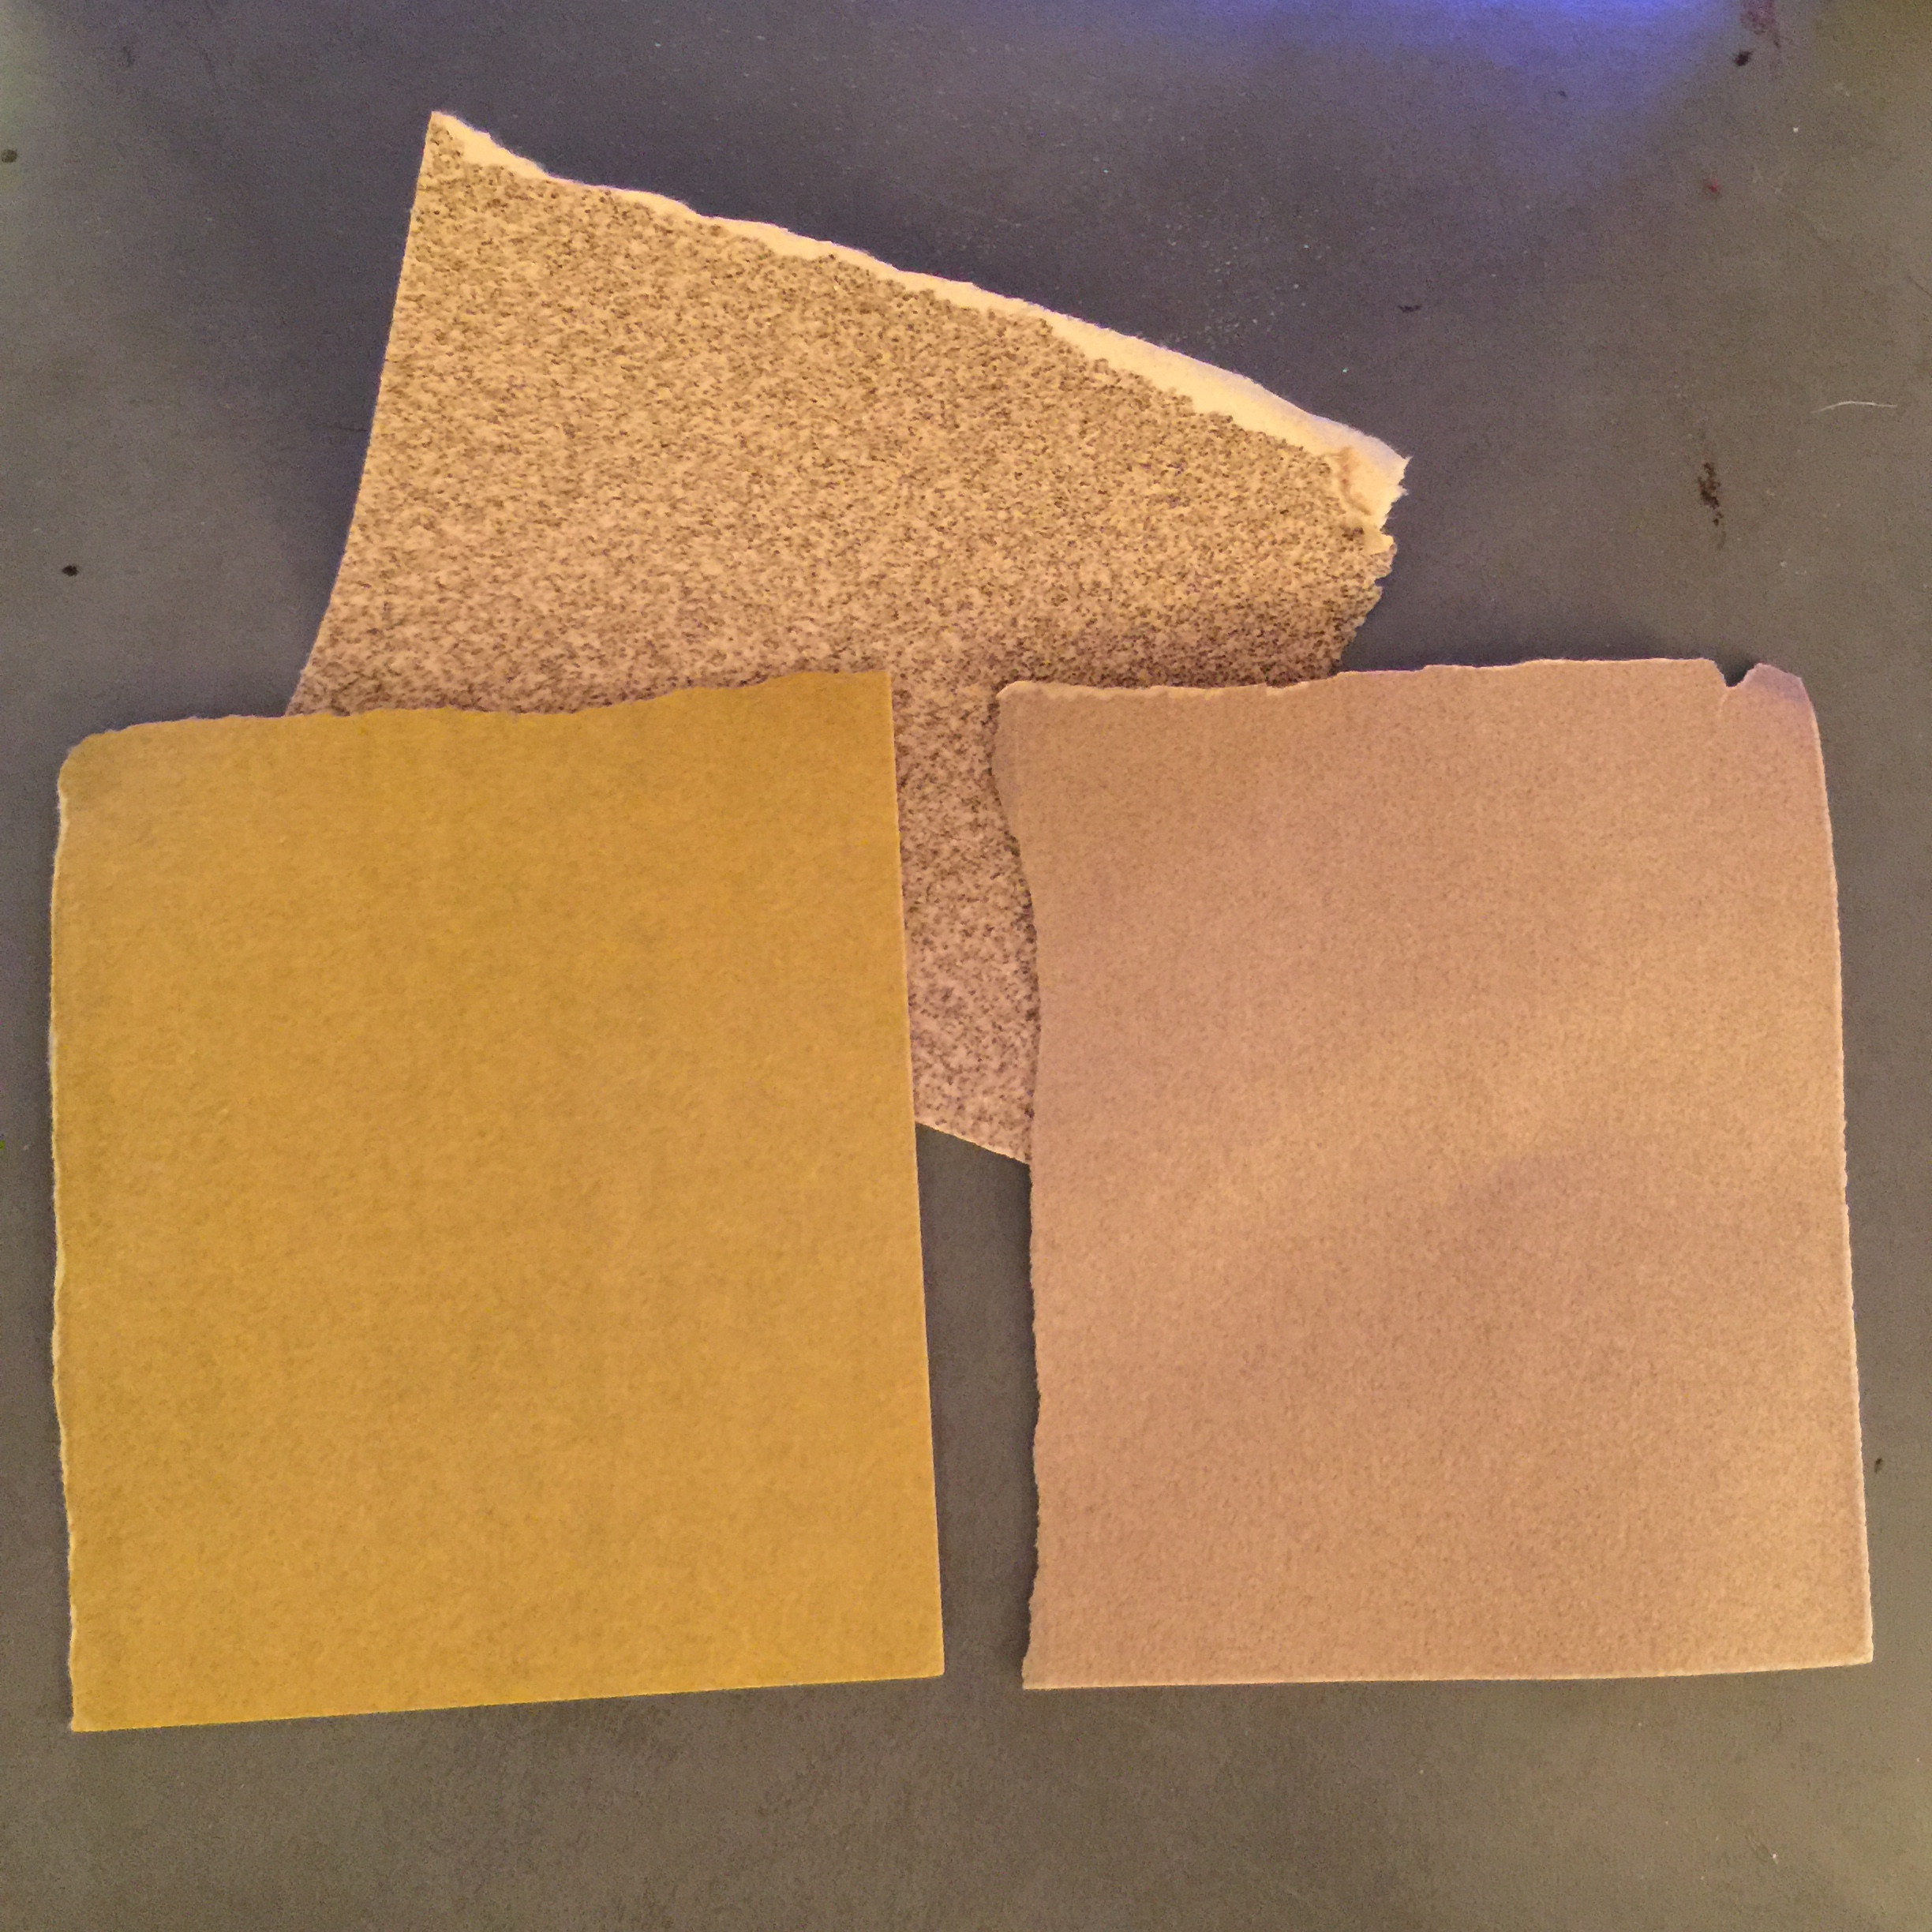
Sandpaper is used to create small scratches to help remove small amounts of material from a surface. There are many grit varieties depending on the surface. The larger the number, means more edges which means the smoother the sandpaper.
Overtime, I’ve come to learn which grit is appropriate. I don’t use sandpaper that is too course as the surfaces I work on are usually plastic. It doesn’t take much effort to scuff the surface to create an easier way to adhere my components.
CLOSE UP
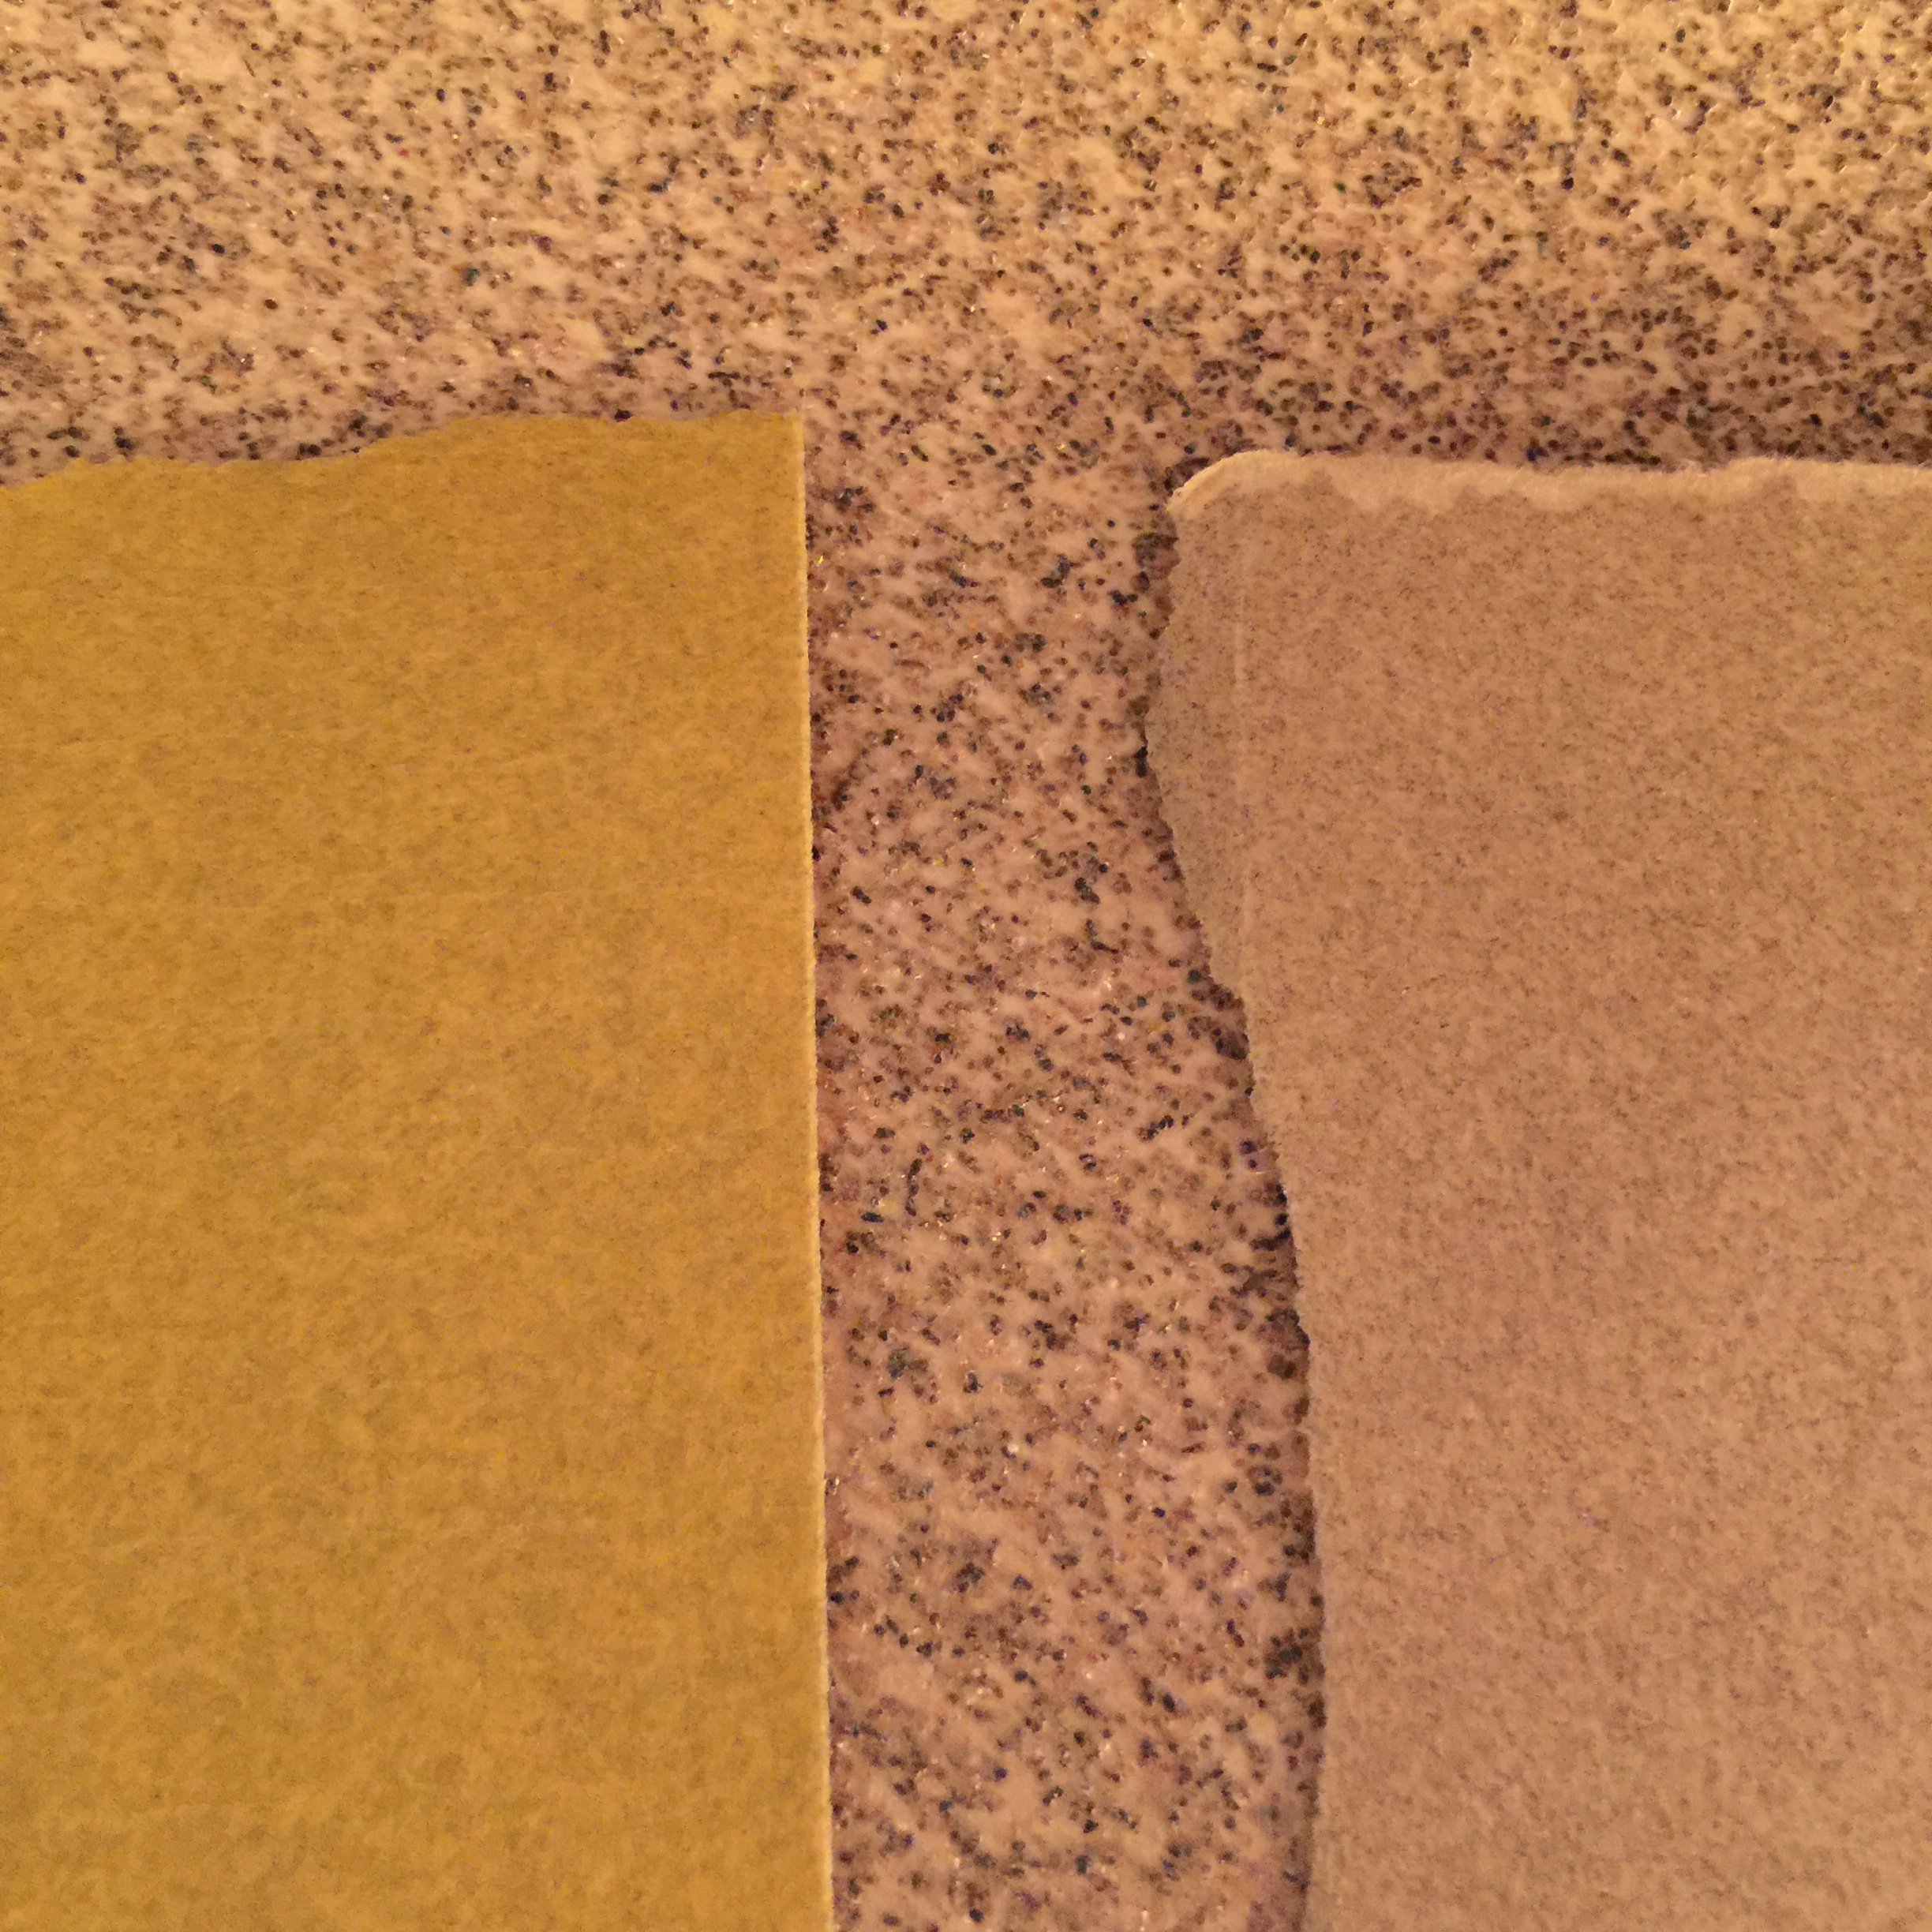
If you look closely, you can see the differences in grit. I am using a finer grit sand paper for this project.
WHAT GRIT SHOULD I USE?
I am reluctant to specify numbers as everybody will be working with different materials. Test a small area and feel your way. Remember, we just want to create some scratches on the surface, not completely sand the item. Just a few seconds of using the sand paper will suffice.
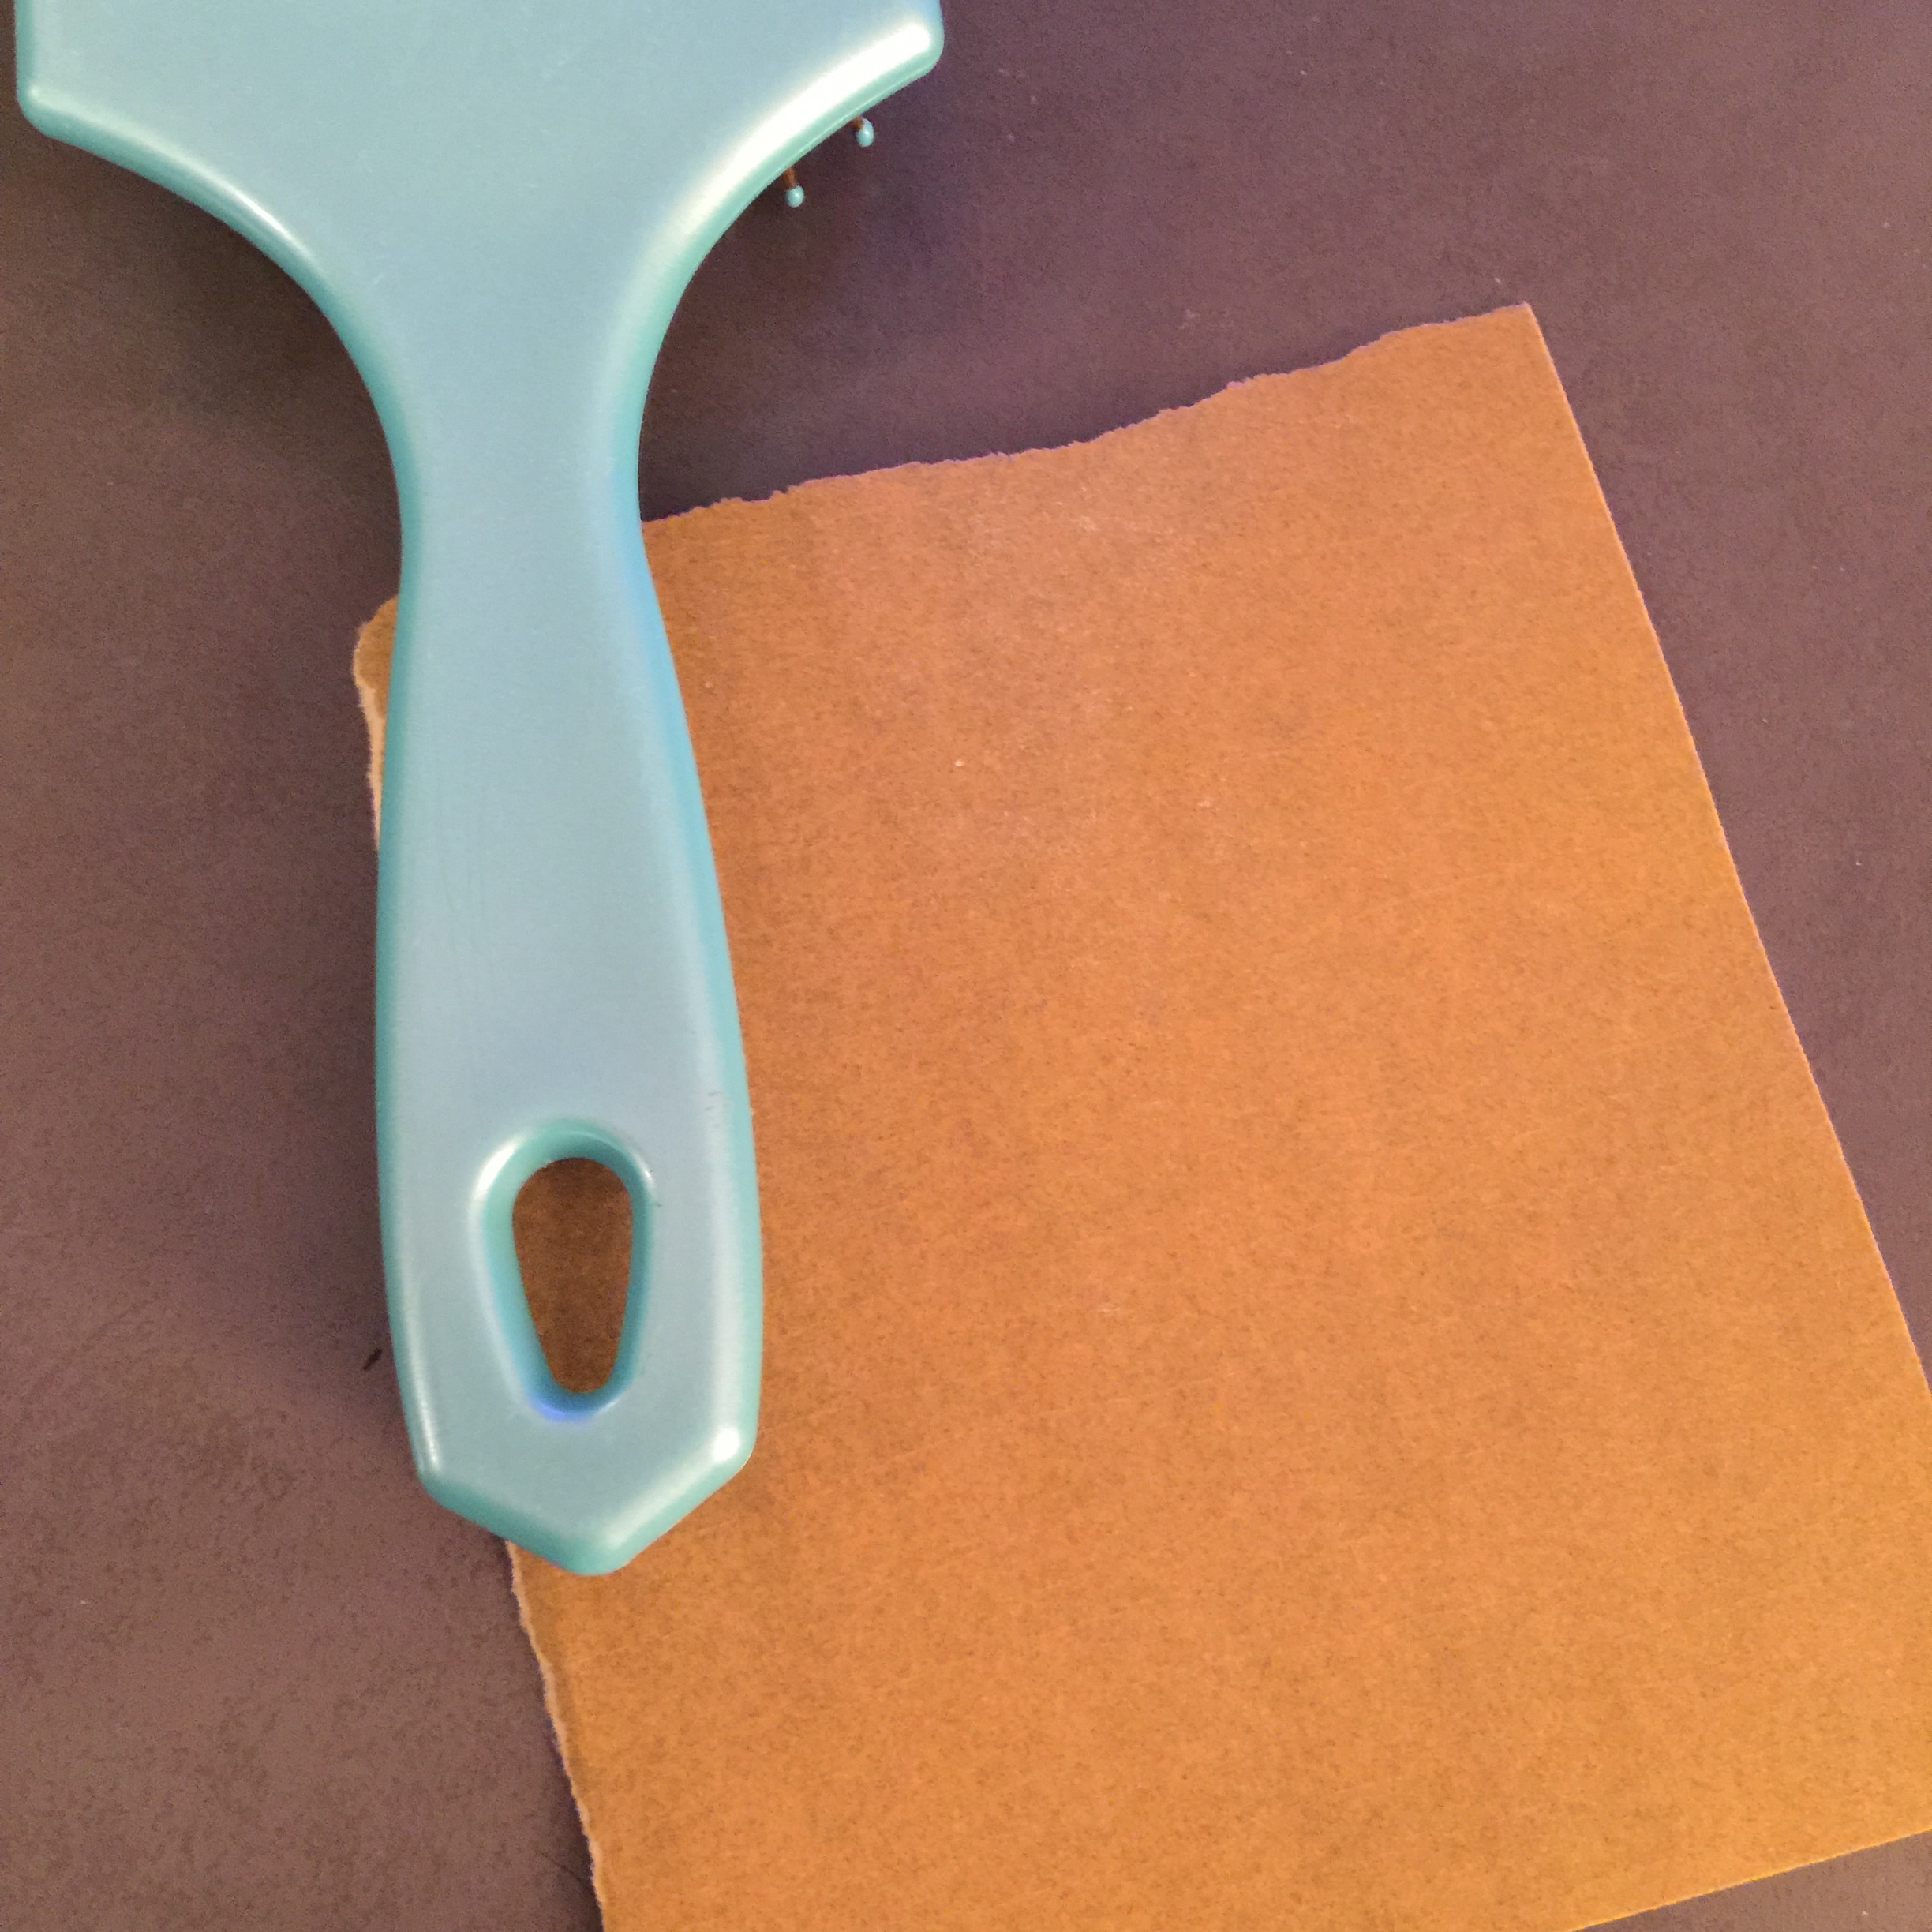
What It Looks Like After
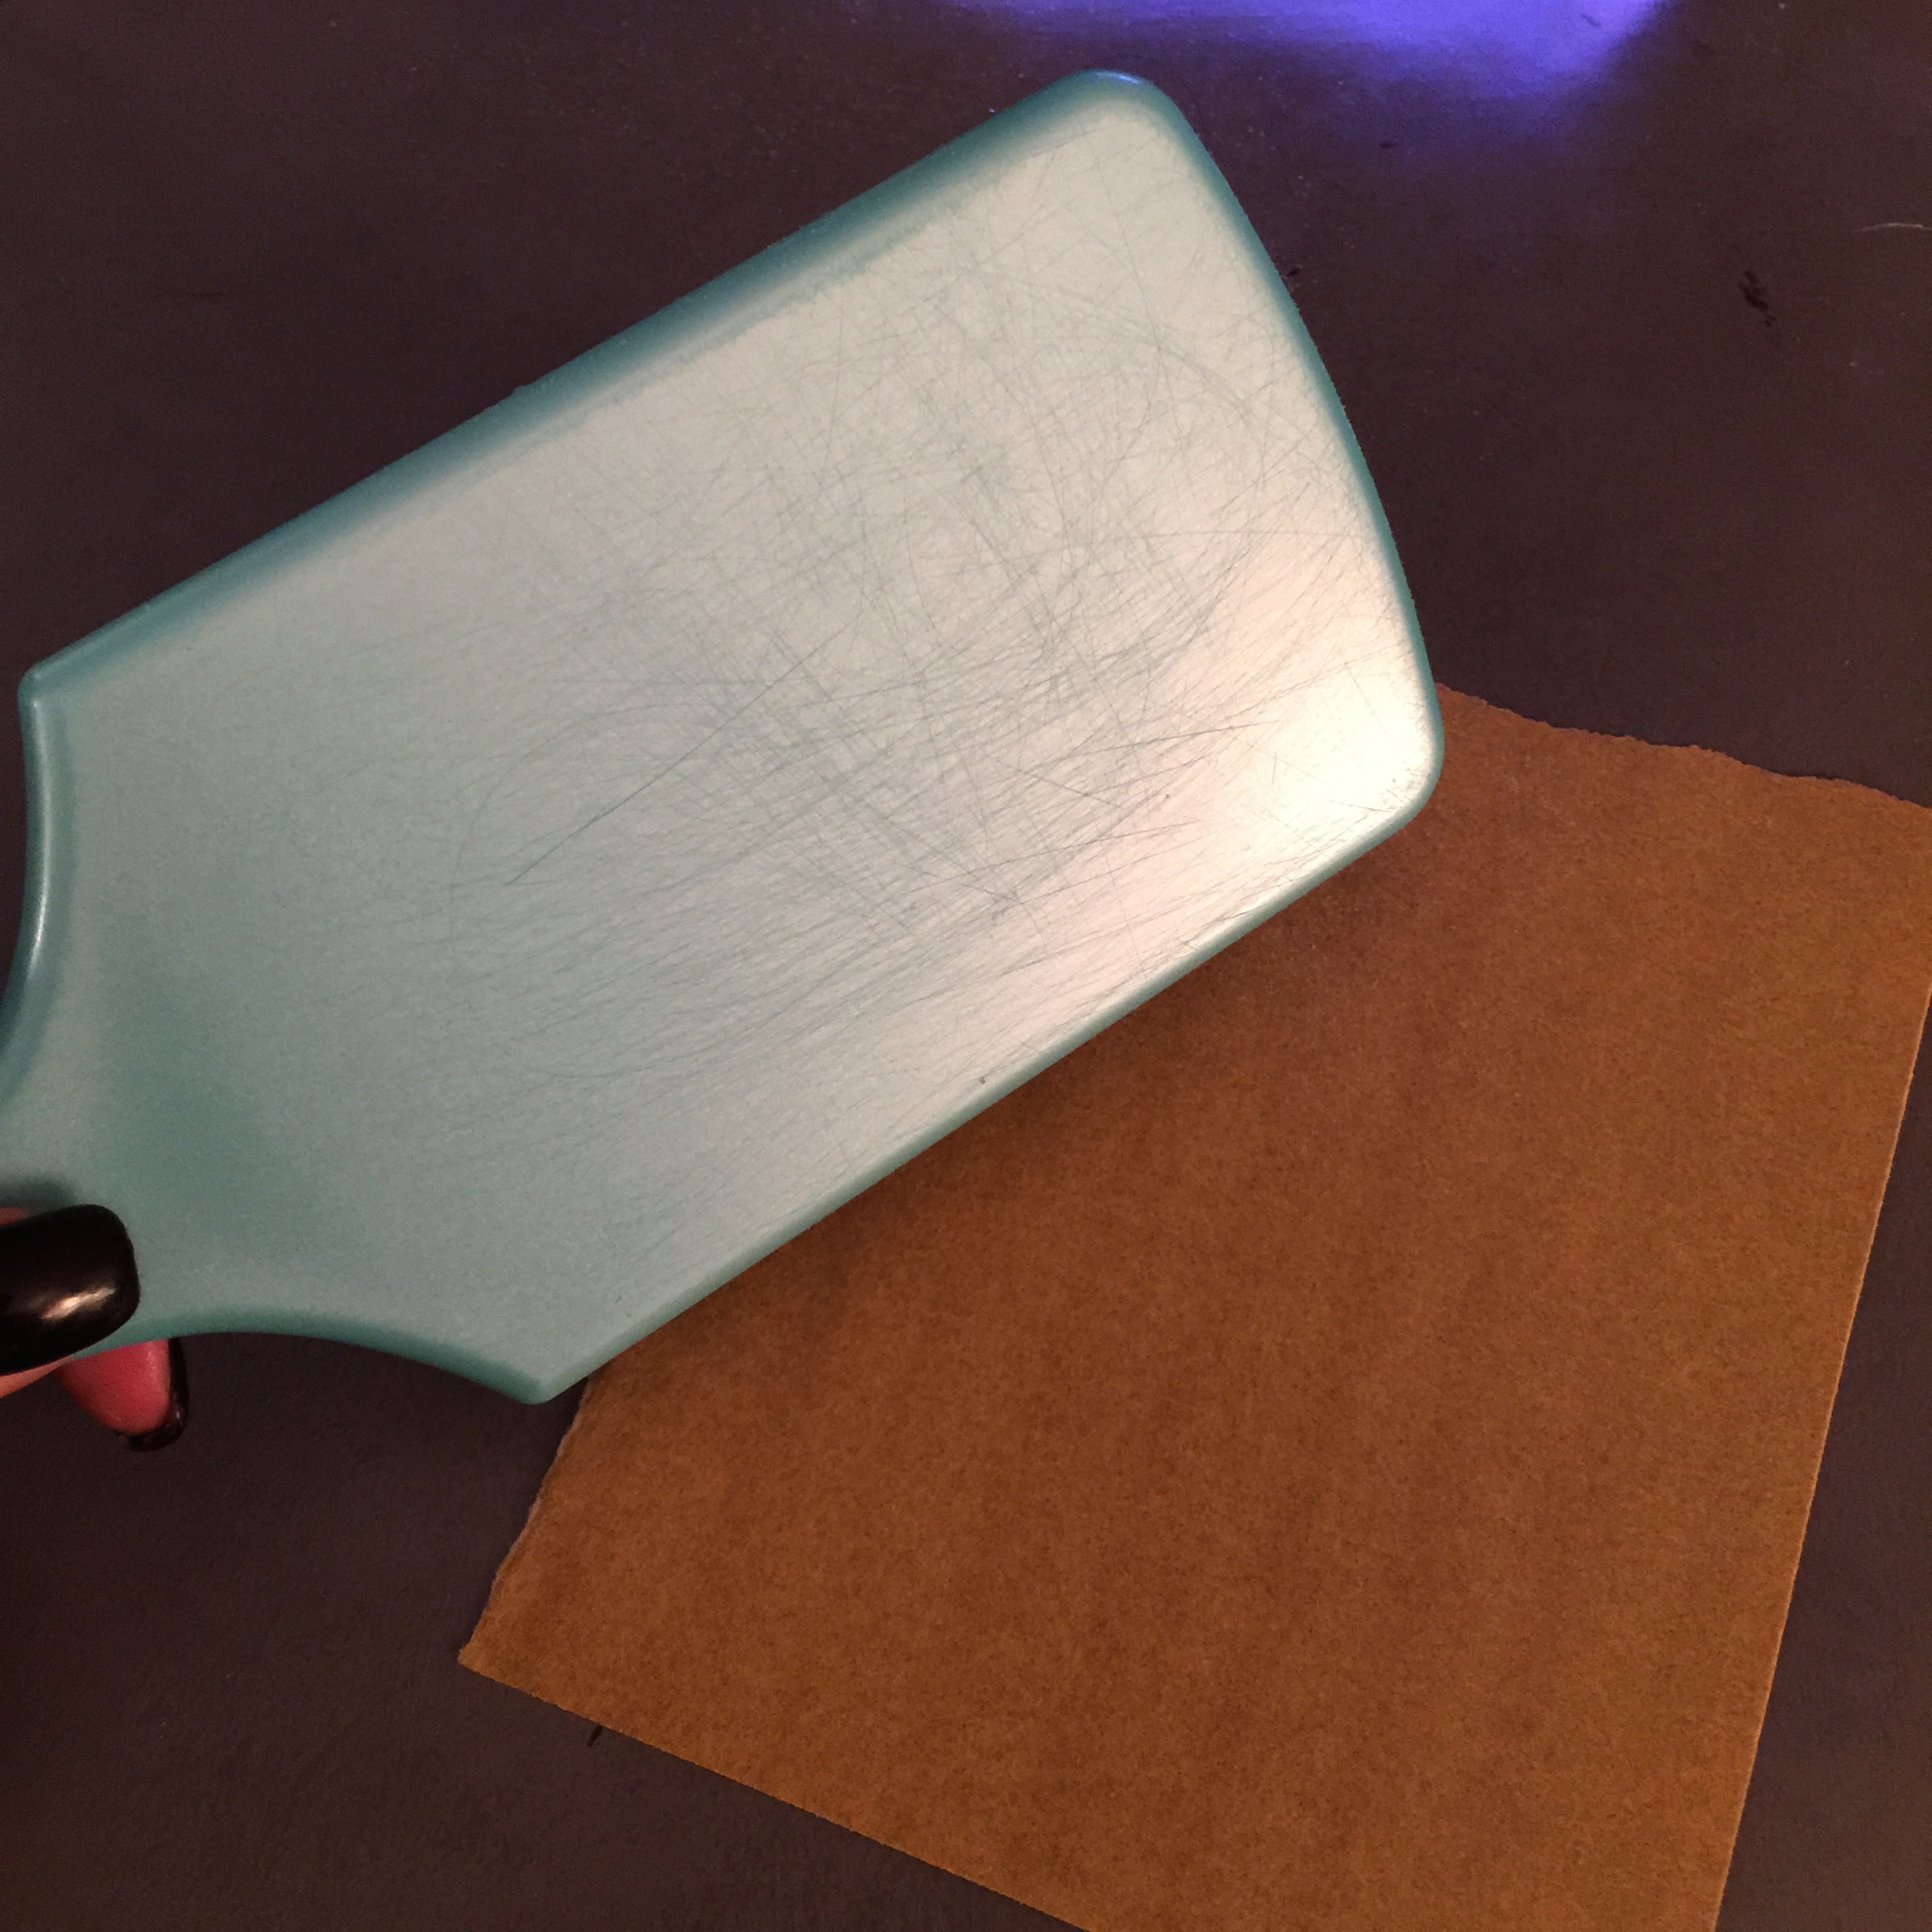
Here is what is looks like after I’ve used the sand paper. I know it’s not pretty but it’s totally worth it once you see that your cabs won’t be slipping and sliding. Placement becomes a total breeze. I find with the E6000 glue, after I put it on a surface, I will let it get a little takky to prevent slipping and sliding of components. Keep in mind this glue is not fast drying, so you do have time to fudge around with the pieces.
What This Changes
Although the glues we use are relatively strong in bond, abrading the surface of your project can prolong and strengthen that bond. It’s a simple method that anyone can try. A lot of crafting is trial and error. That’s how anything can develop over time.

I definitely need to make my daughter a cute hairbrush!!!!!!
LikeLike