

As I’ve said many times before, strass (rhinestoning, bling) was my first passion when I set foot in the crafting world. When I was a wee little one, probably 5 or 6, my mom was either buying or returning something to Neiman Marcus and I wasn’t tall enough to see over the counter (clearly). It was at that moment when I laid eyes on a Judith Leiber handbag. I had never seen anything like it. The gems and design made a huge impression on my young mind. Ever since then, I’ve been attracted to sparkly, statement accessories. Every handbag created by Judith Leiber had many hours of creativity poured into it. Although I’m not fortunate enough own one, I still appreciate the design, its playful appearance and its trailblazing qualities. Let’s fast forward to 2015, what does theKatnoise decide to do with this life long impression, childhood memory?
Solution | Pink Magic Gel Storage
In one of my previous blog posts, I did a comparison of a few component grabbing tools. One of them is this lovely Magic Pink Gel purchased from KawaiiShootingStars. The one con that weighed heavily, was the fact it didn’t come with a good way to store it. I mean, little plastic bags did do the trick, but how lame. Am I right? So after doing some shopping at HappyKawaiiSupplies, I found a good solution and a fun project!
Strassing like this takes a good amount of time and patience. I did this in one sitting, however, I’ve been doing this for about 10 years. There is no shame in taking breaks to give your hands and eyes a chance to rest. I know after a while, my eyes start to get fatigued and I need to put on my reading glasses. And if i notice myself yawning a lot, I call it quits.
Supplies

- 1.5 mm Rhinestones – These particular rhinestones are made of resin. I know these are small, but it only adds to the brilliance of the finished piece. If I had smaller ones on hand, you better believe I would have opted to use those
- Clear Taffy Candy Box – I purchased this from HappyKawaiiSupplies. I sincerely regret not purchasing more at once.
- Component Applicator – For this project, I used the Crystal Katana by Crystal Ninja. I purchased it from Dreamtime Creations.
- Adhesive of your choice.
- Small Paint Brush (Optional)
- Good Attitude!
The Sweet Stuff
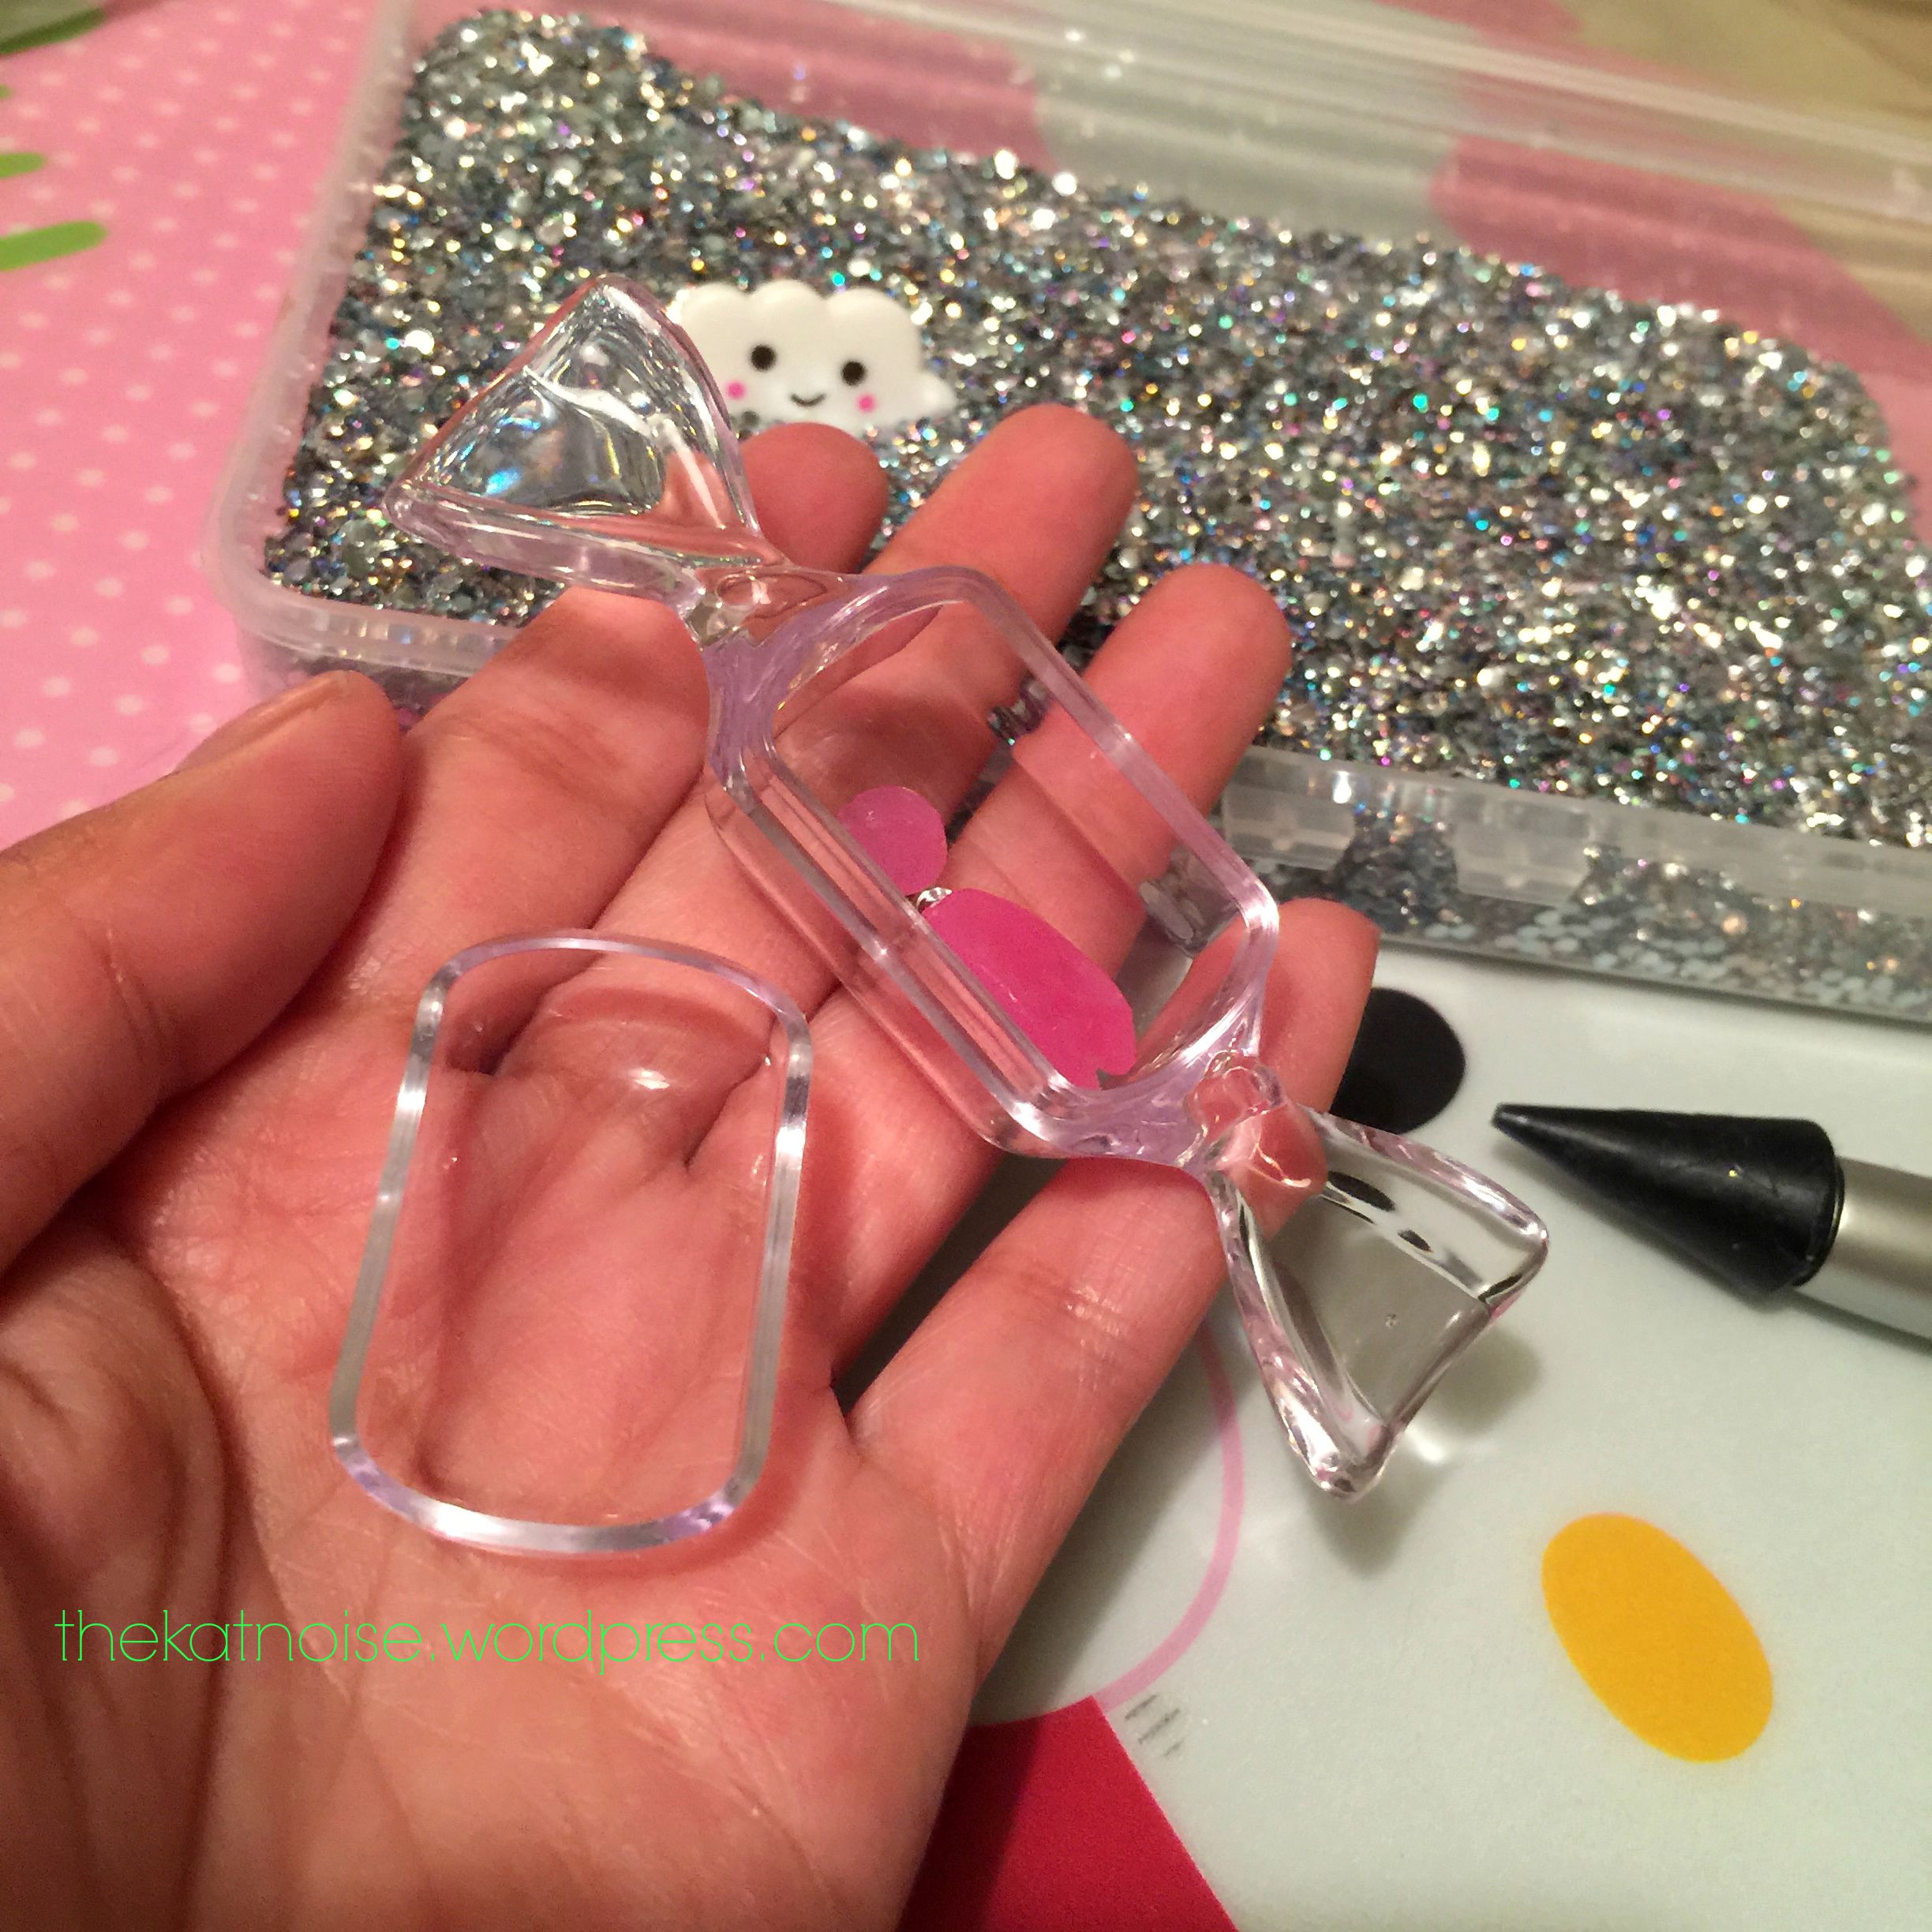
It was so great to see how this became my storage solution for my Magic Pink Gel! Small enough to put the gel inside, and large enough to decorate.
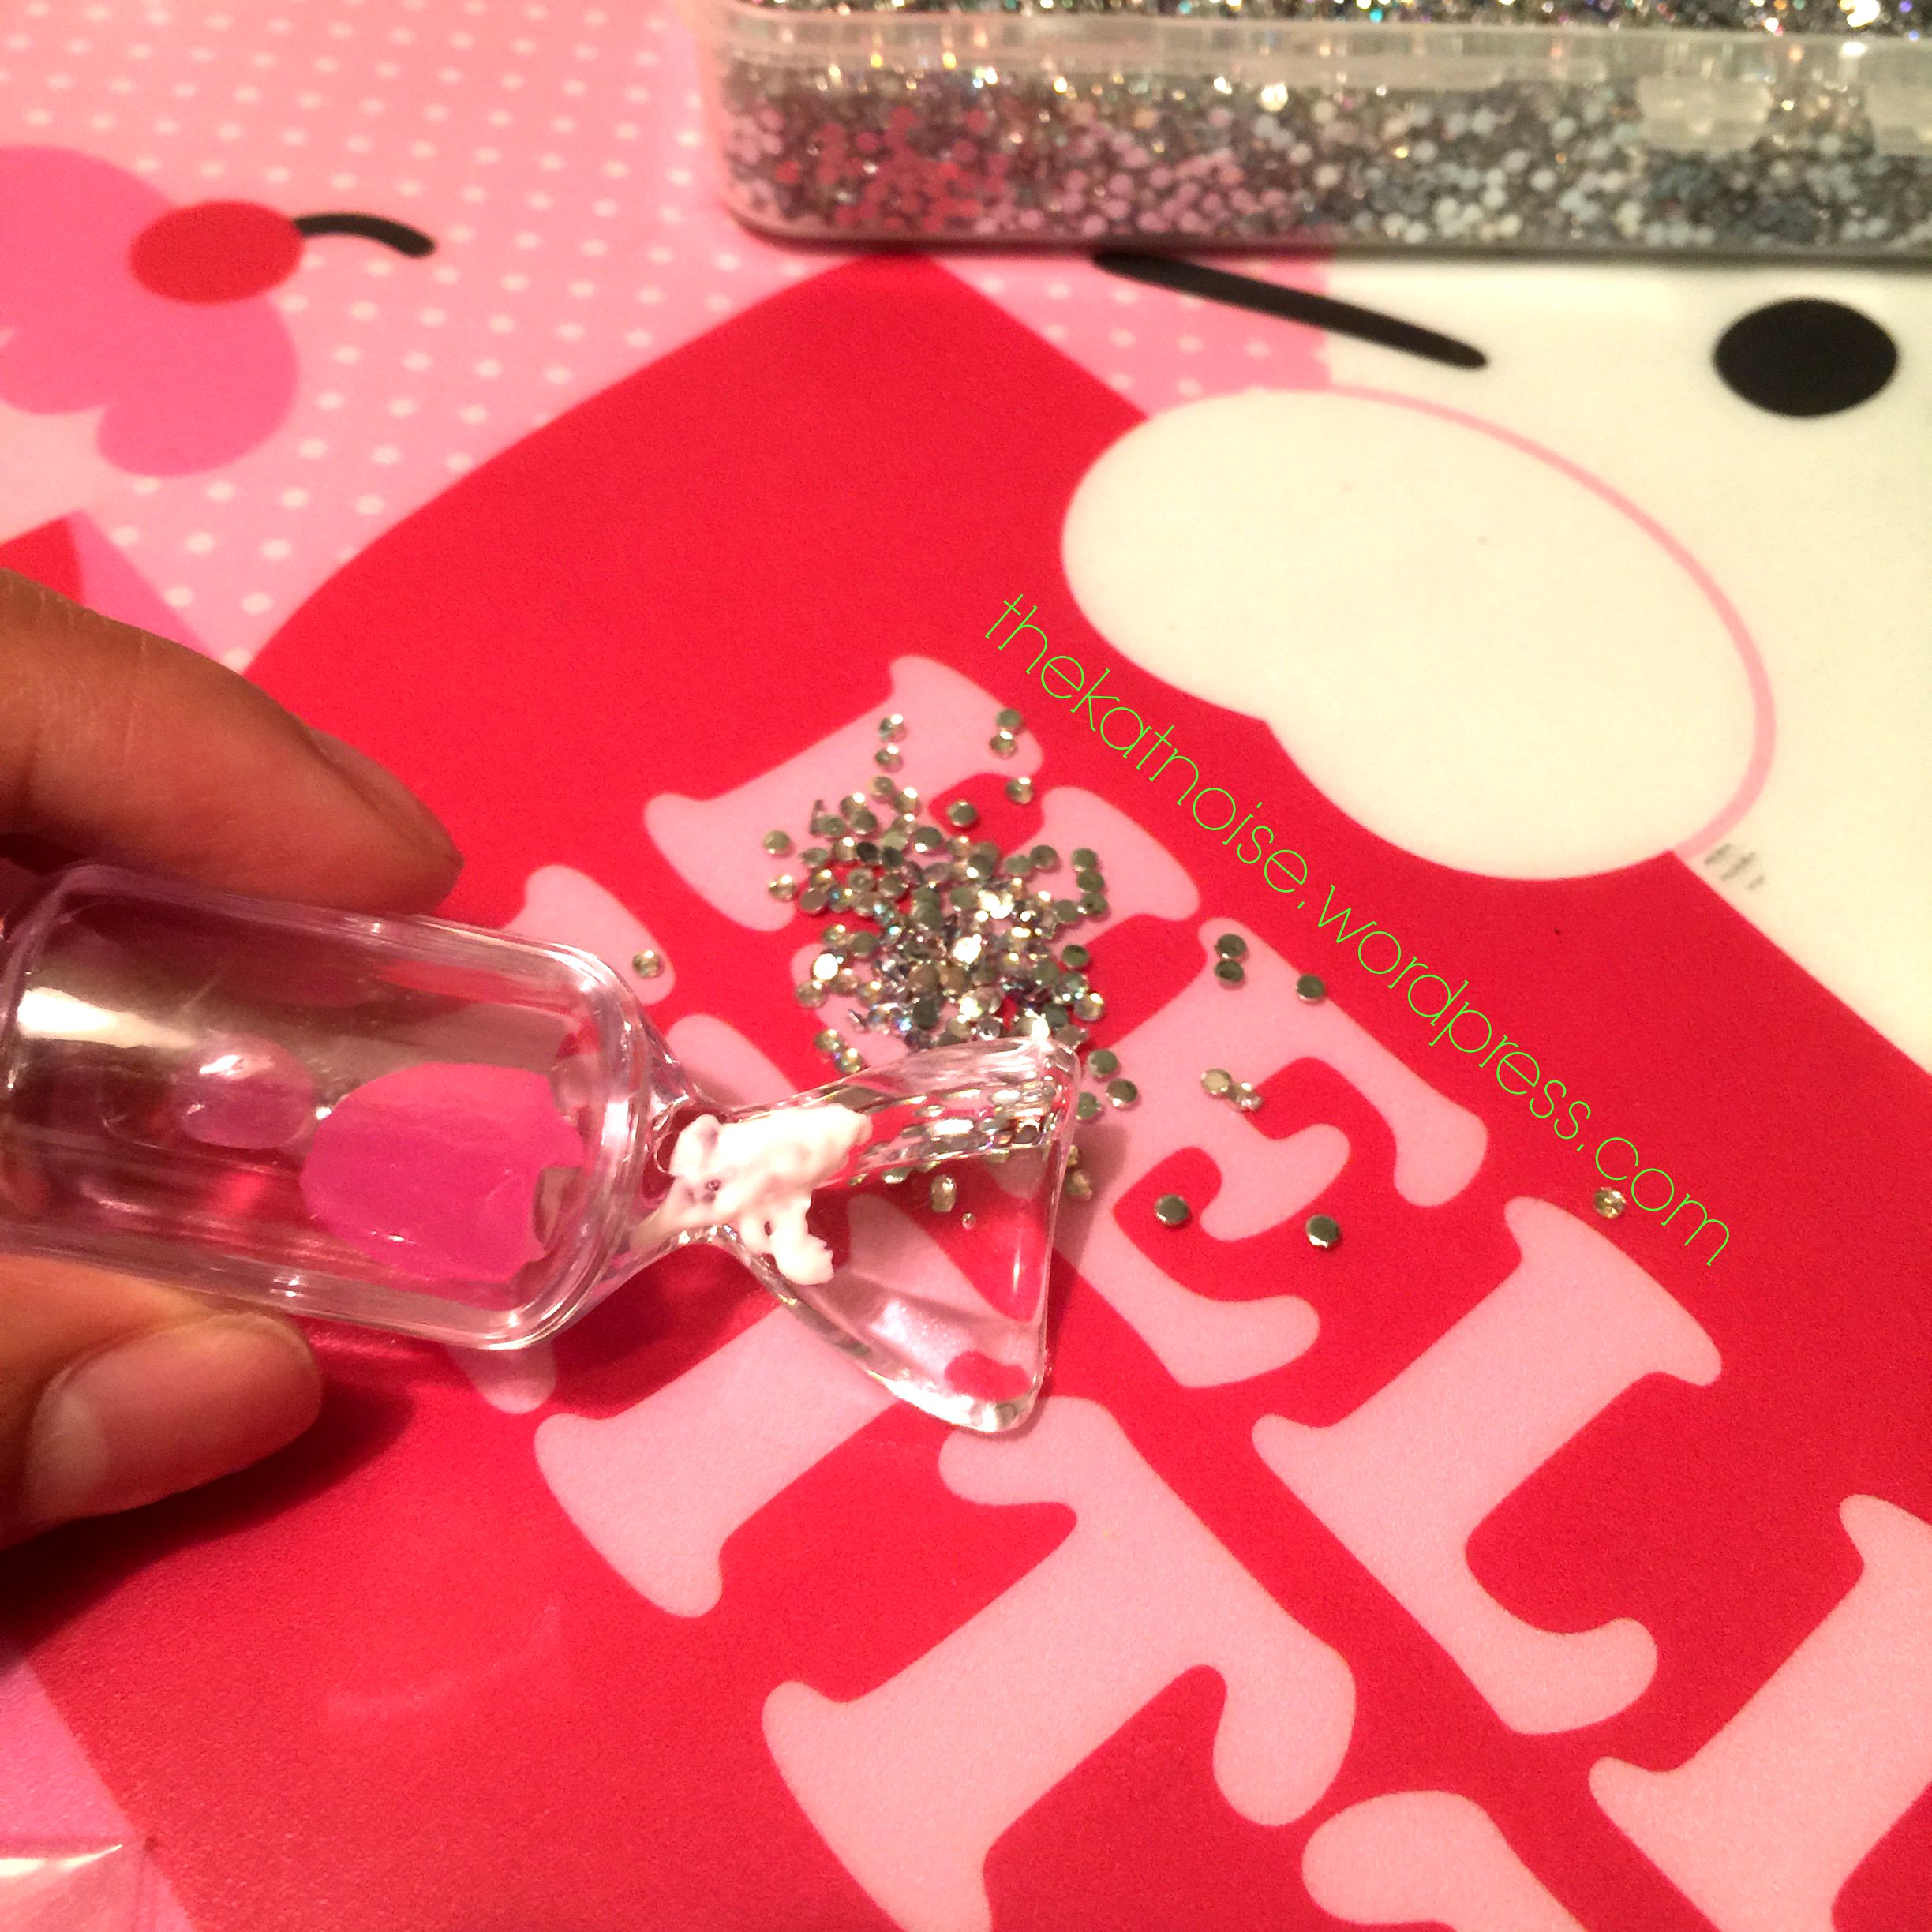
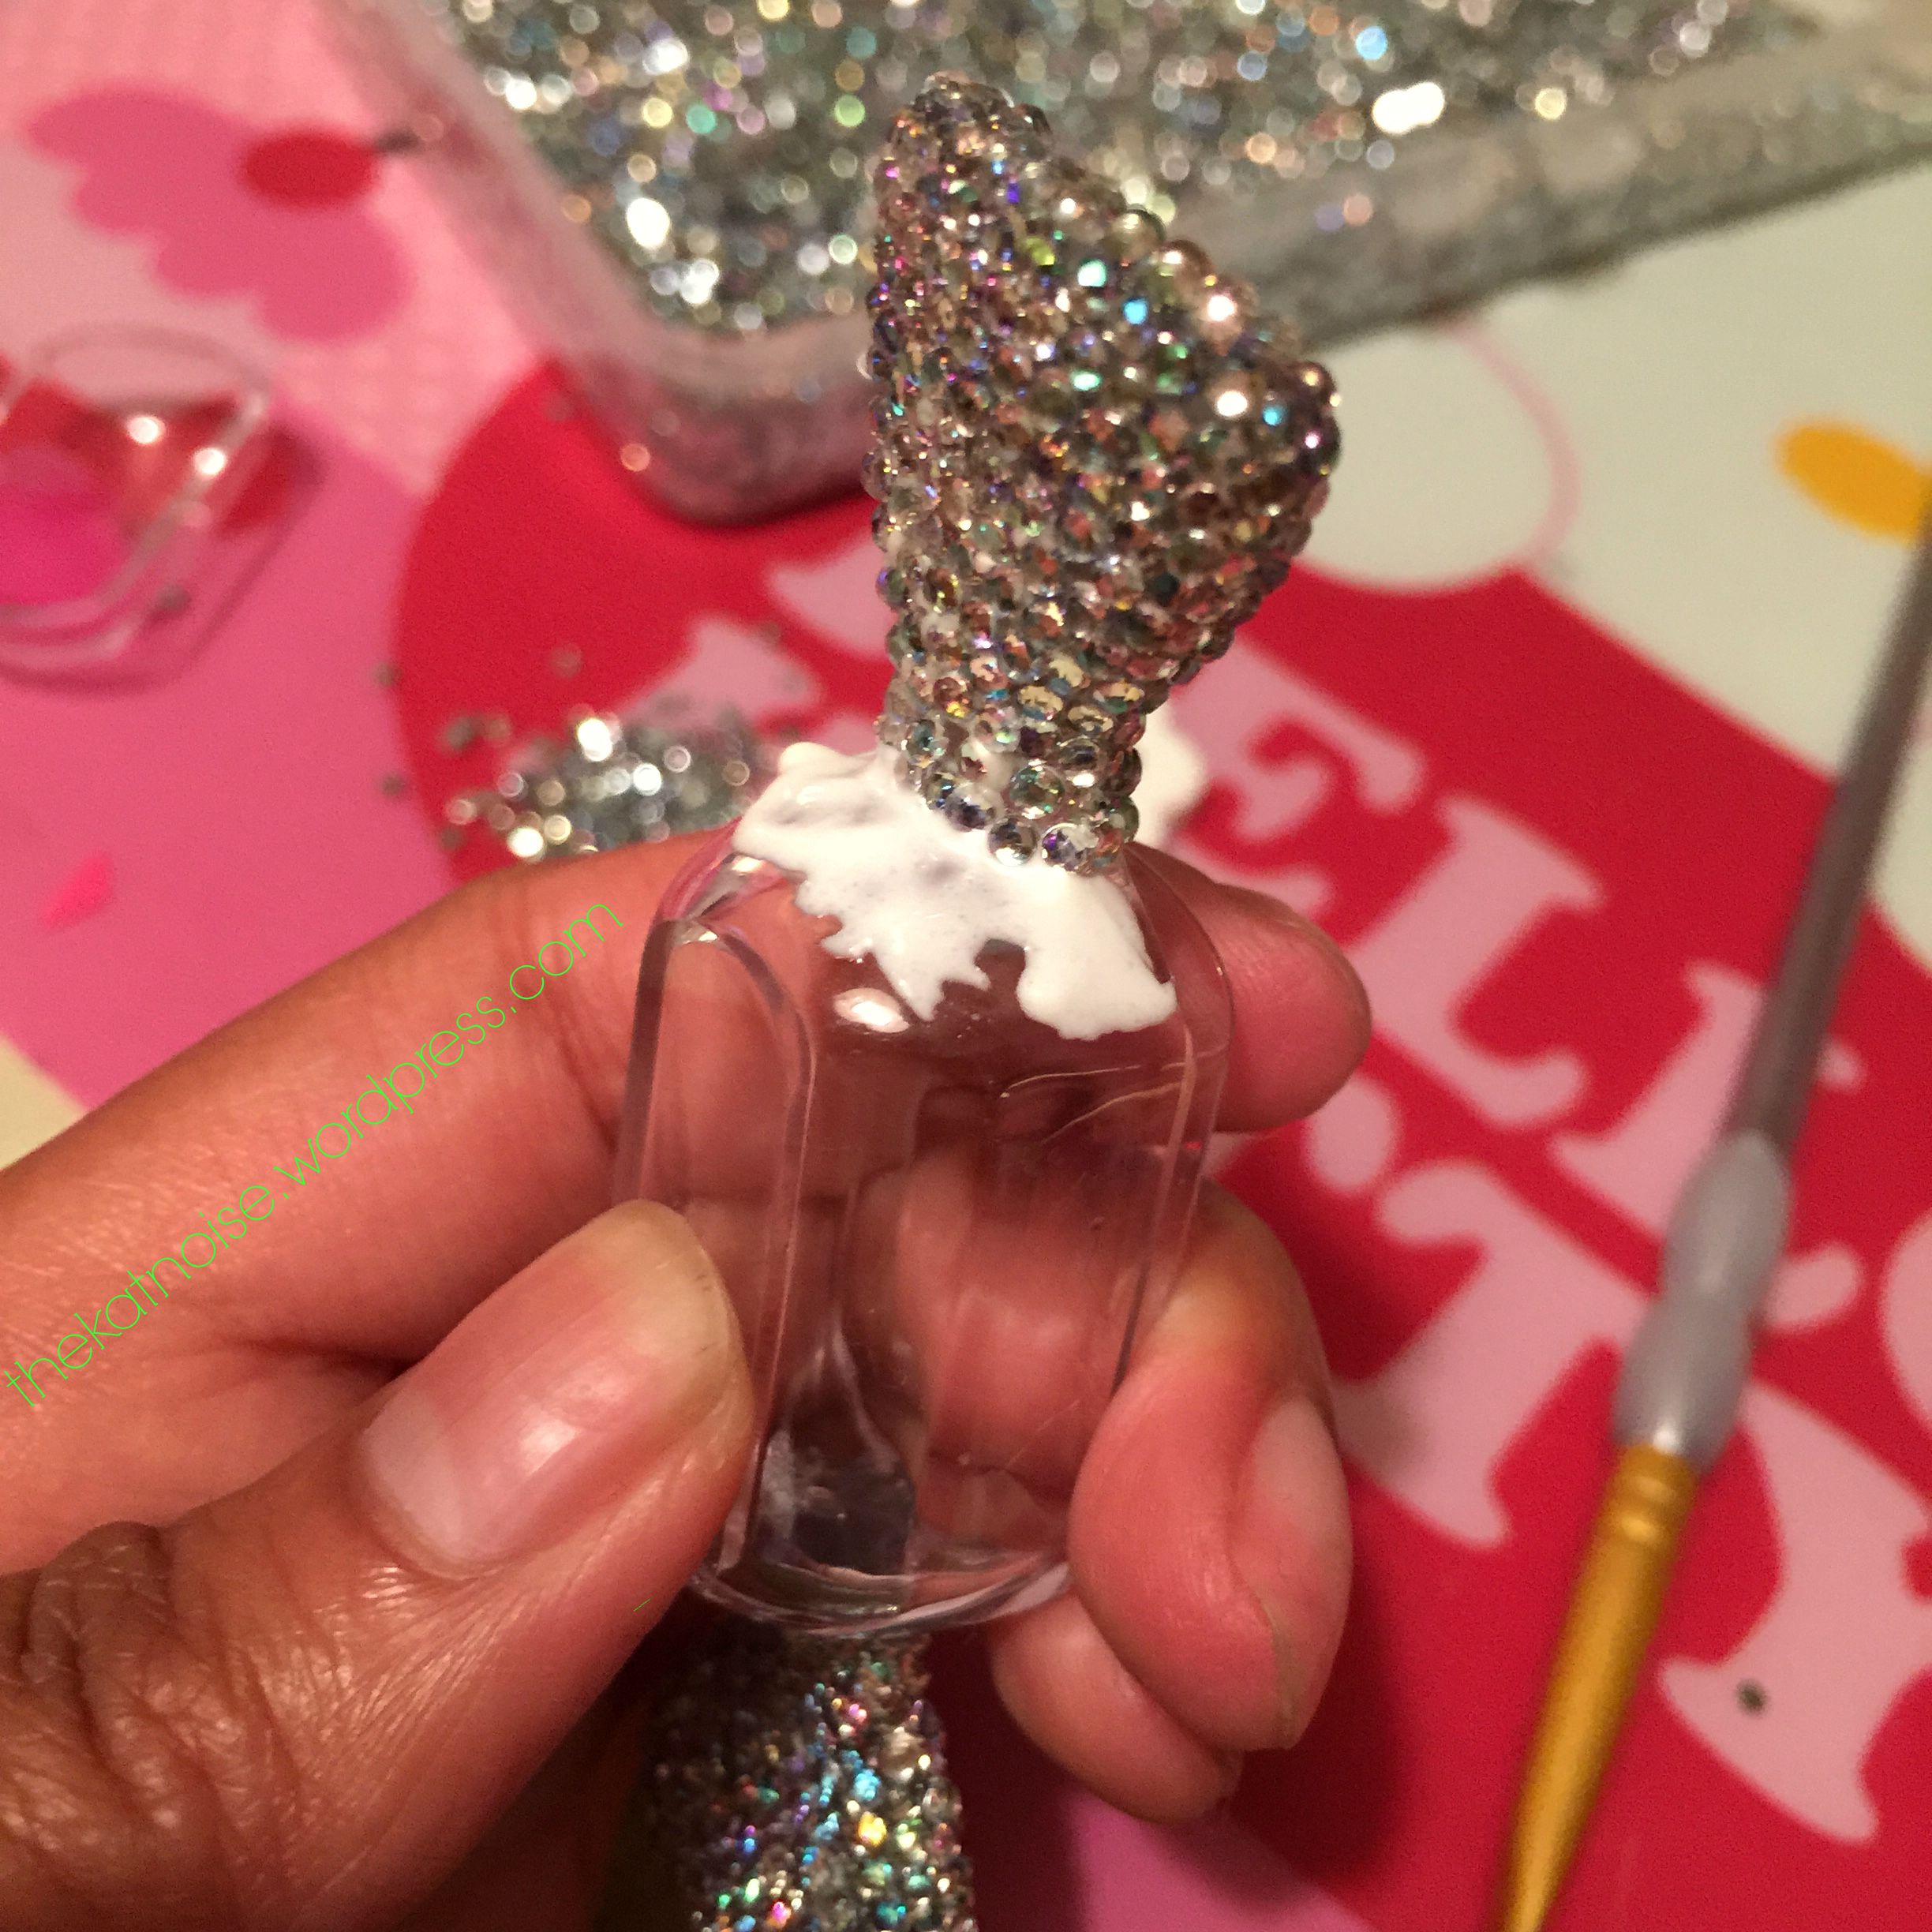
I started with the ends of the box. Essentially, it’s the part of the candy you’d actually grab onto and pull to unwrap it. After I applied the glue, I realized it would be a good idea to use a small paint brush to help spread the adhesive evenly. Use a little at a time. If the glue dries, you can always add more on top of it, however, this can create an uneven surface causing the design to lose its shape.
Think of the wrapper ends as for surfaces, top and bottom x2. It’s easy to think the gems will be self-correcting as long as you just make them fit. But, it’s much easier to define an outline and either work across, which is what I did on, or work inward. I chose to move across because the distance is shorter meaning less room for my own error i.e. gluing down the rhinestones in an uneven line. As you move across the surface, you’ll notice dips and bumps. Just continue in a straight line. Once the surface is finished, you’ll see how it all works out.
As you can see, I worked in straight lines across, somewhat staggering the gems. I applied the glue every few rows as to not get too far ahead of myself.

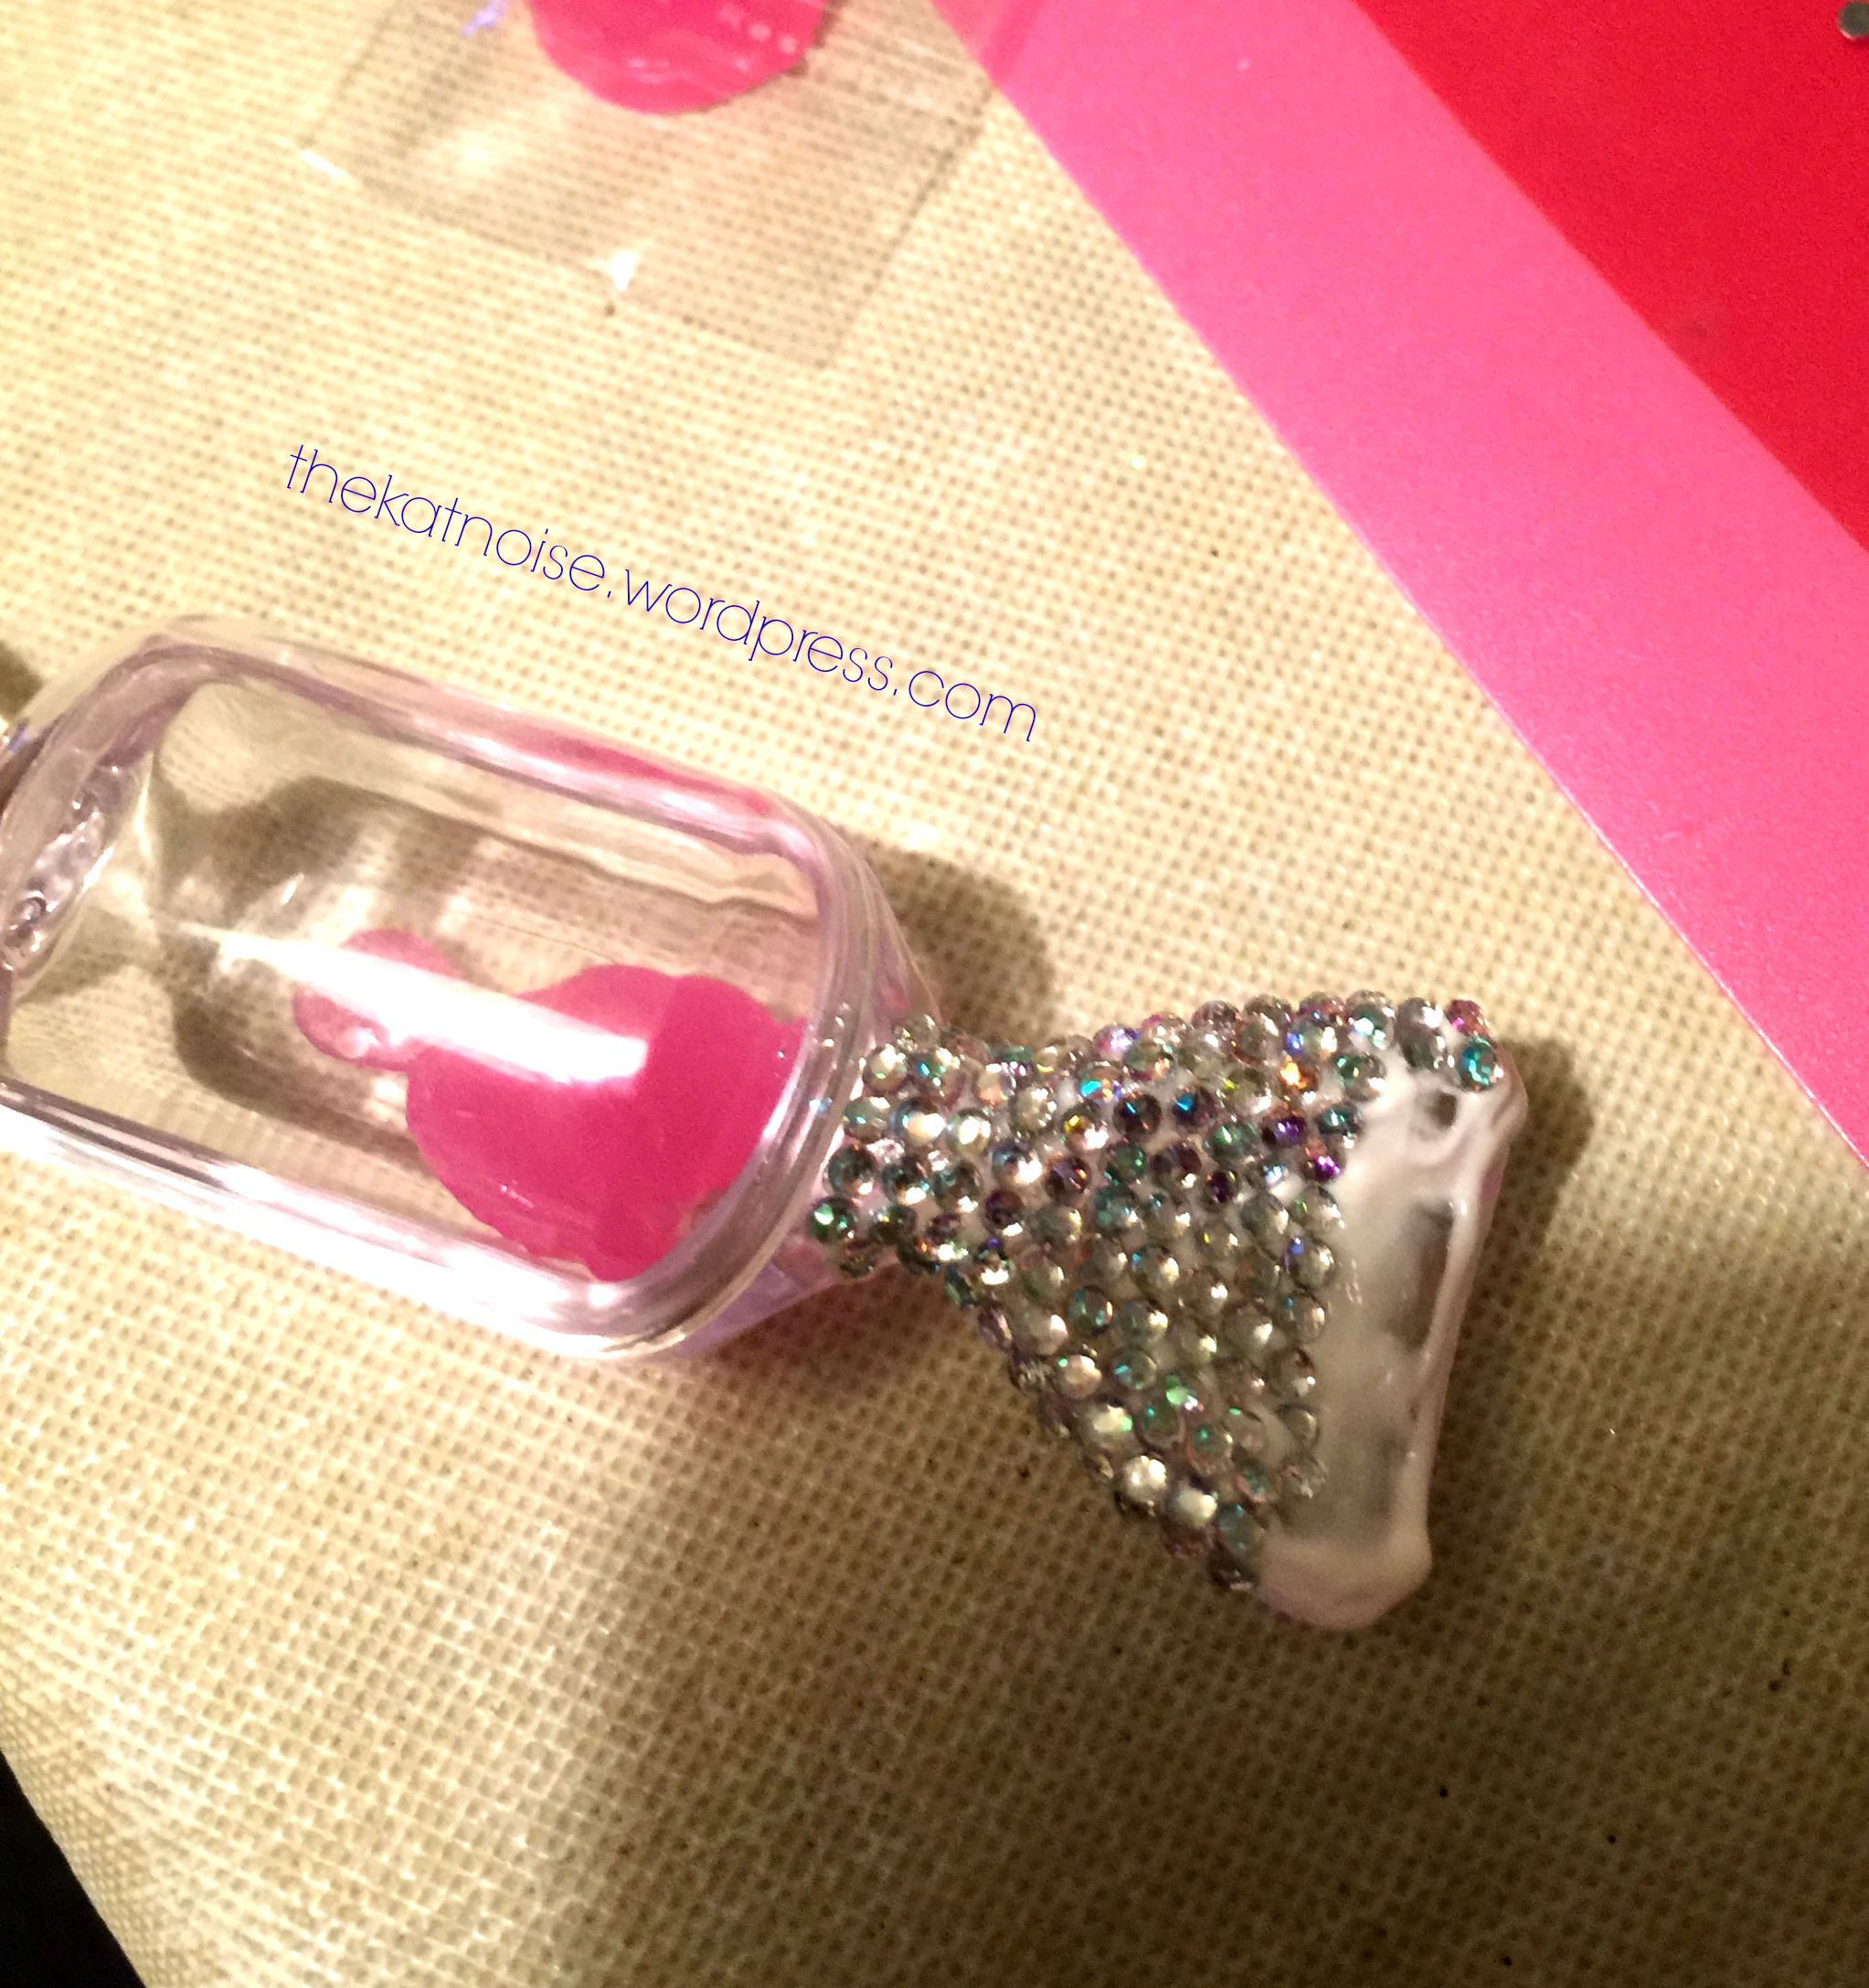
This is a finished surface. I was very excited to see the rhinestones reflecting the shape of the taffy box. Not only was this the more difficult area to strass, it was the most rewarding to look at once finished.
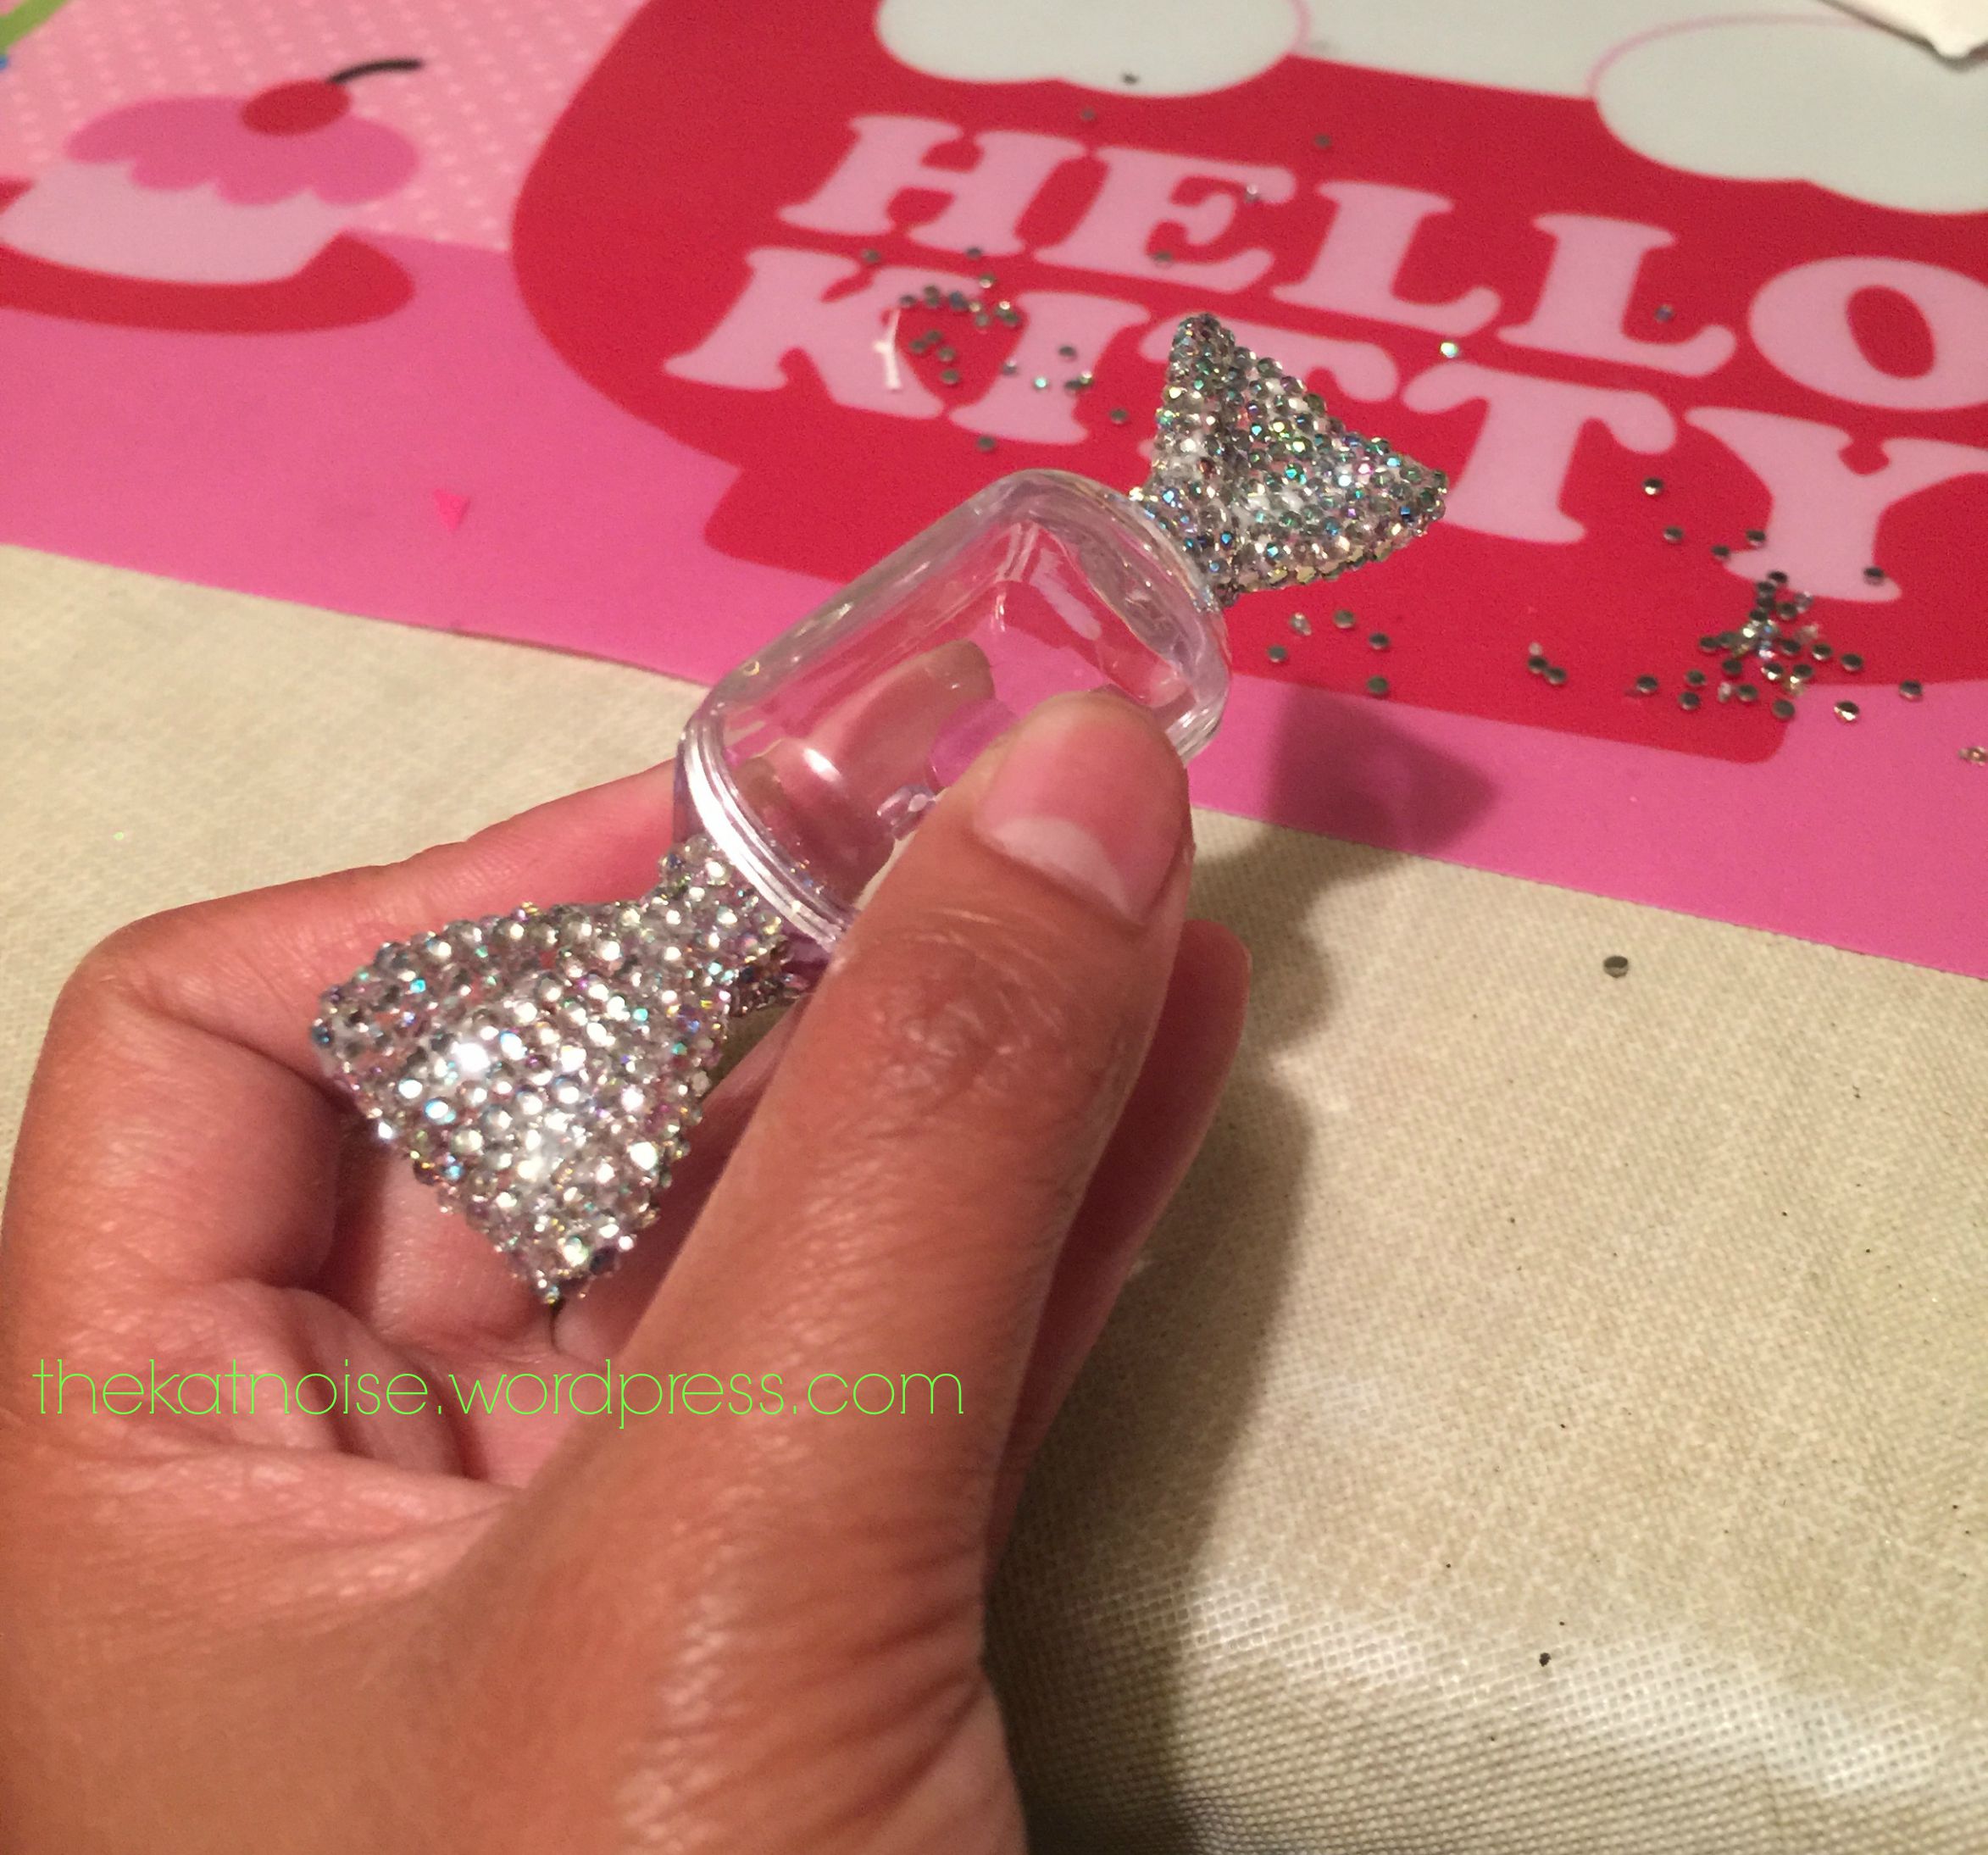
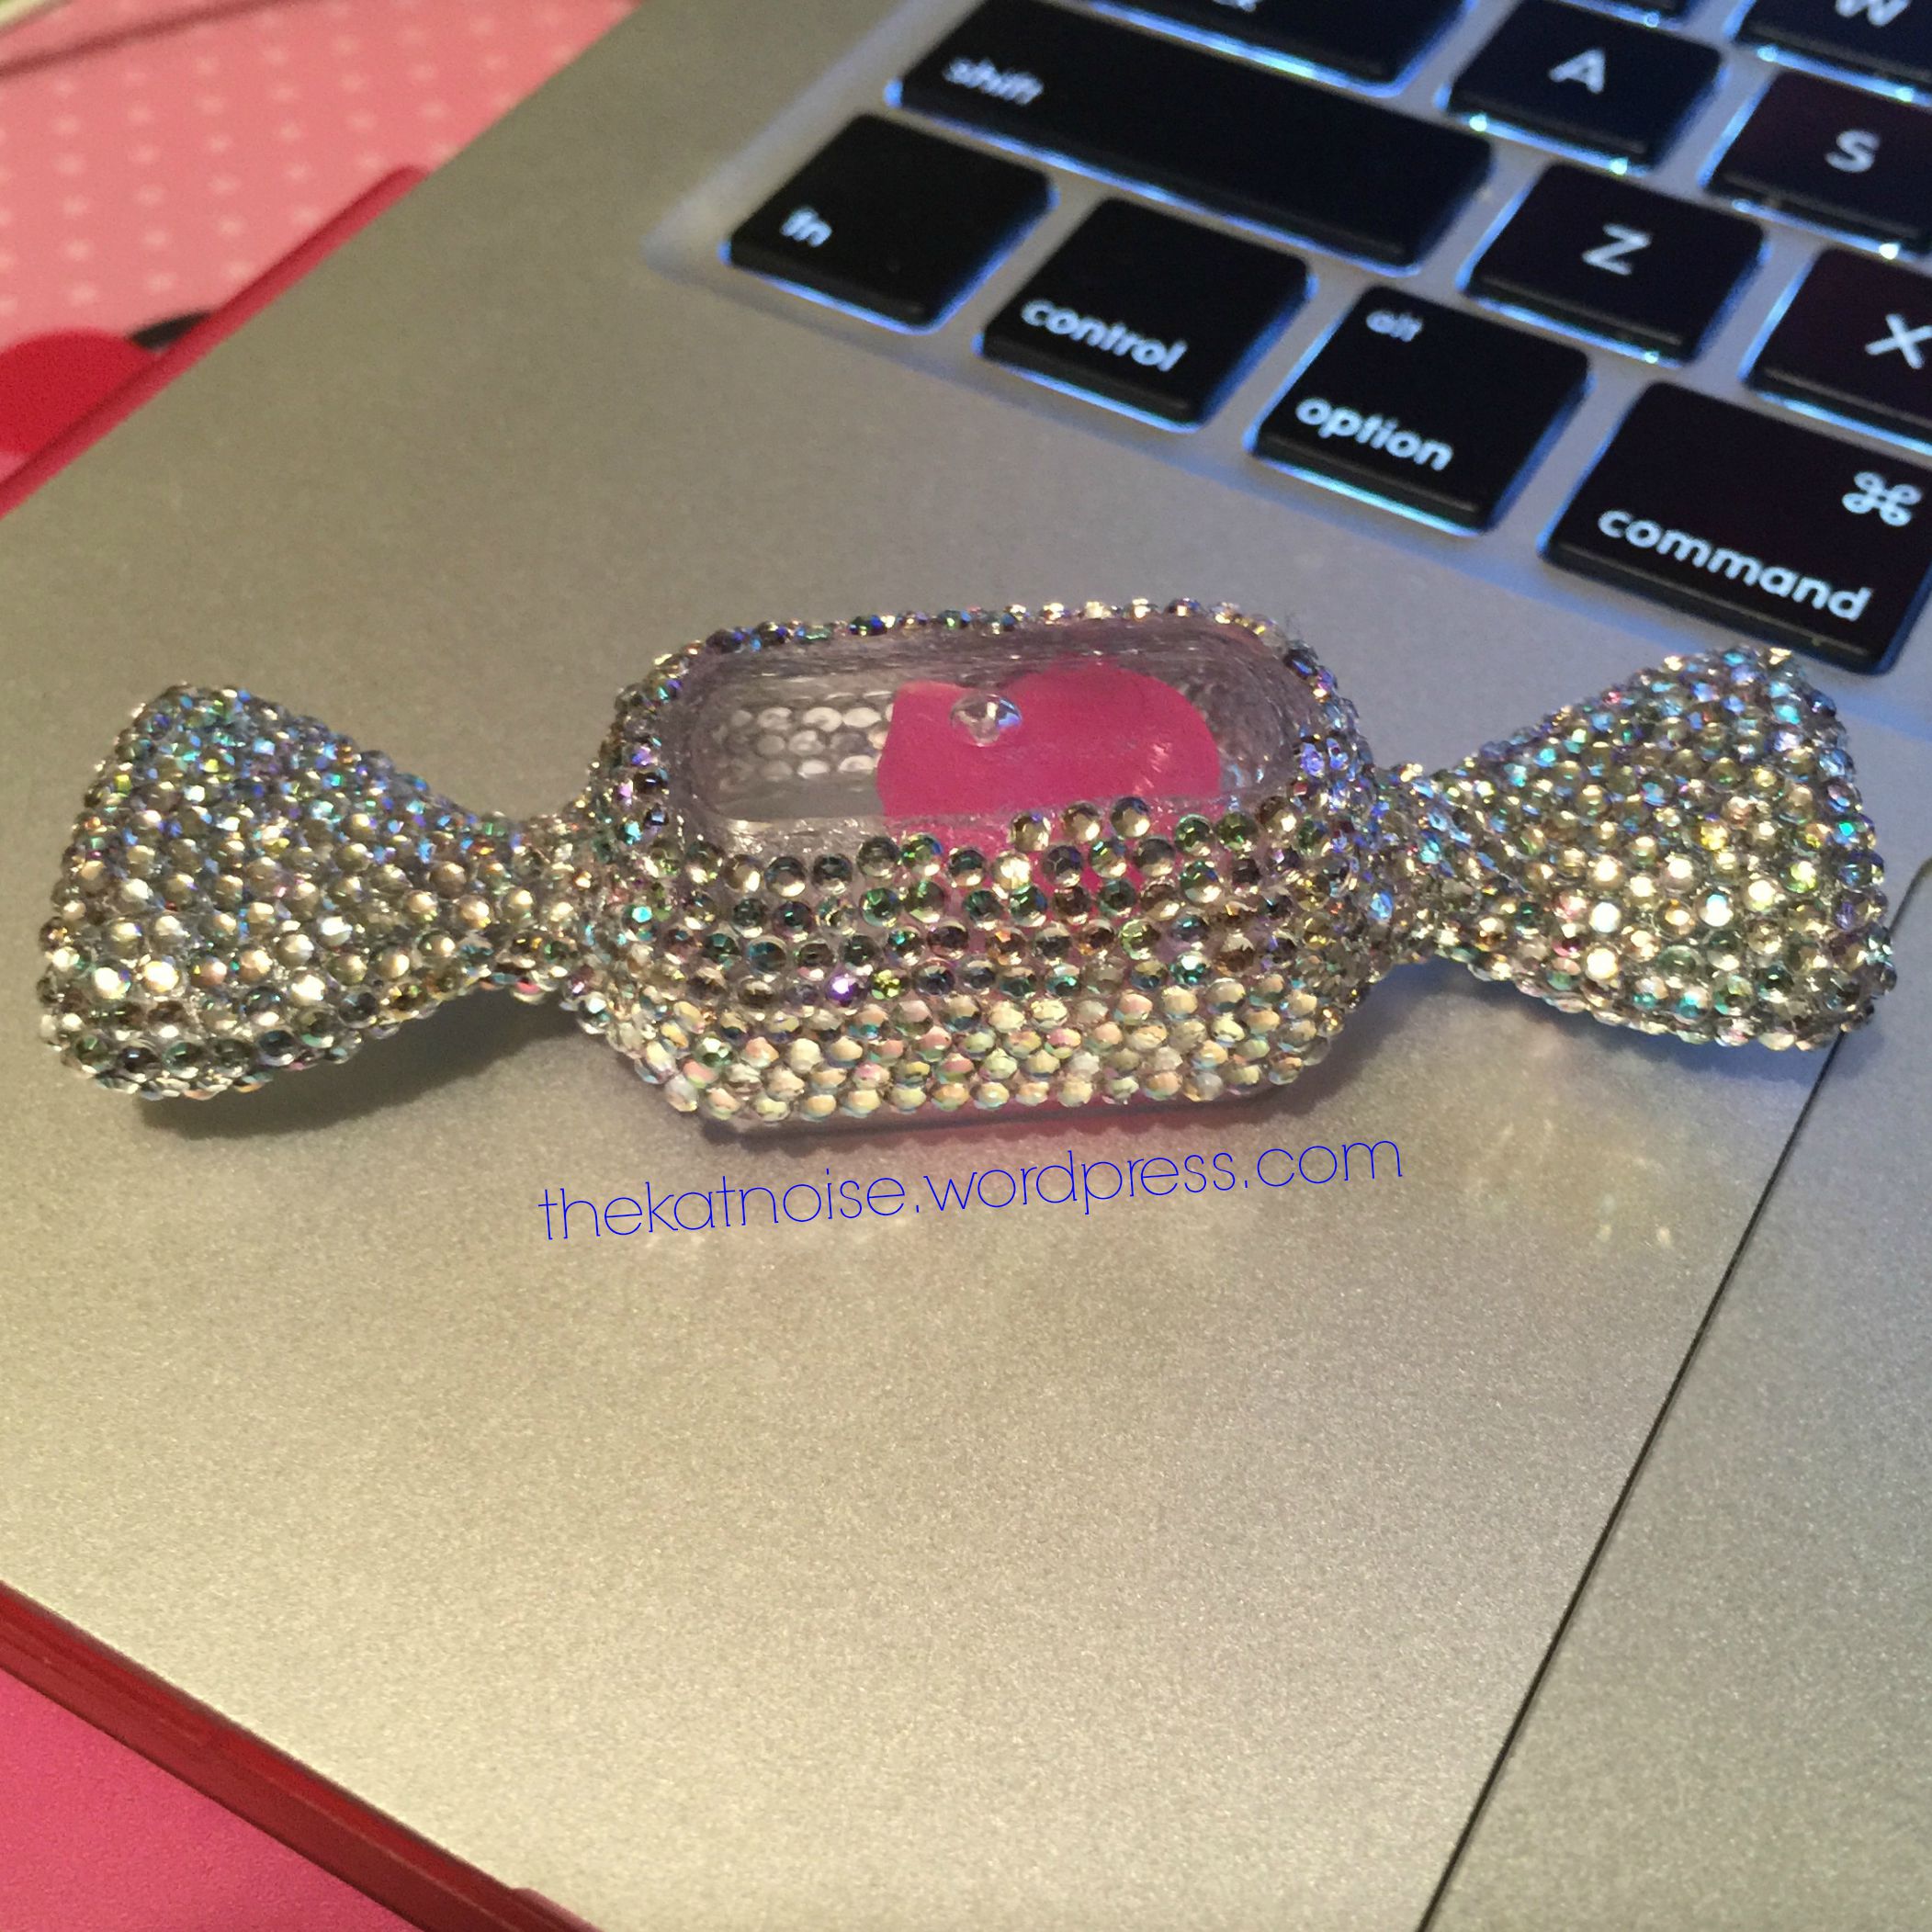
And here is a picture showing all four surfaces completed. I left the lid on as I applied the rhinestones so it wasn’t awkward to hold. Keeping that in mind, make sure you don’t glue the darned thing shut. I am speaking from experience. There have been many times where I accidentally glued boxes shut. haha Pobody’s Nerfect!
The next area I chose to strass was the sides of the bottom part of the Taffy Box. While being aware of the lid borders, I worked from the base of twisty part of the wrapper and worked across in straight lines. I did the right side and then the left. Keep in mind, your adhesive has to dry a bit. If not, just be super careful while handling gemmed areas.
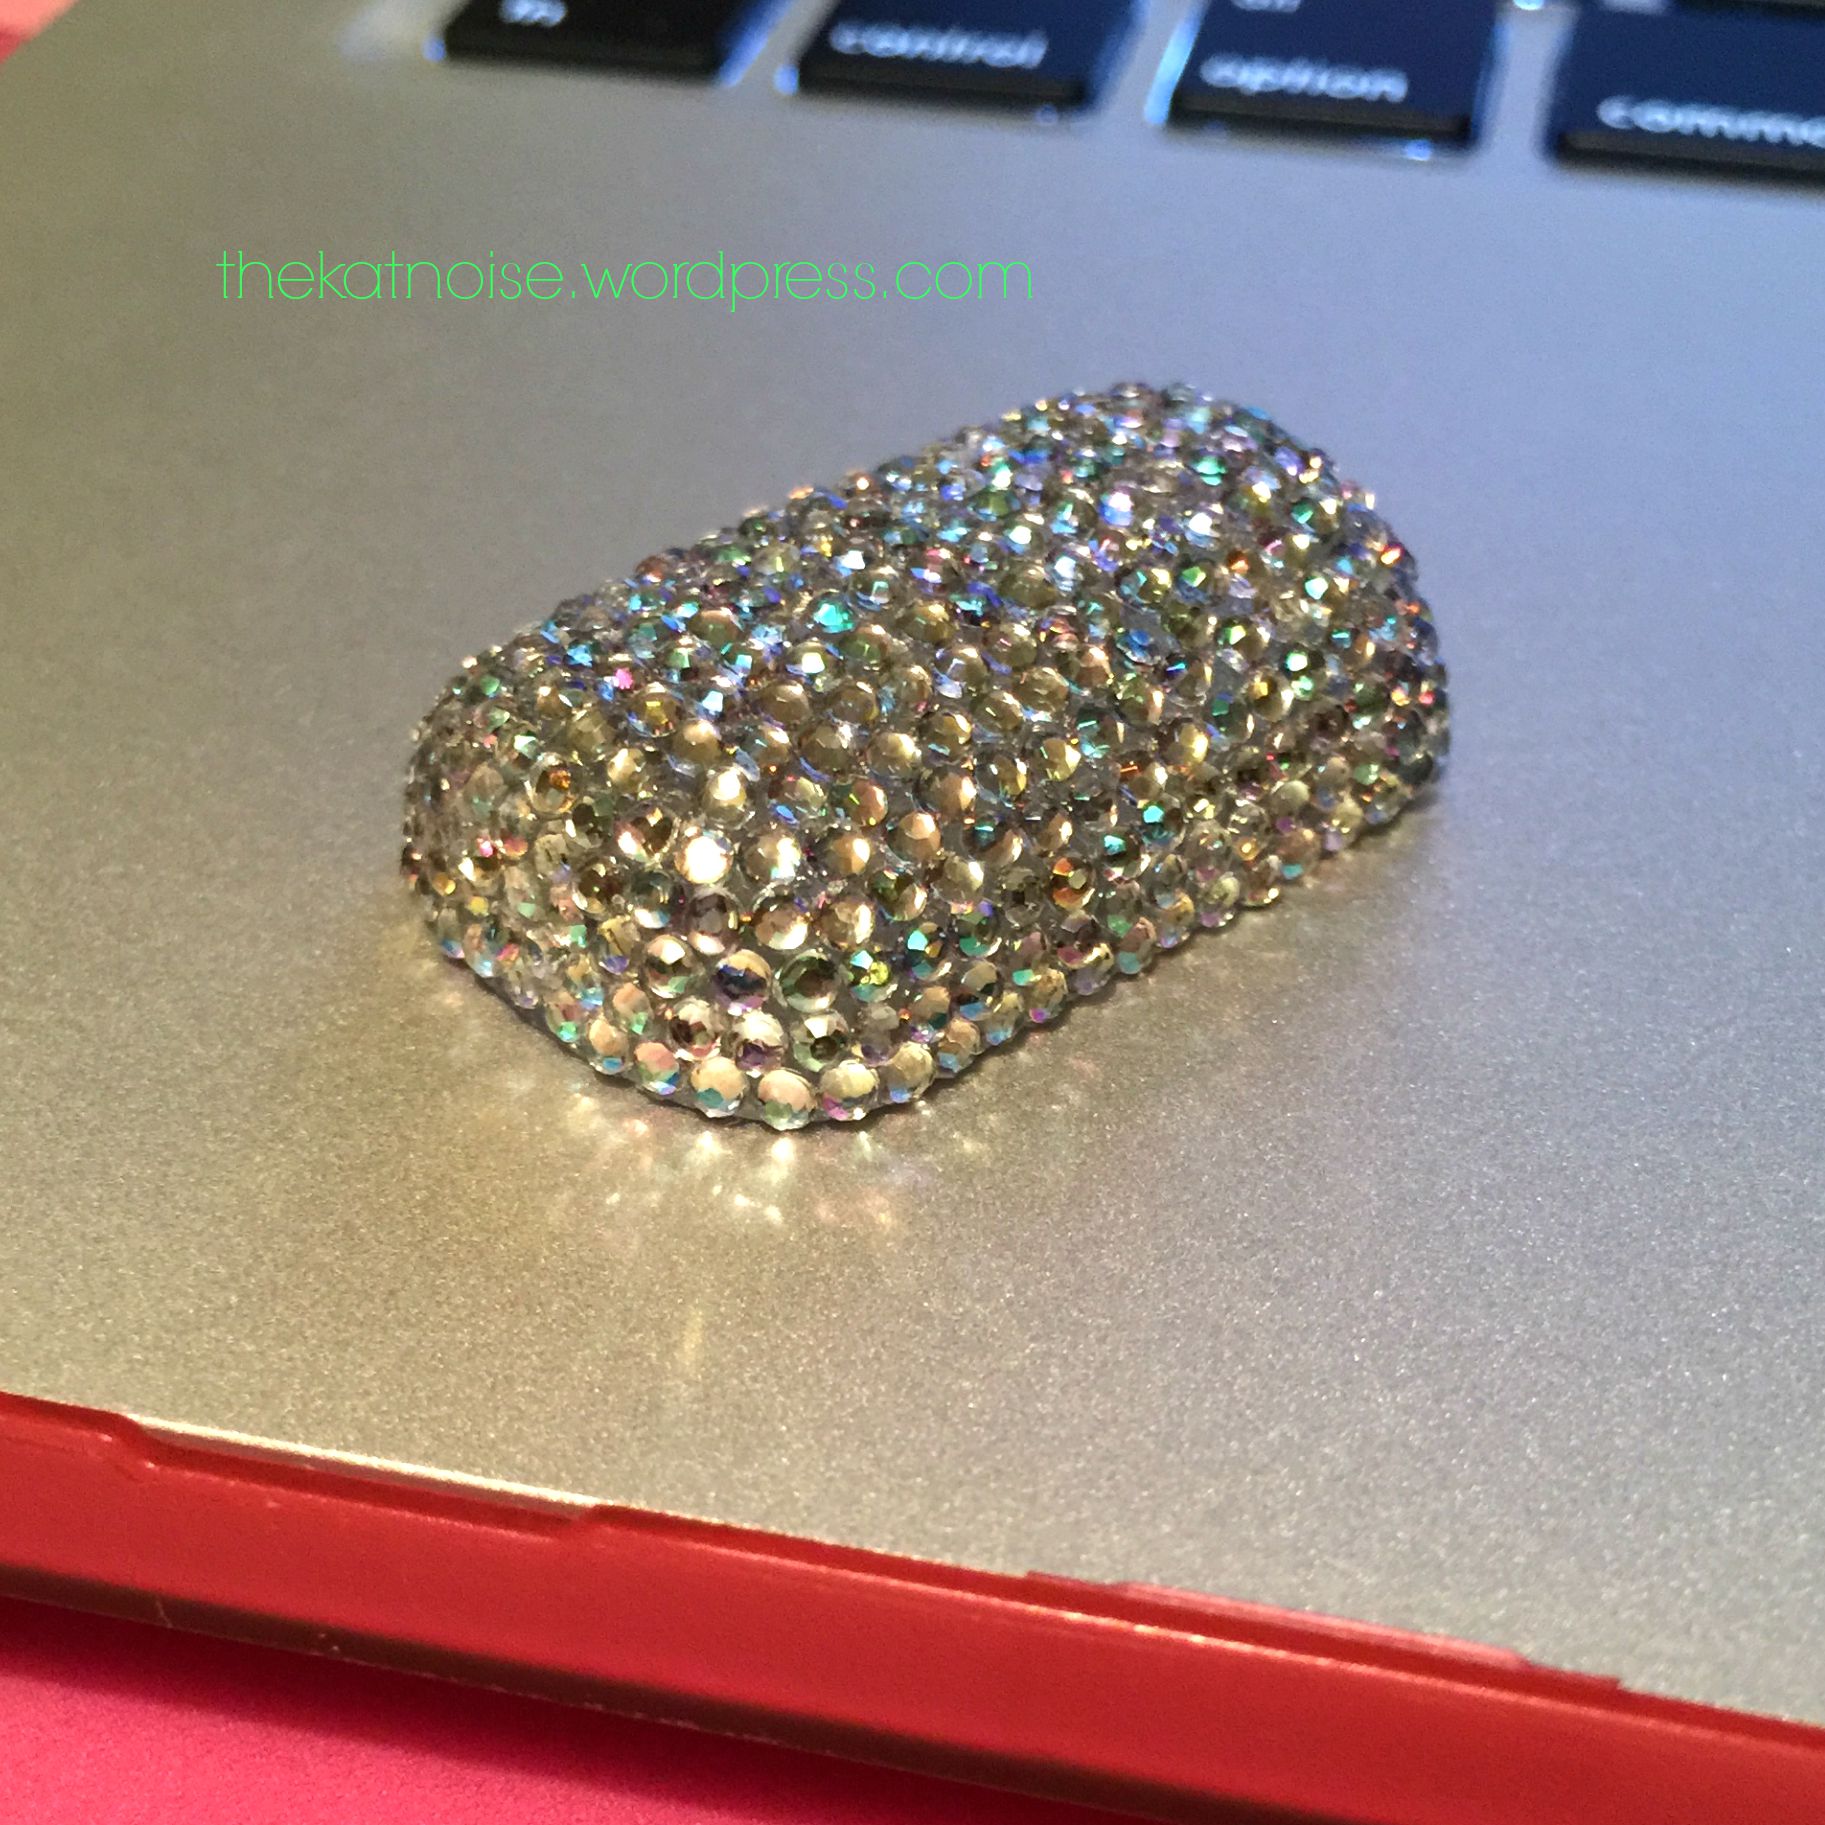
I didn’t mean to, but I totally forgot to take more progress pictures. This is the bottom of the box. After finishing the sides of the box, I rhinestoned the front and back lengths of the box. I chose to leave the bottom un-stoned so I could see the contents.
I approached the lid the box the same way. I started with the sides and then did the middle while minding the lid closure area. This was probably the most tricky piece to hold. I would recommend thin layers of adhesive to allow the rhinestones to set faster, allowing you to hold the lid with ease. If you find the gems shifting while you’re handling the lid. Take a break, have a diet coke, check your email and then come back to the grind.
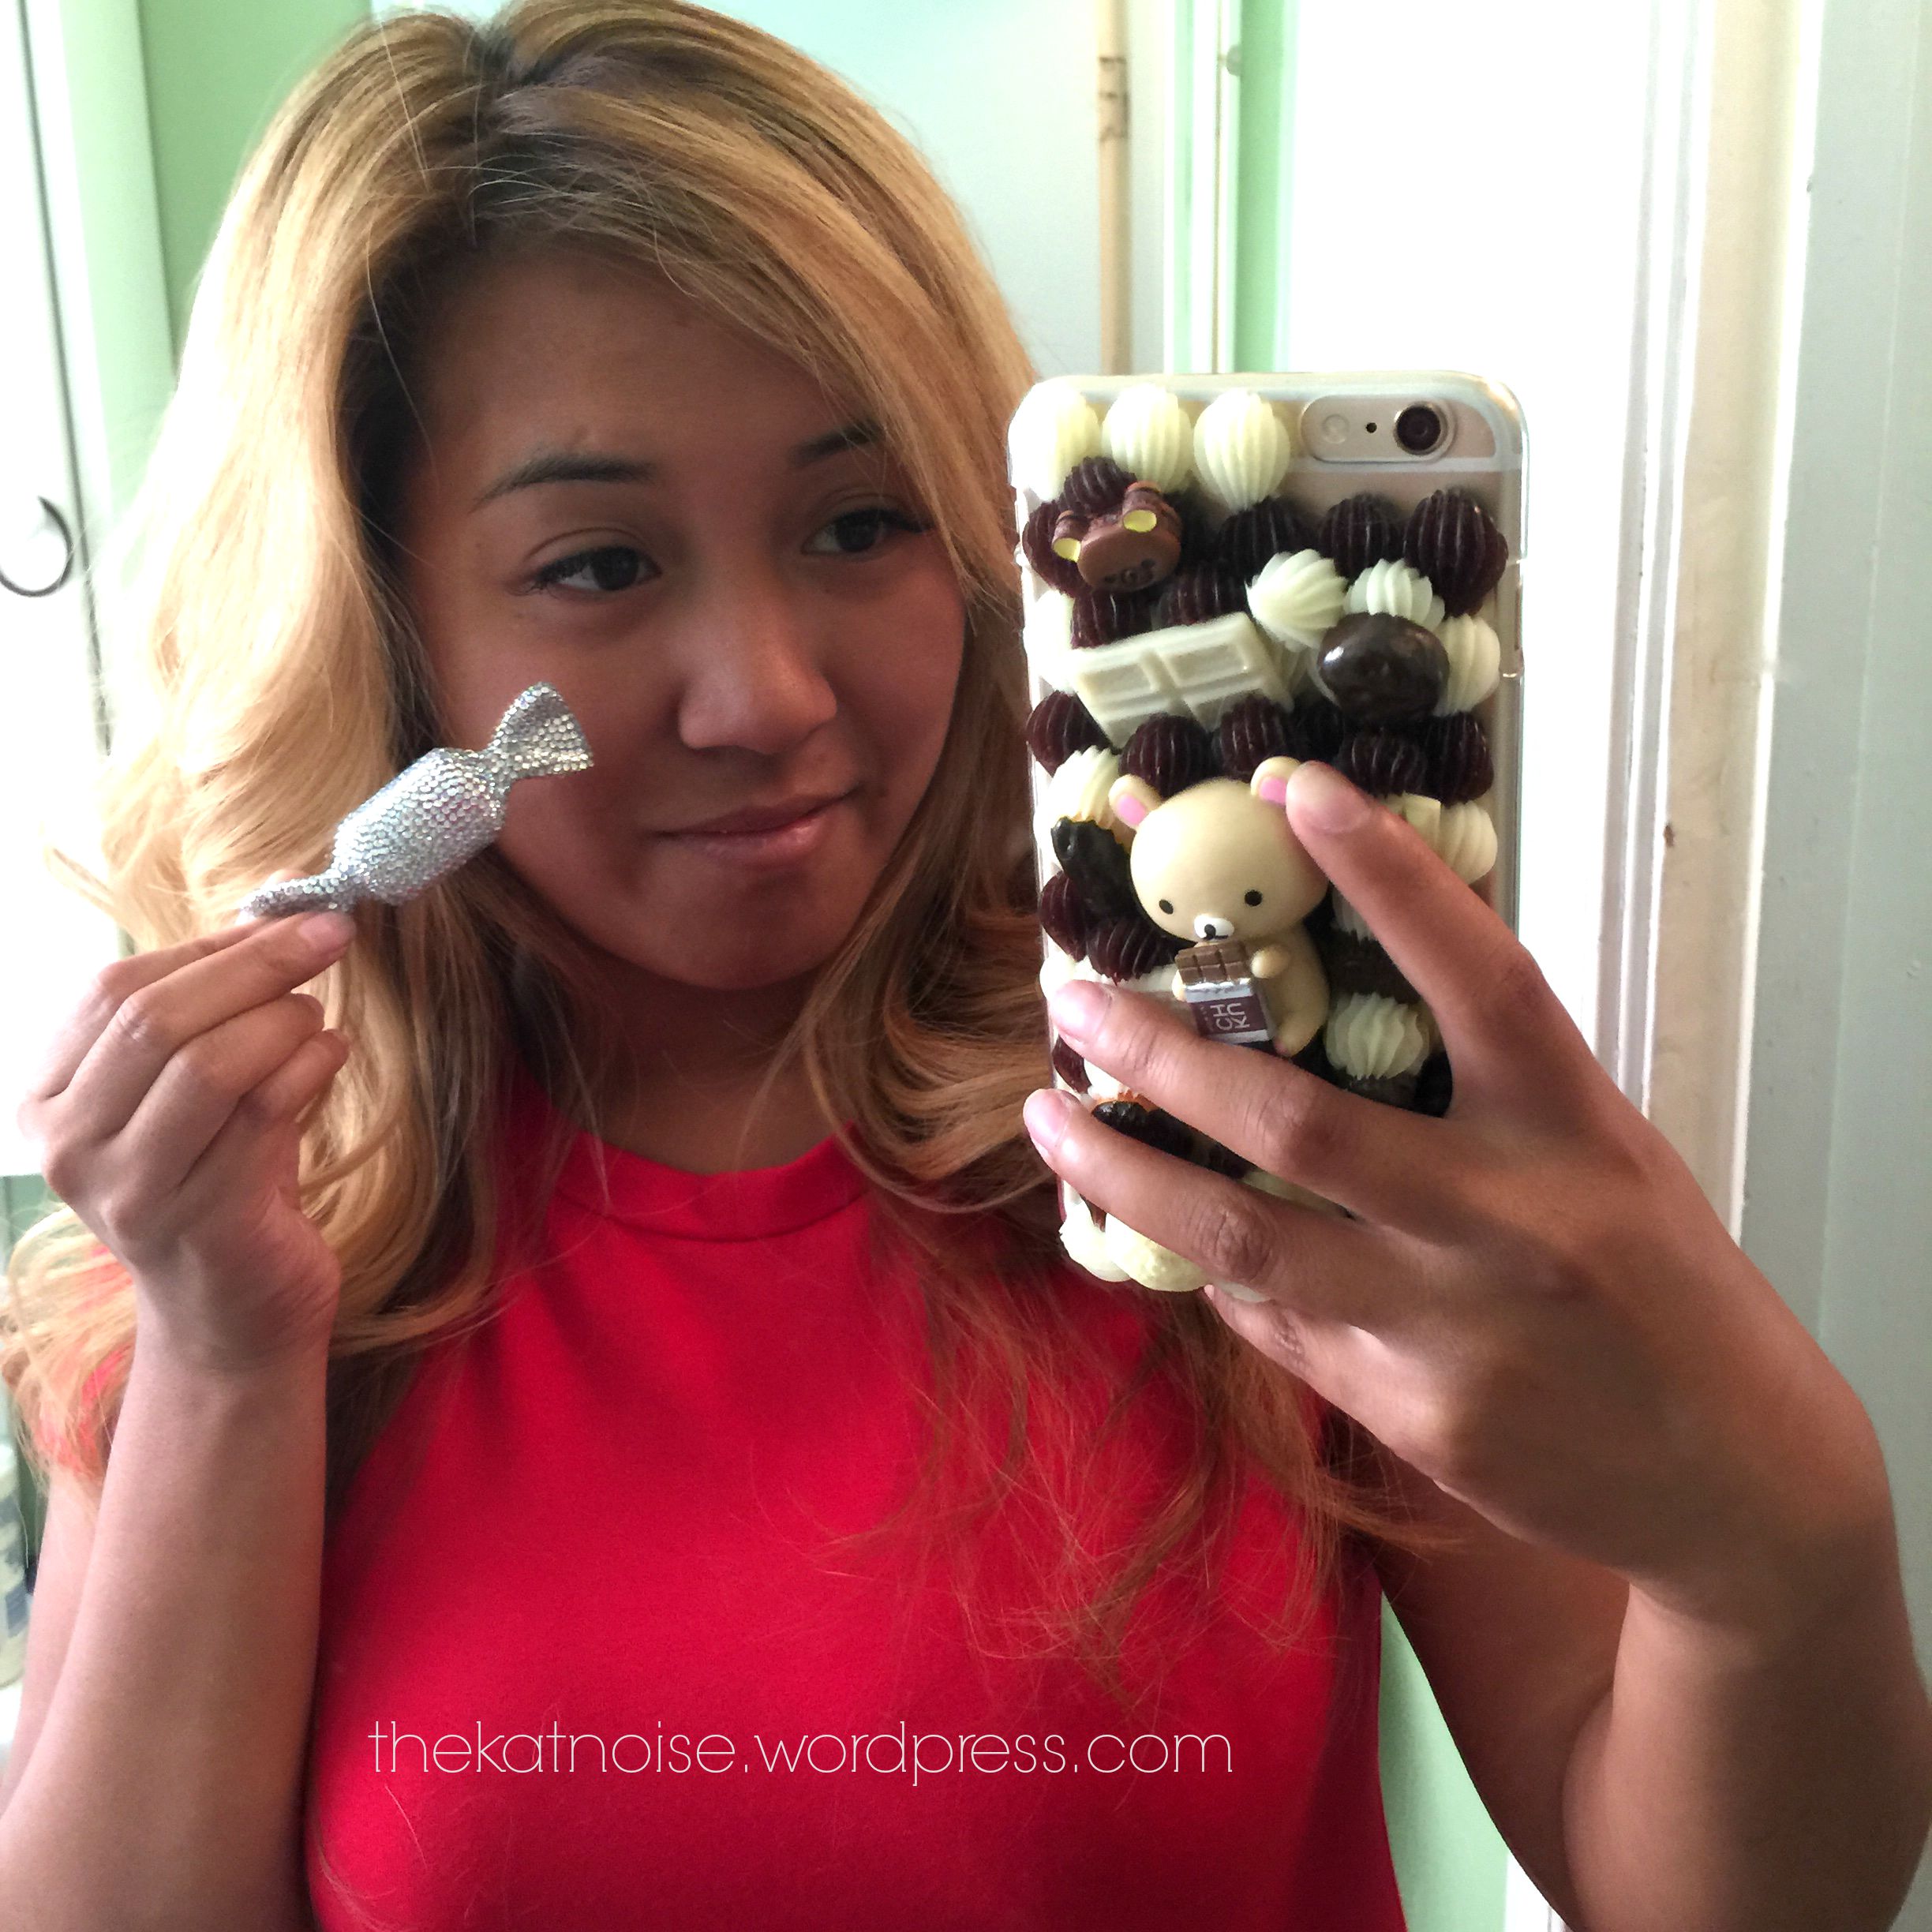
Yum! A designeresque Taffy box! I chose to use it for my Magic Pink Gel, you can use it for whatever your heart desires! I am hoping to do a few more in different colors. My janky photos don’t do it justice. If you like this, check out my instagram @thekatnoise. I’m always up to something! I hope yours turns out just as glamorous!
