
PART 2
CHANGING UP THE GEARS
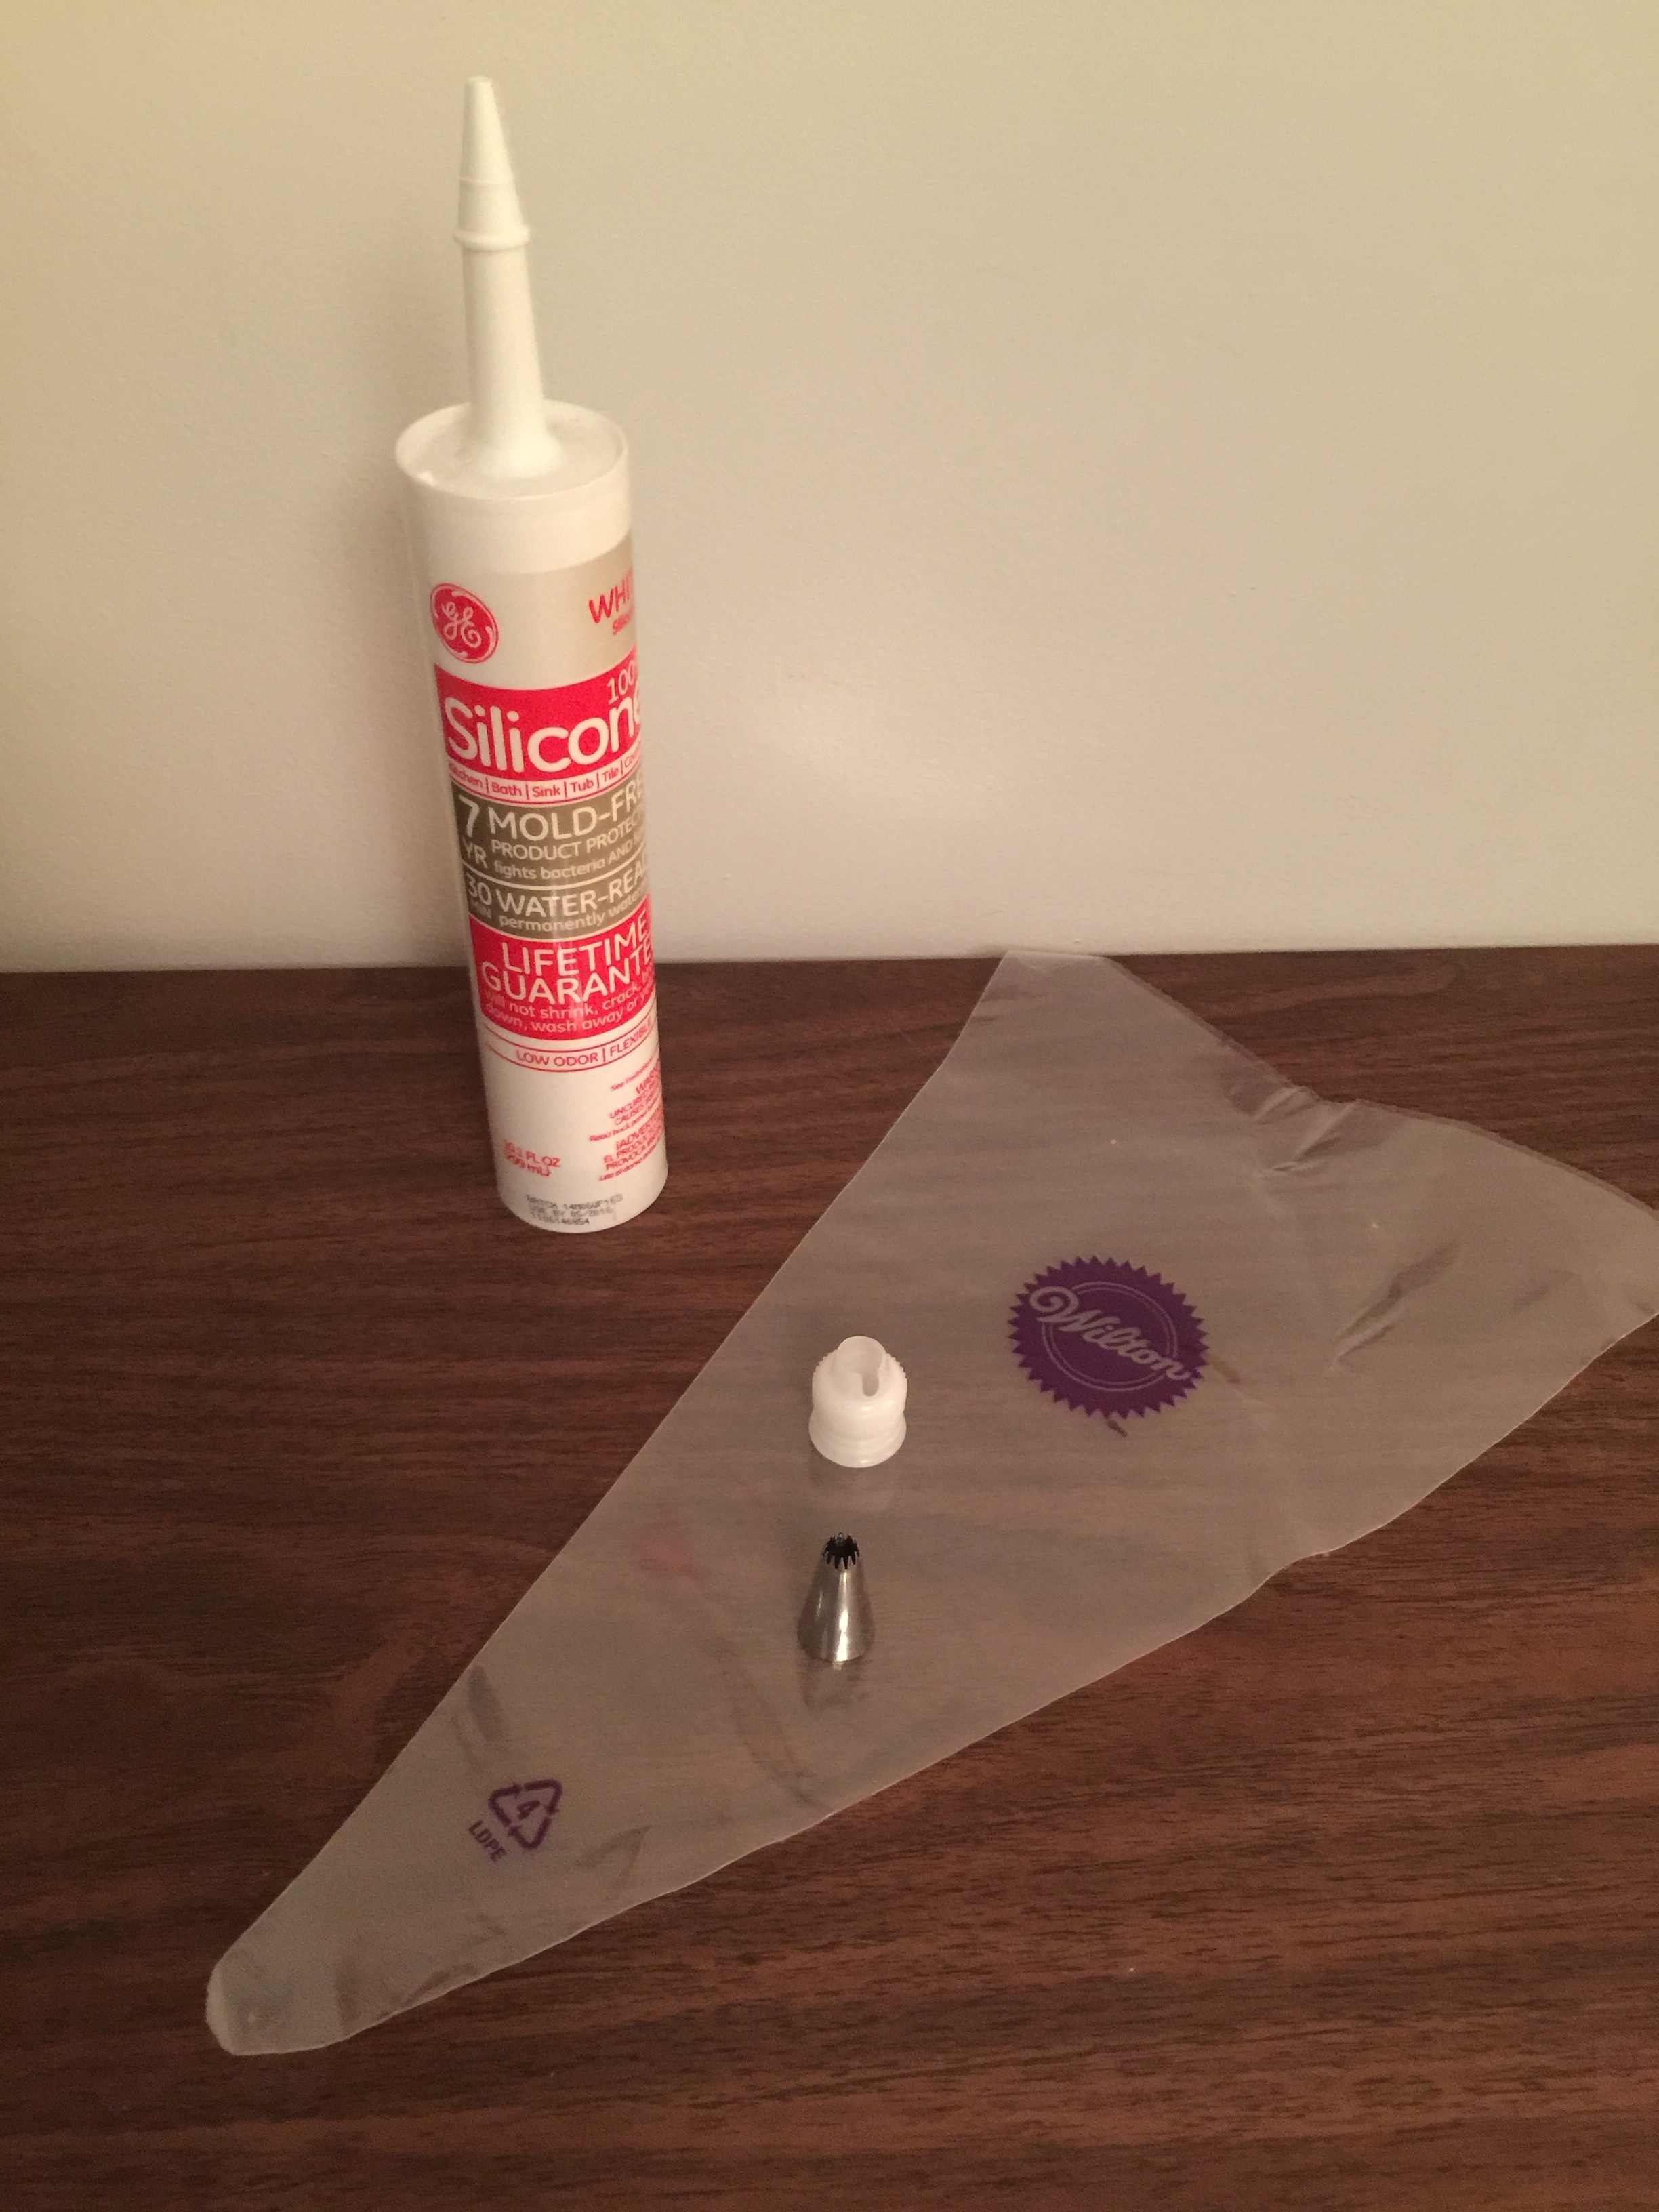
So I decided to finish the candy dish whip by using a piping bag instead of the tube. I got the 100% silicone caulk from the hardware store and the coupler, tip and piping bags from Jo Ann’s.
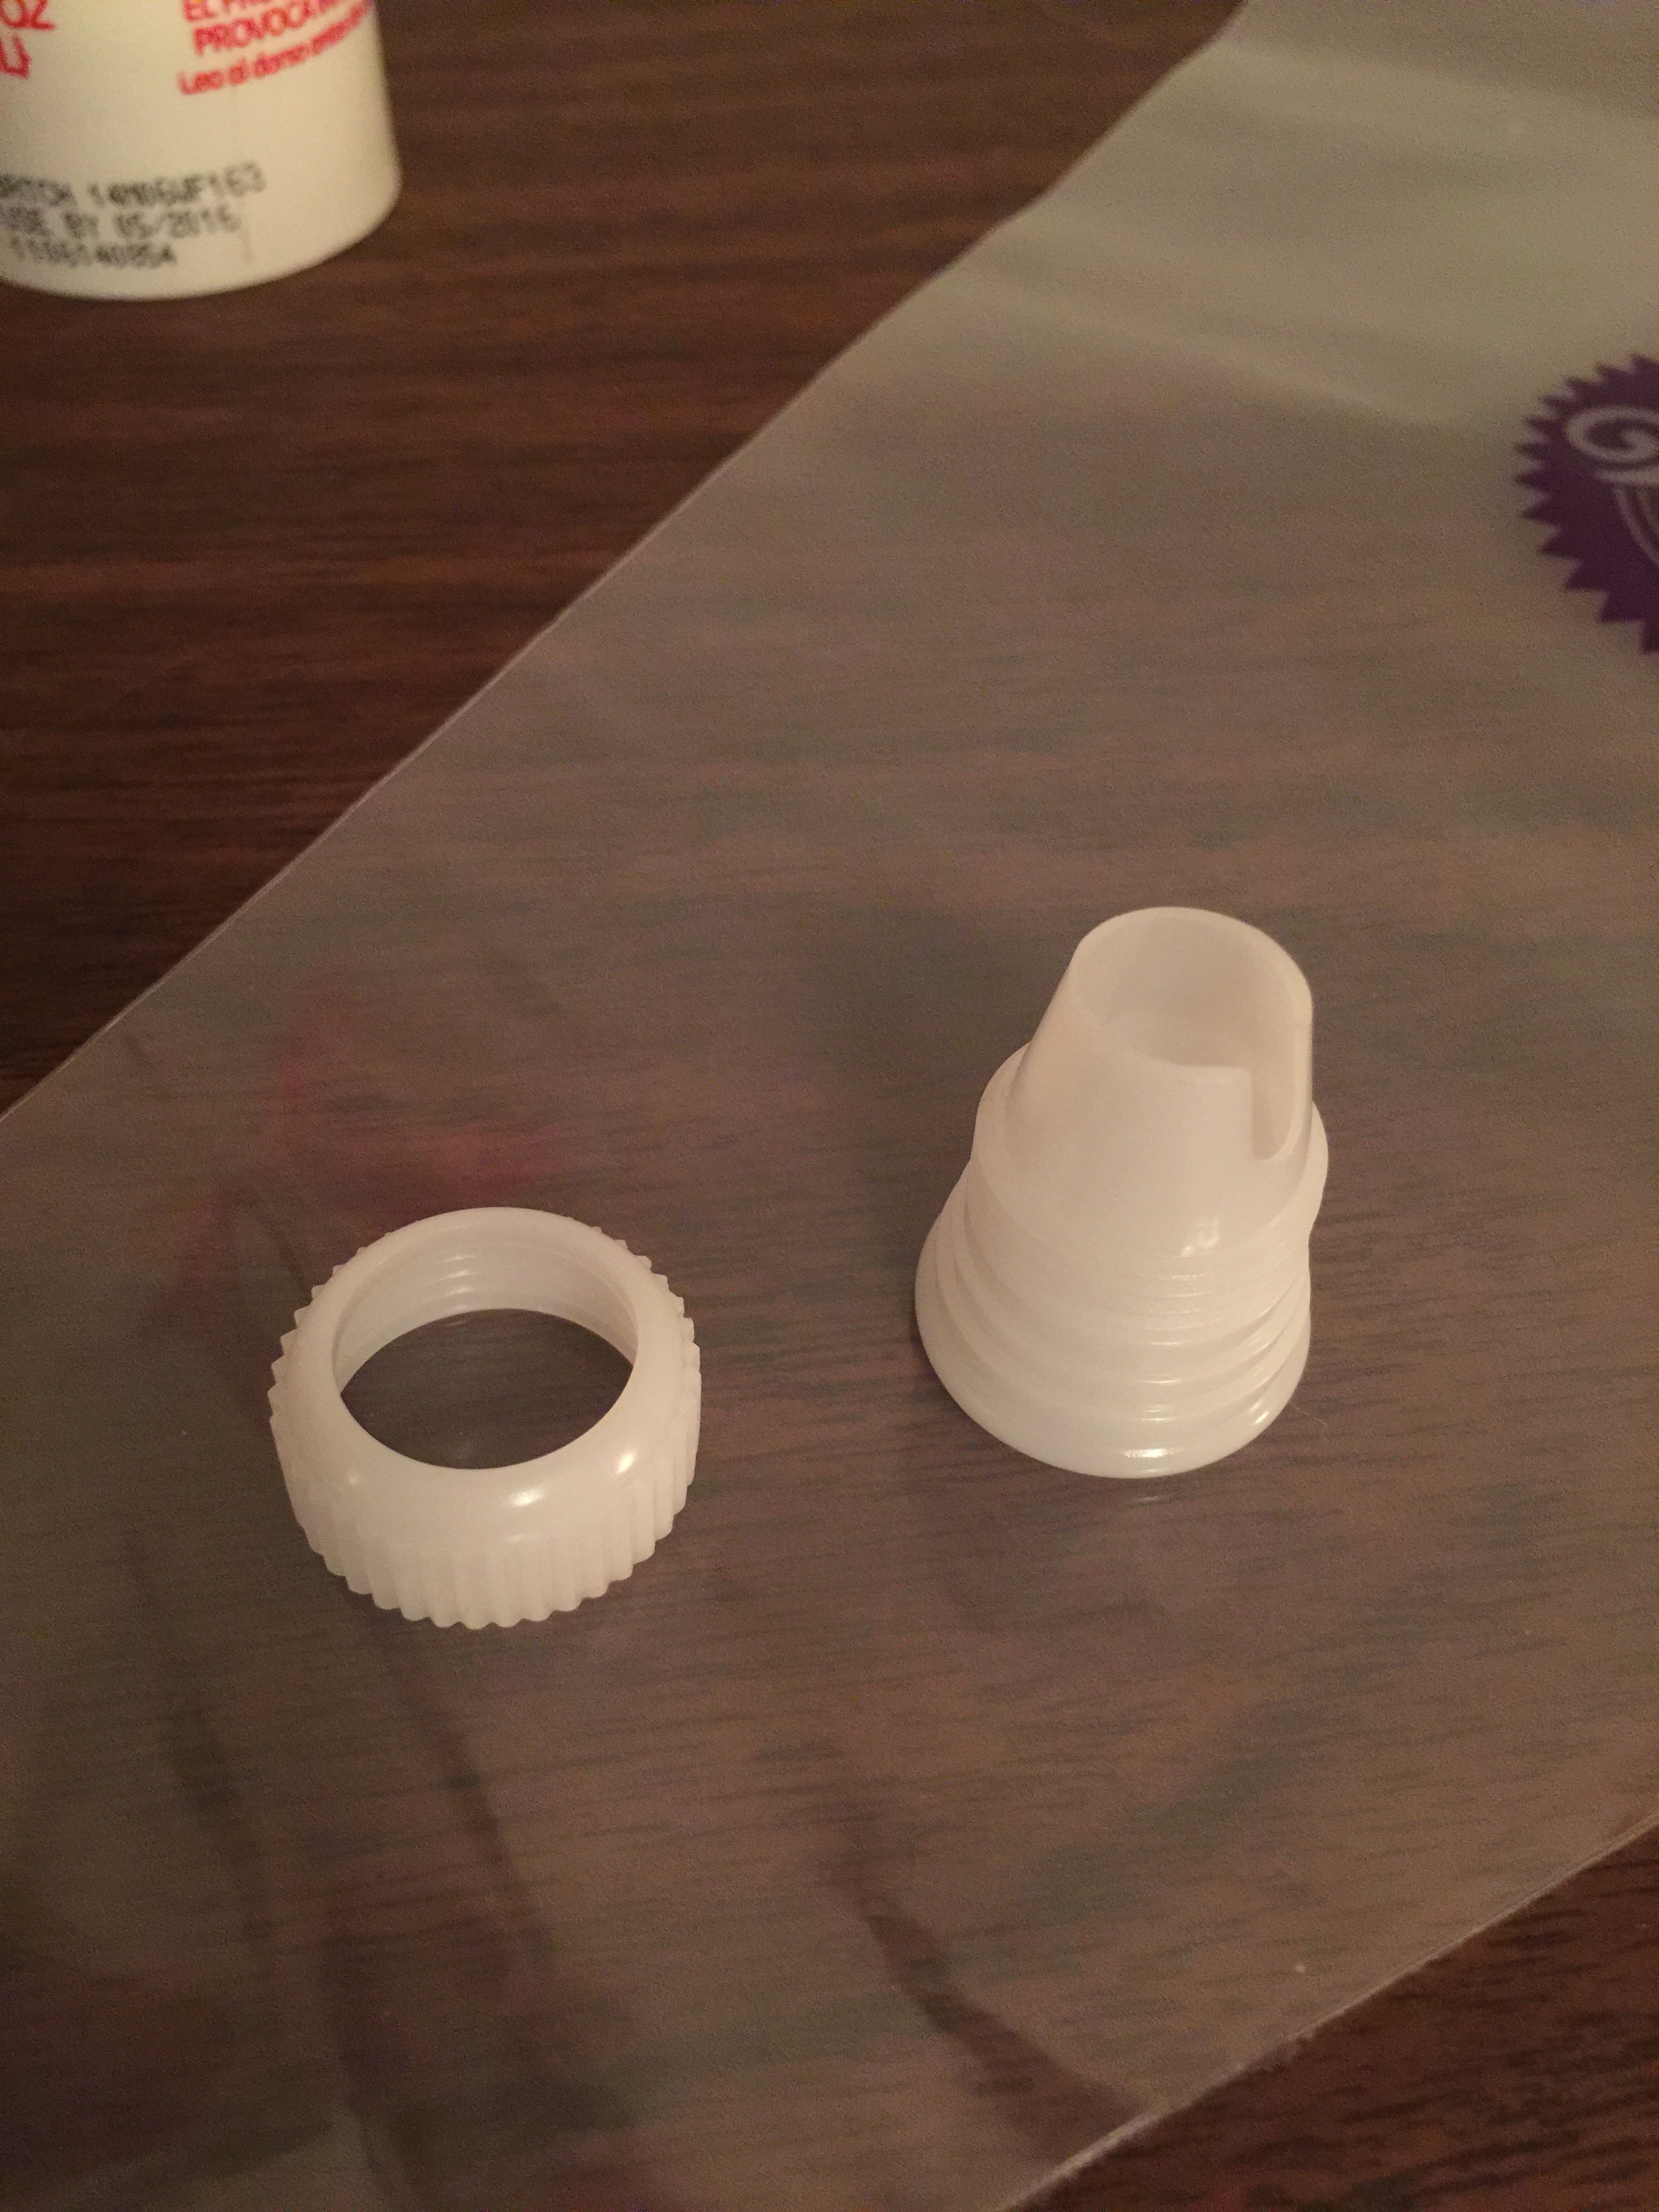
The coupler screws apart. The part with the threads will be inside the bag and the other part will screw on from the outside.
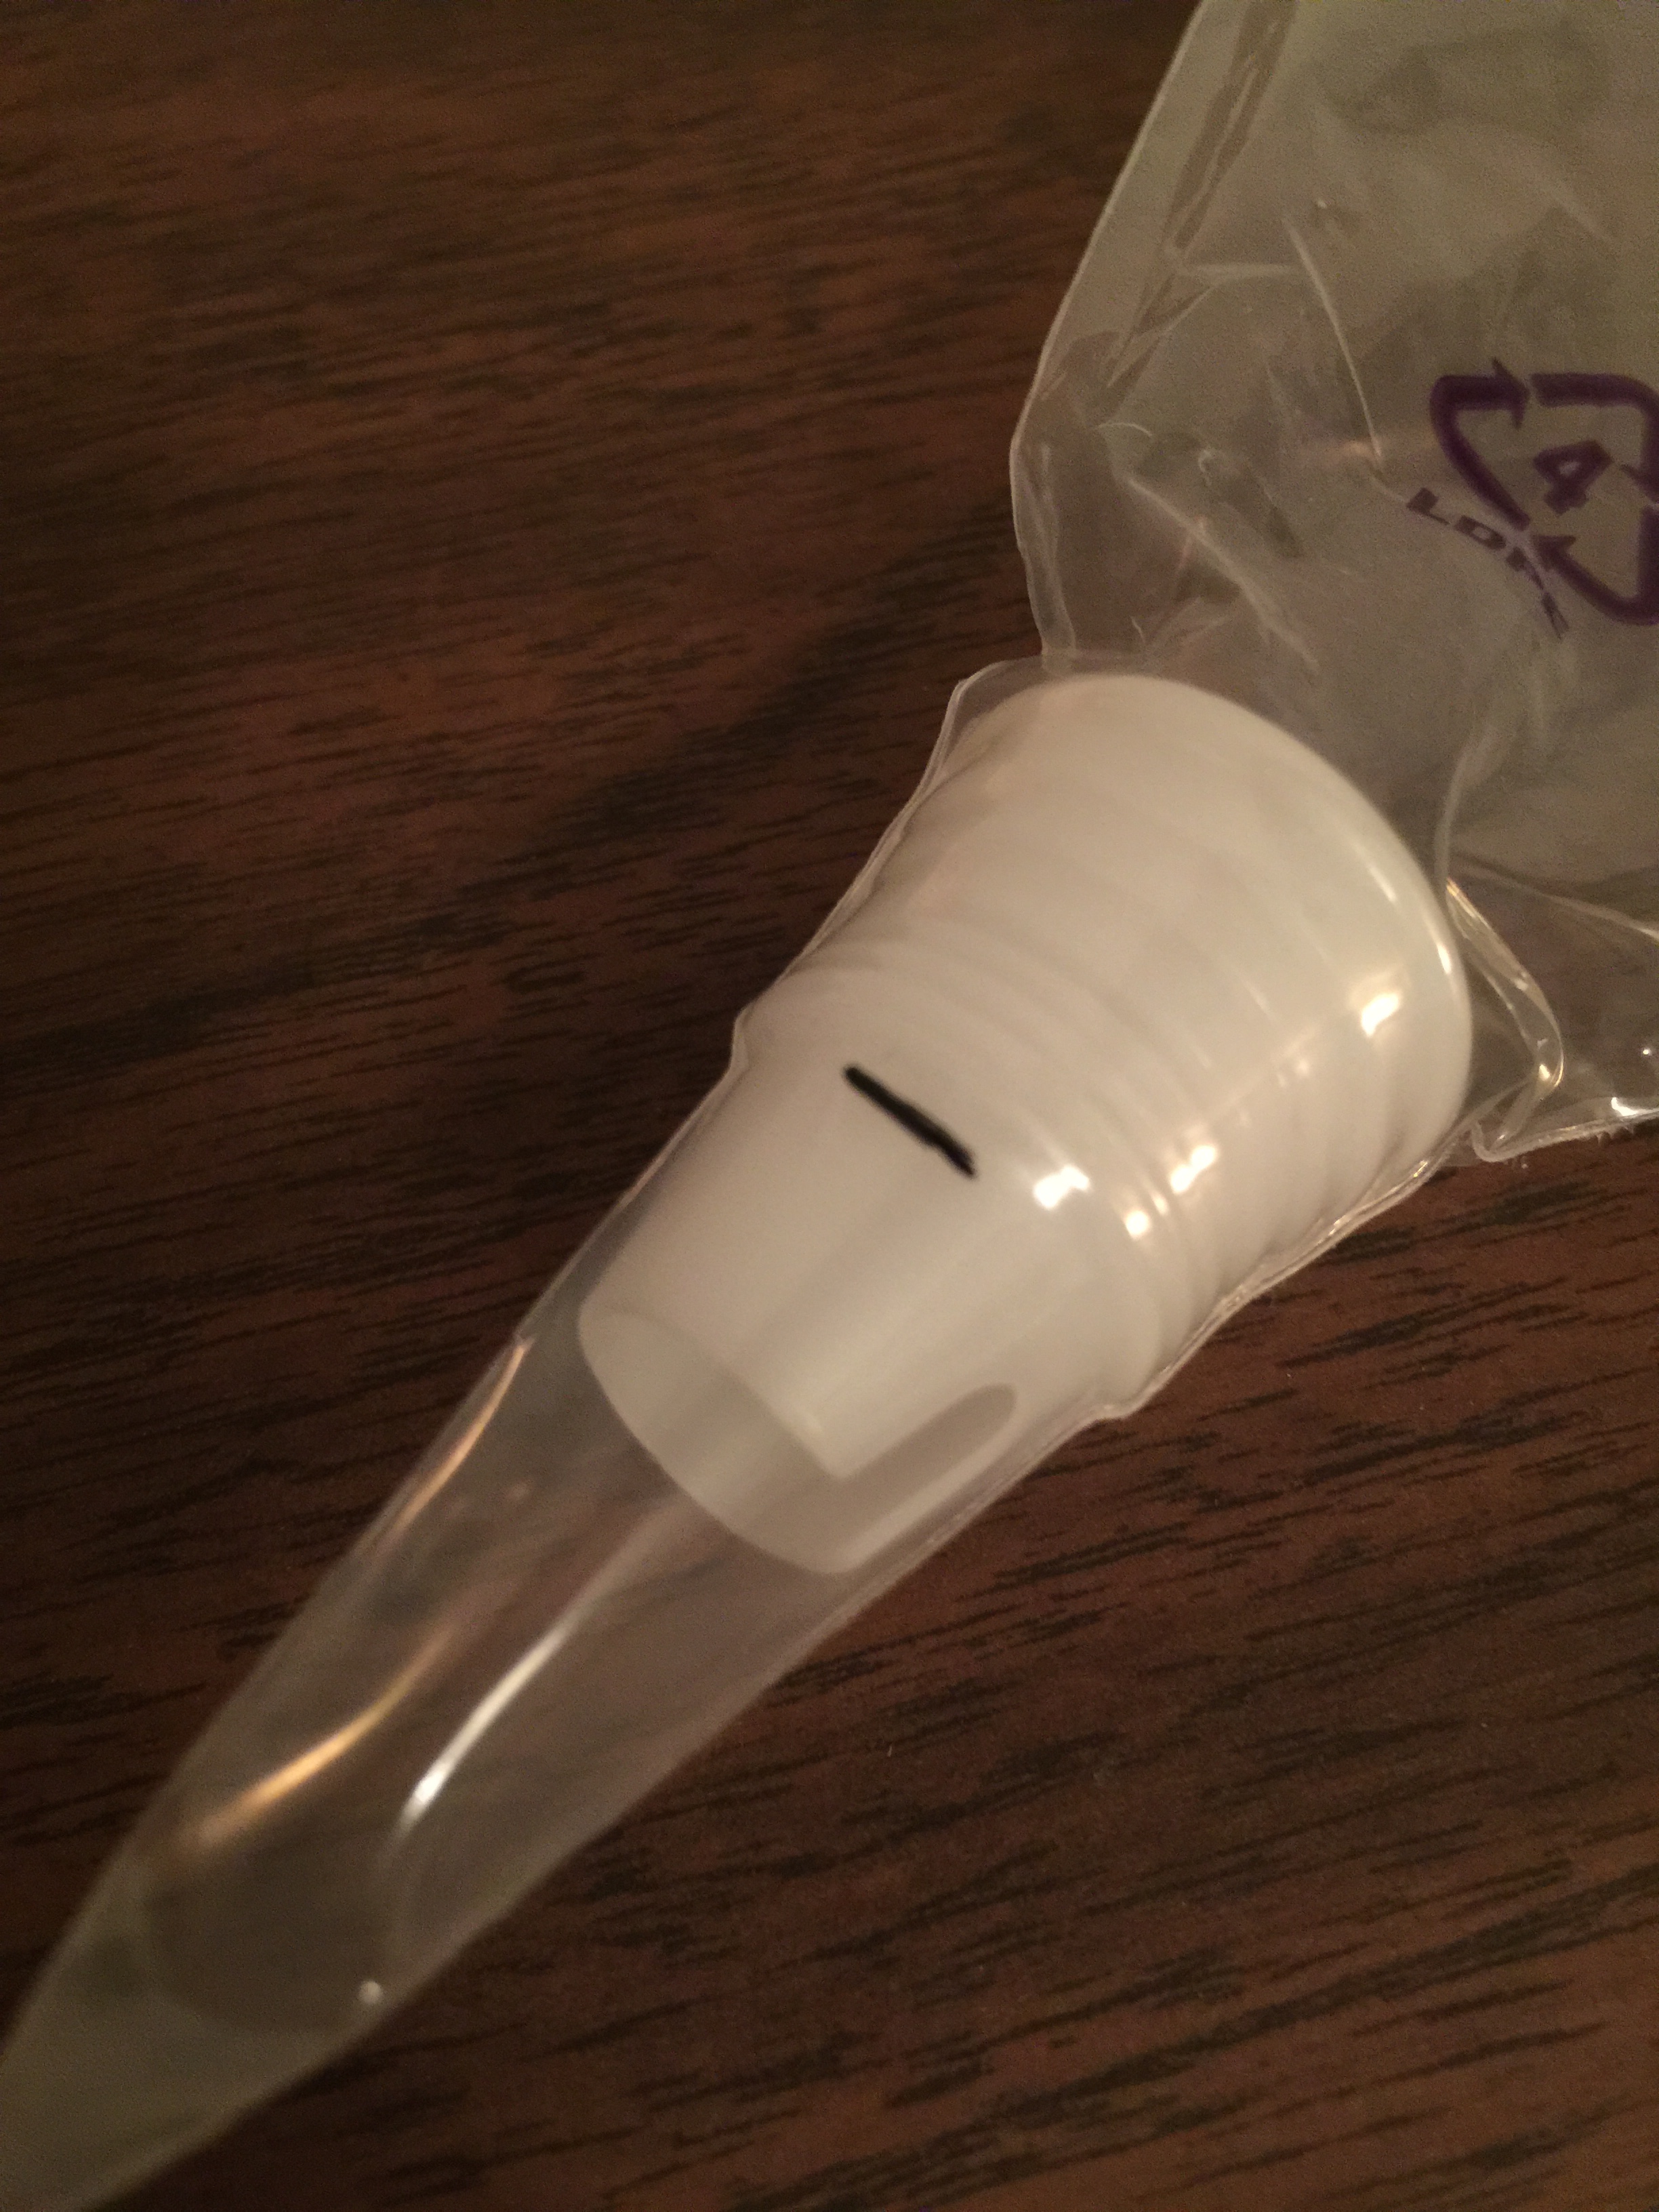
I slid the threaded part of the coupler into the bag to see how far it would go and to mark where I should cut the bag. After marking it, I took out the part and used scissors to make a clean-cut.

Then I slid the back-end of the coupler back in, put the tip on top and then screwed them together.
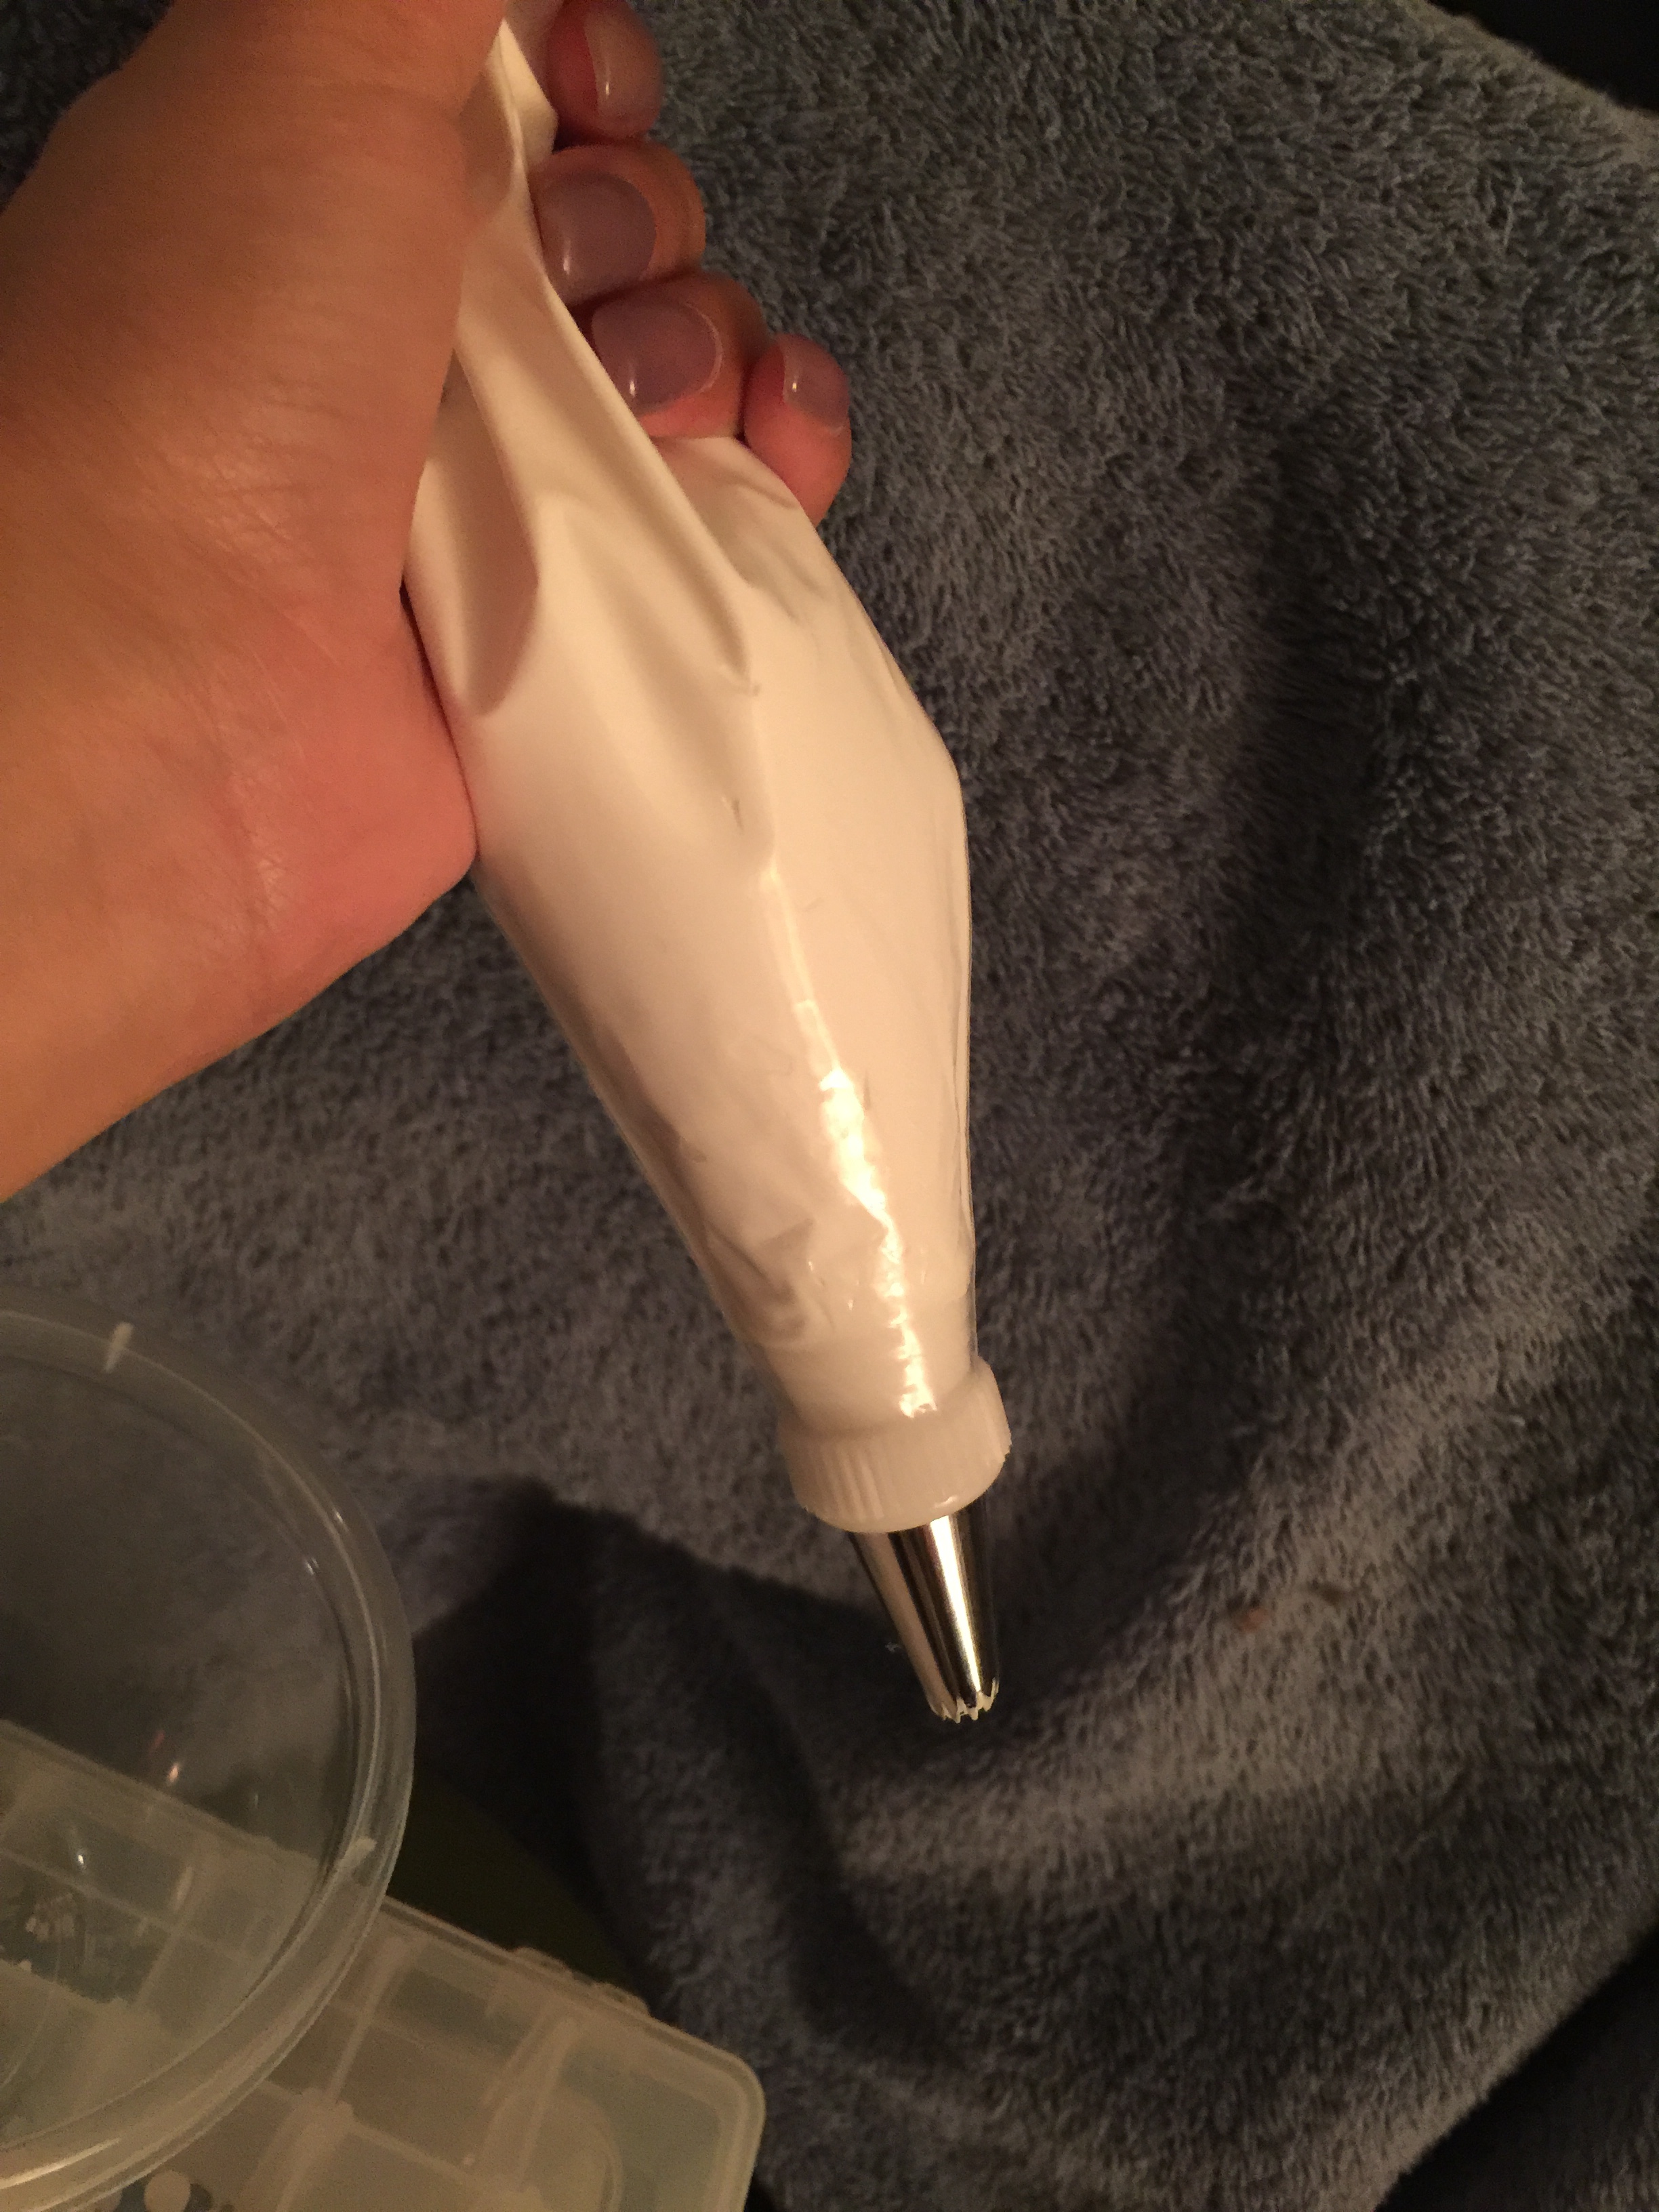
Then I gunned the caulk into the piping bag. The first time I did this, as I needed to refill the bag, I forgot to fold over the access parts of the bag. This would have saved me a lot of heart ache as air bubbles made their way into my project. It wasn’t that bad because I was really aware of the problem and I managed to fish out a lot of the bubbles through the loading end before they came out of my tip.
FINISHING THE BOTTOM OF THE CANDY DISH
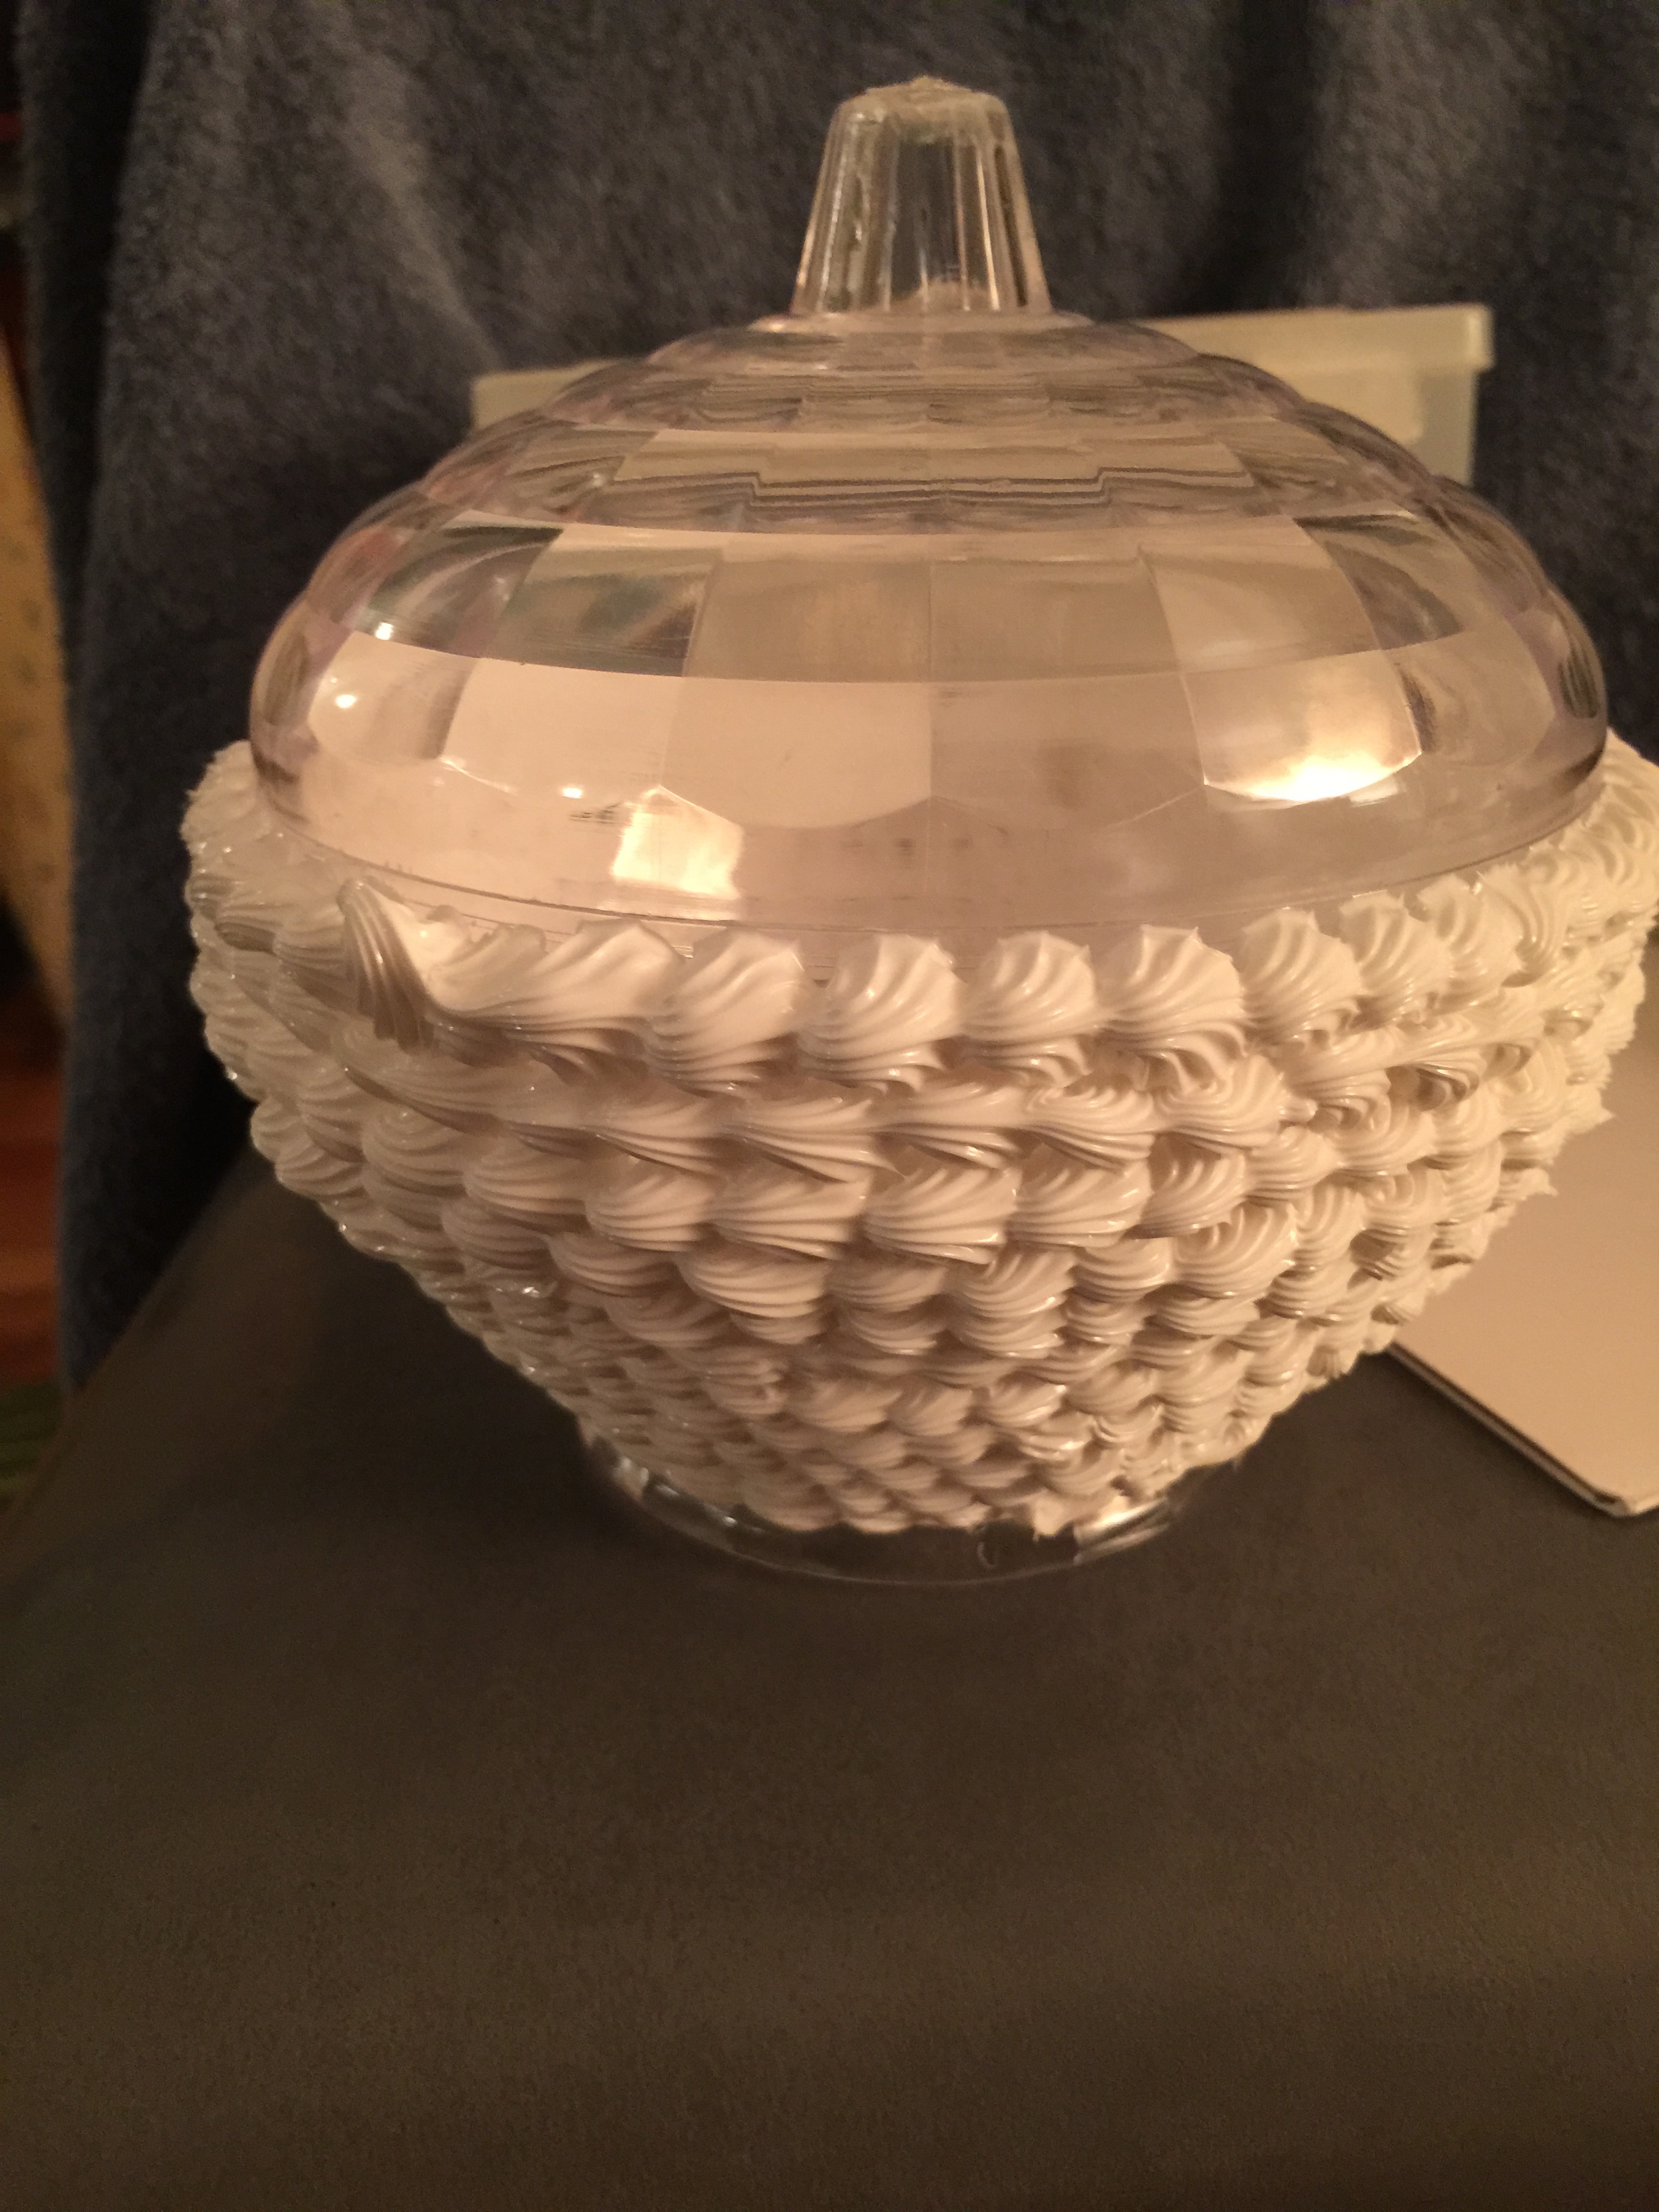 I practiced a bit before I finished the bottom. The piping bag was WAY easier to use in many ways. It wasn’t as strenuous on my hands, I could load as much caulk in as I wanted and there wasn’t as much waste. As the diameter of the dish increased, it was harder to find placed to hold to keep rotating it as I finished it. It worked in my favor that I did the lower half the day before. I didn’t feel weird putting my little paws all over it. Knowing me, even if I just set it down to let it dry, I would have felt awkward touching it. The silicone dries squishy and does not shrink. As you can see, my dollops pretty much match what I did the day before. I should have loaded up my piping bag more generously than I did. I found myself stopping to reload, but since this was my fist whipped project, I was hoping to save some silicone. I was being conservative.
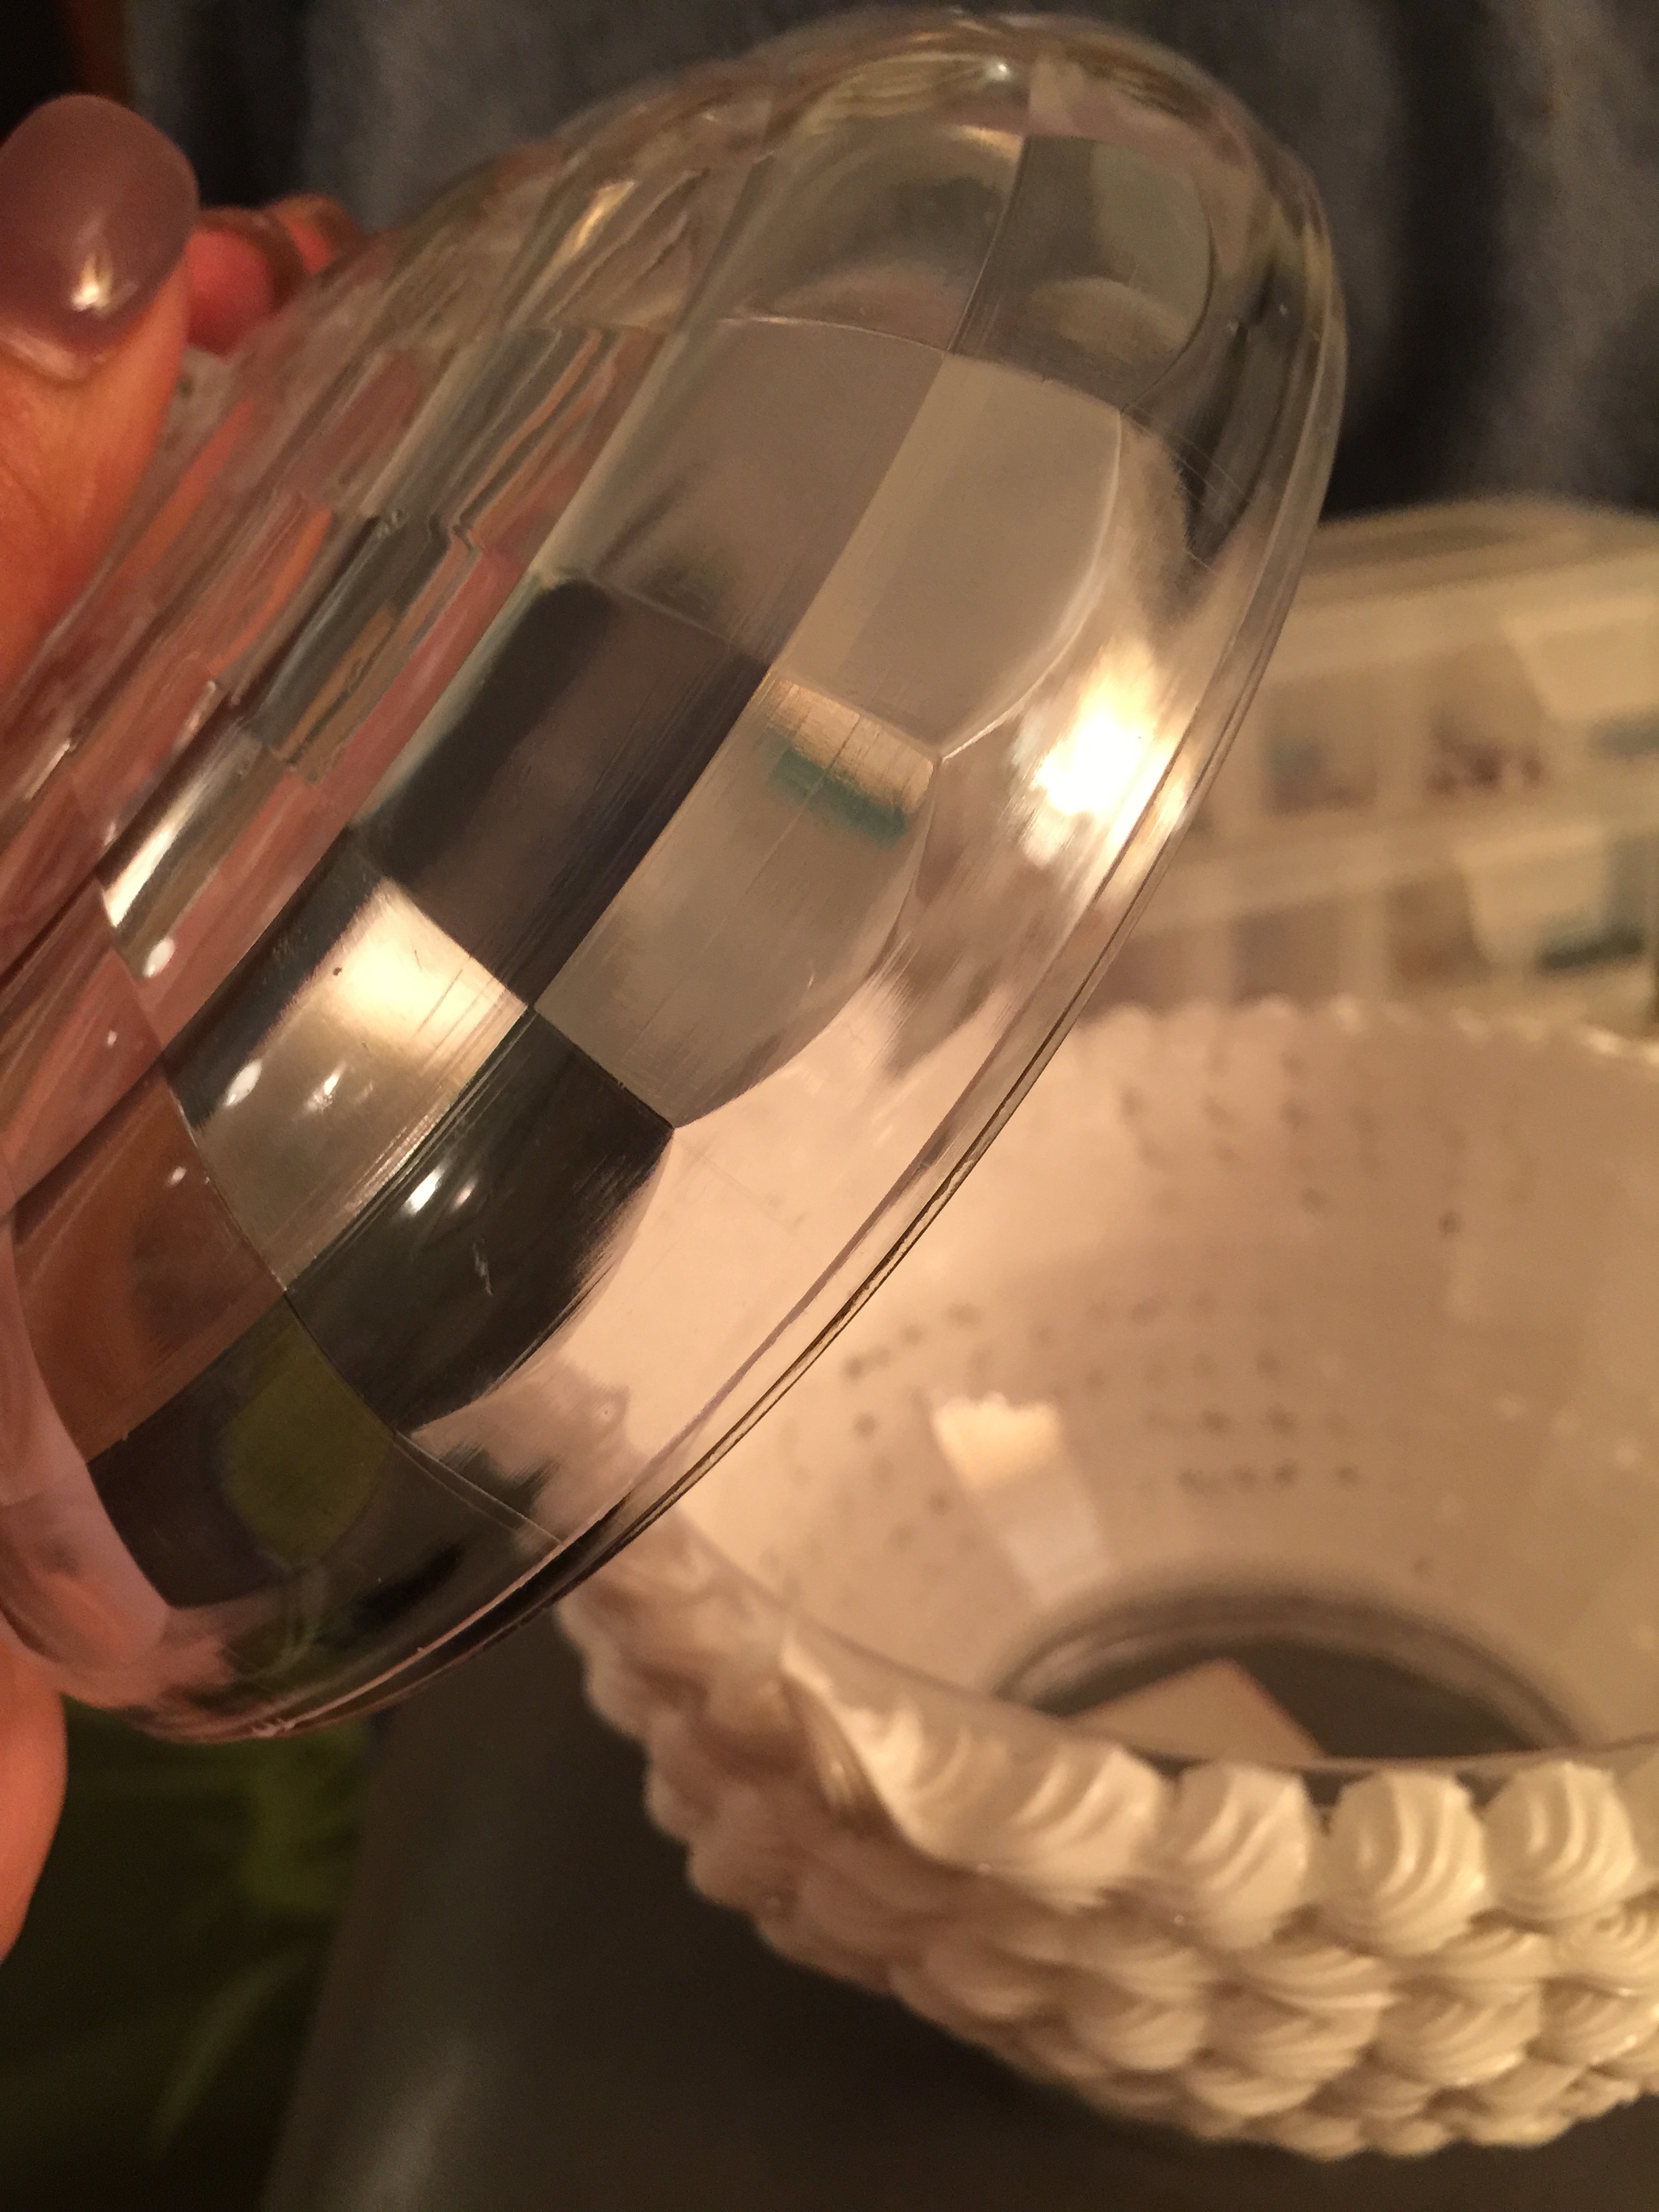
I was careful to finish as close to the edge of the dish as possible because I wanted the lid to fit and I didn’t want a huge disconnect between the two pieces when the project was complete. The best thing about this star-like icing tip is how forgiving it is. It has what I would consider a large-ish room for error. As I approached the edge, I became more aware of the dollop sizing. If I needed it to be a bit fatter and hit the edge, I pushed in on the puff a bit more. If the room was sparse, I backed off. Common sense, right?
THE CANDIES ON TOP!
 I’m a bit annoyed with myself as I forgot to take initial pictures of the lid. Live and learn.
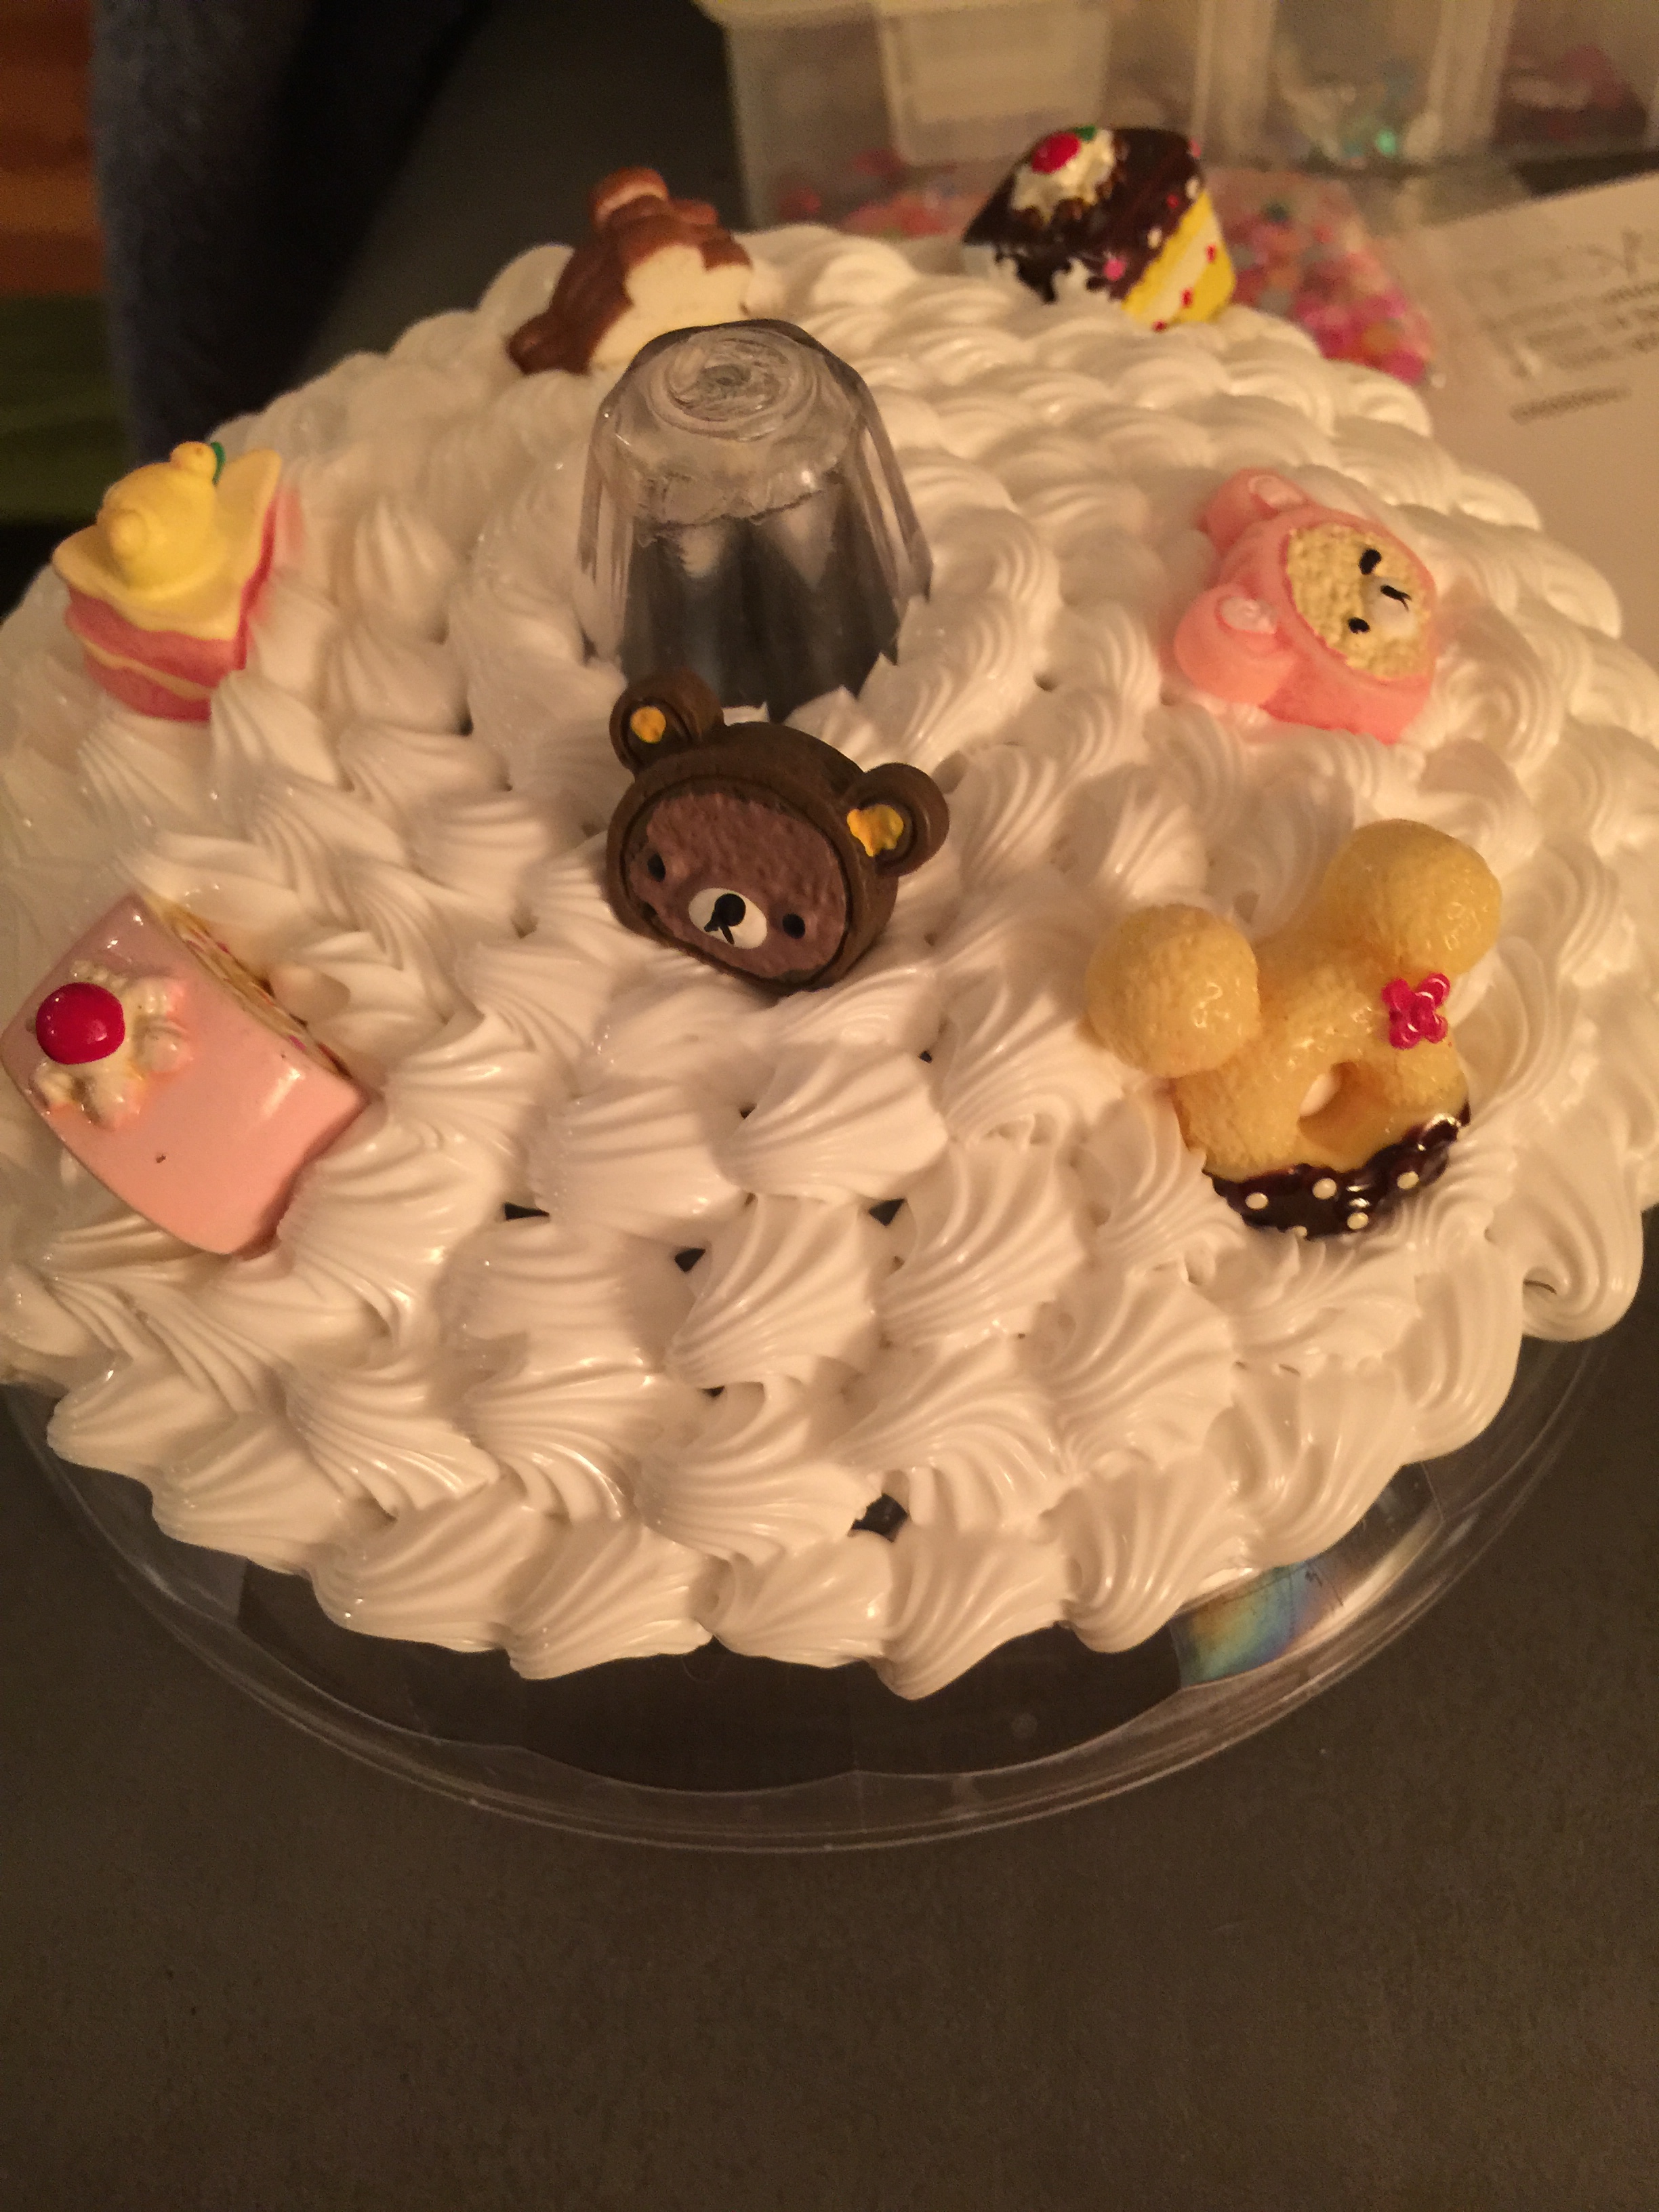
I started by the little knob at the top and just swirled my way out. Even though it takes about 30 minutes for the silicone to “dry,” I learned quickly, that it’s a good idea to start placing your cabochons when you have the opportunity. Otherwise, you’ll really have to jimmy them in there. I’ll admit, it was fun to stick these cute cabs into the fluff! I found myself getting hungry and craving sweets as I continued. 🙂
The lid required a lot of starting and stopping. It was also challenging to hold. I ended up balancing it on a bottle of water pills I had and just rotated that as I piped along. I also found myself kneeling to position myself at the eye level of the piping tip.
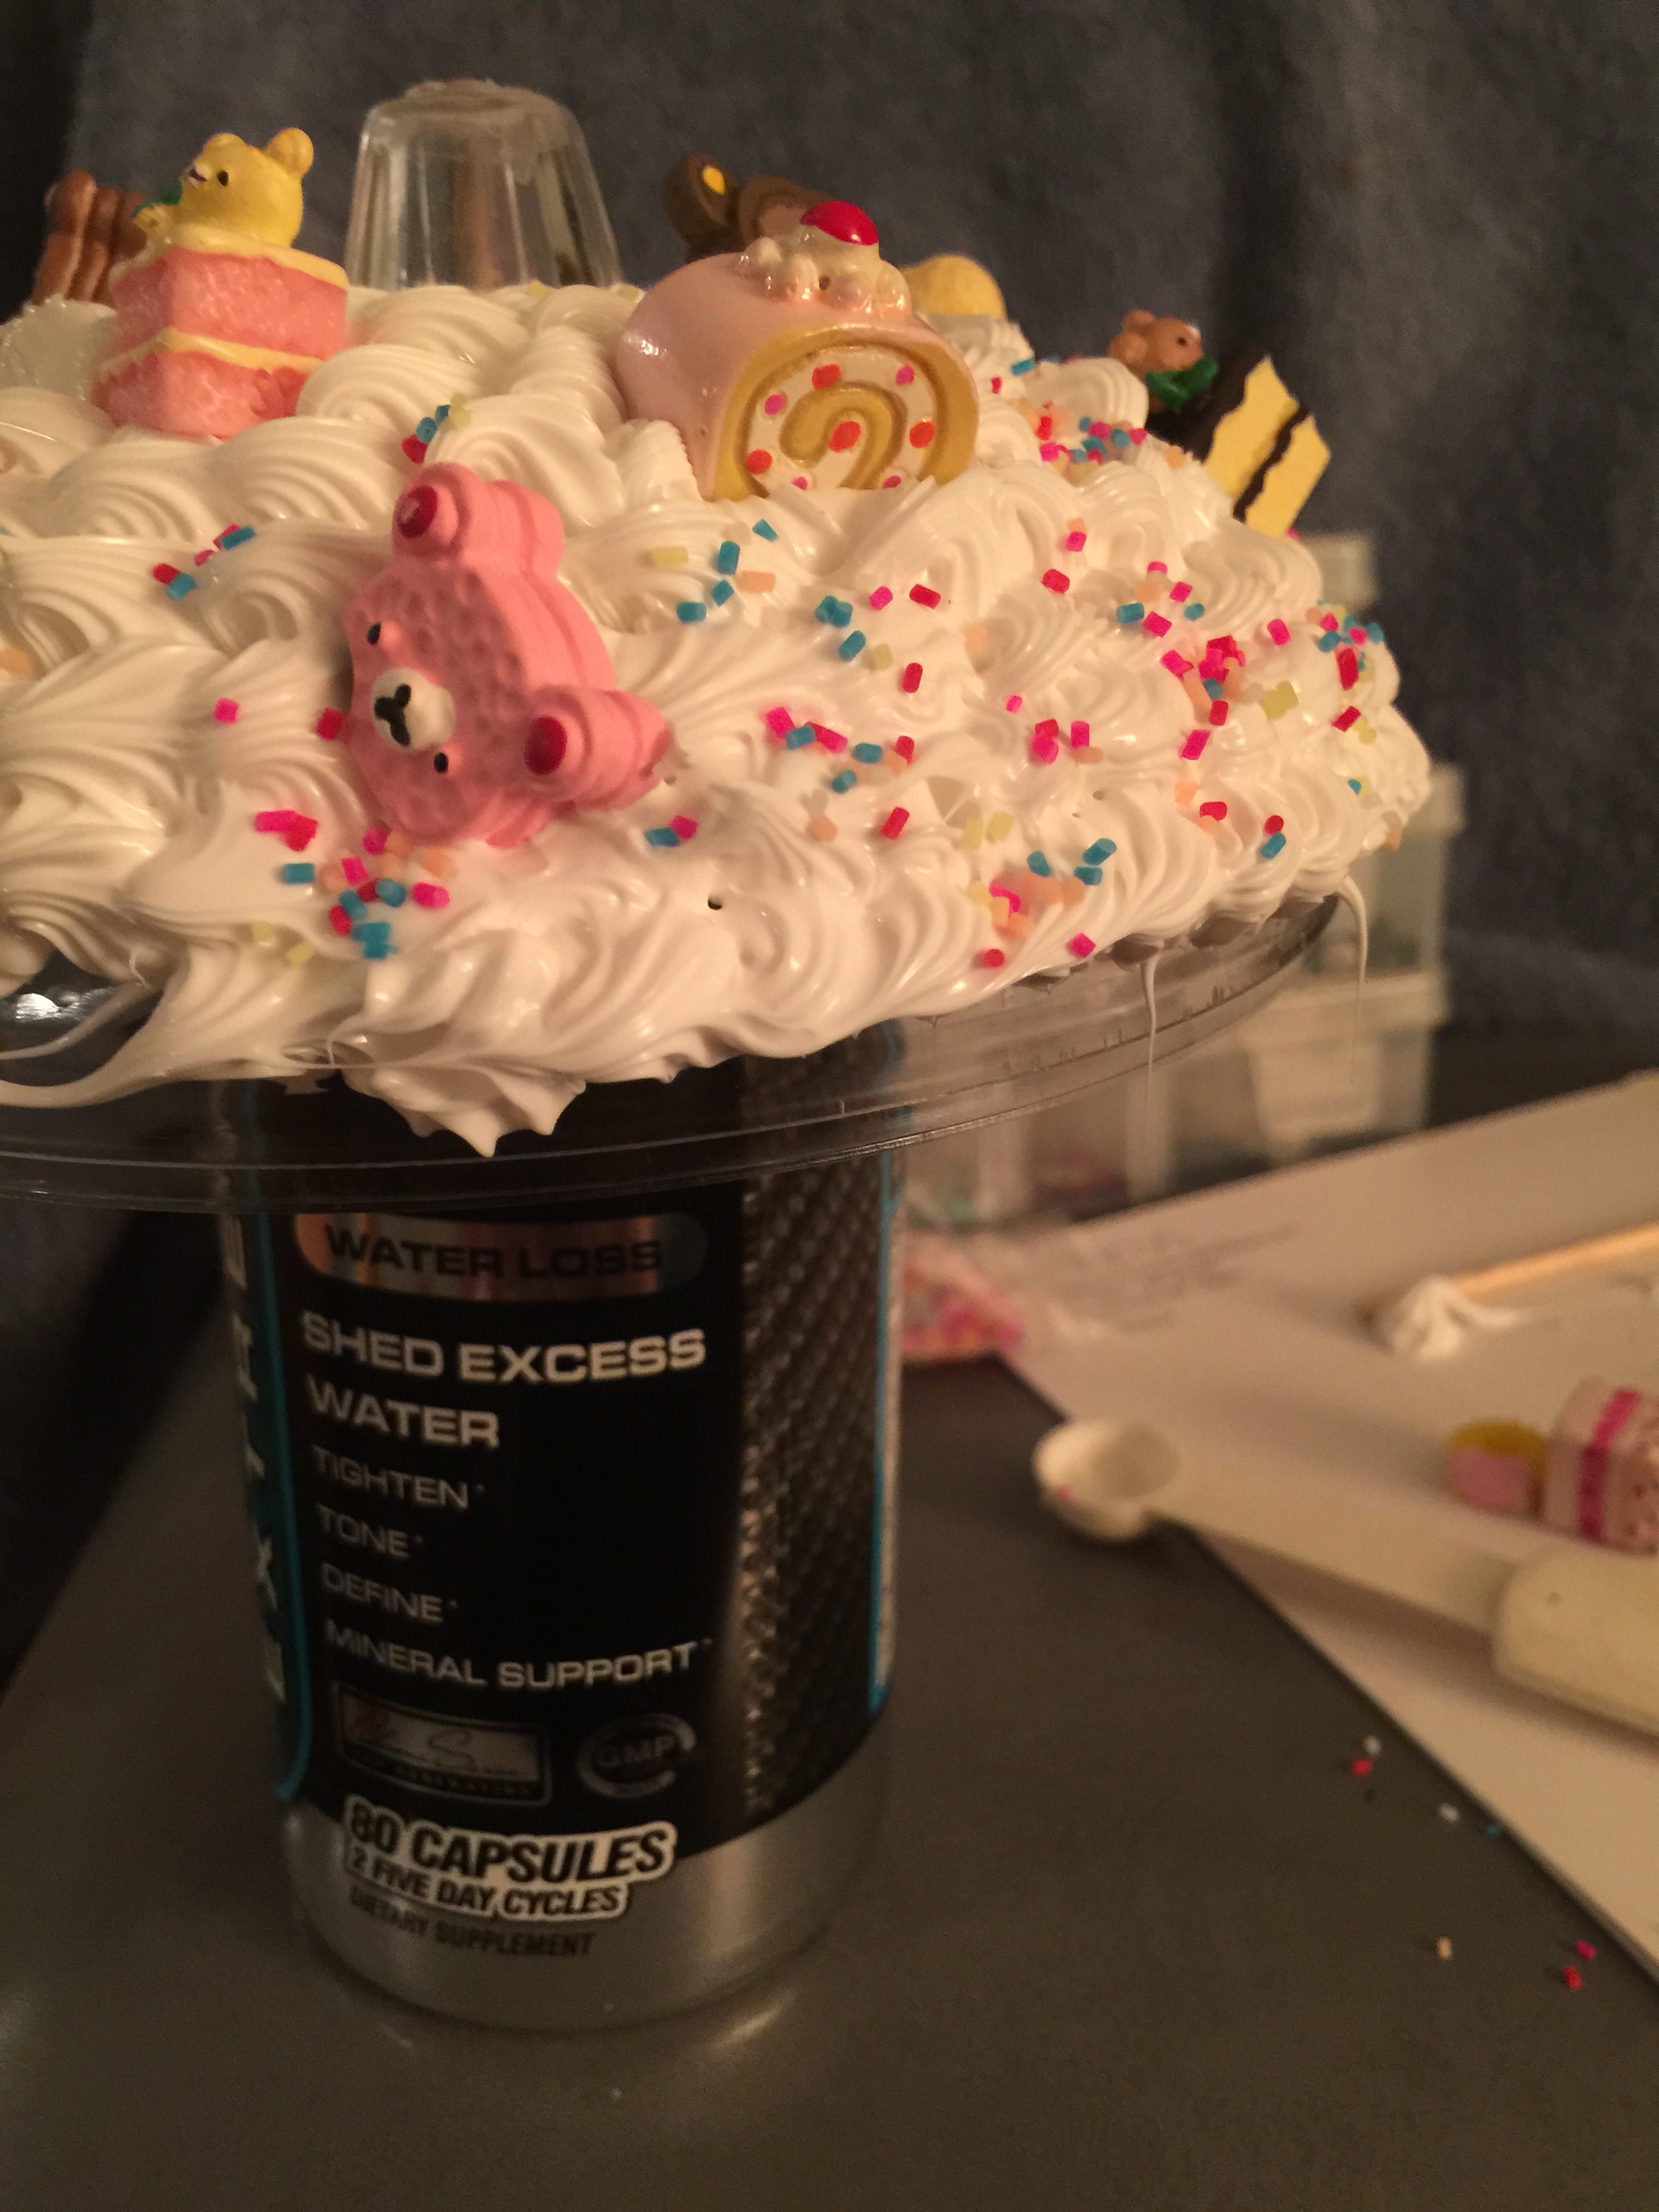 I decided to add faux sprinkles to this. I had one vision, but it just suddenly morphed into something else. I got these amazing sprinkles from Delishbeads. They offer free shipping in the US and their customer service is excellent!
As I moved on, the heat from my hand-made the silicone warm and a bit “runny”. It was still easier to pipe. However, from all the starting and stopping to insert all the darling embellishments, the icing tip started to get “clogged,” like it boogered up on the tip. The definition of the tip started to get lost. It wasn’t enough to make me stop and clean it, but had the project required more whip, I would have.
In hindsight, I should have started from the edge of the bottom and worked my way to the little knobby. Also, if I didn’t maintain an eye level, my dollops didn’t maintain their shape as well as I was pulling the bag up rather than to the side.
. . . THE REVEAL!
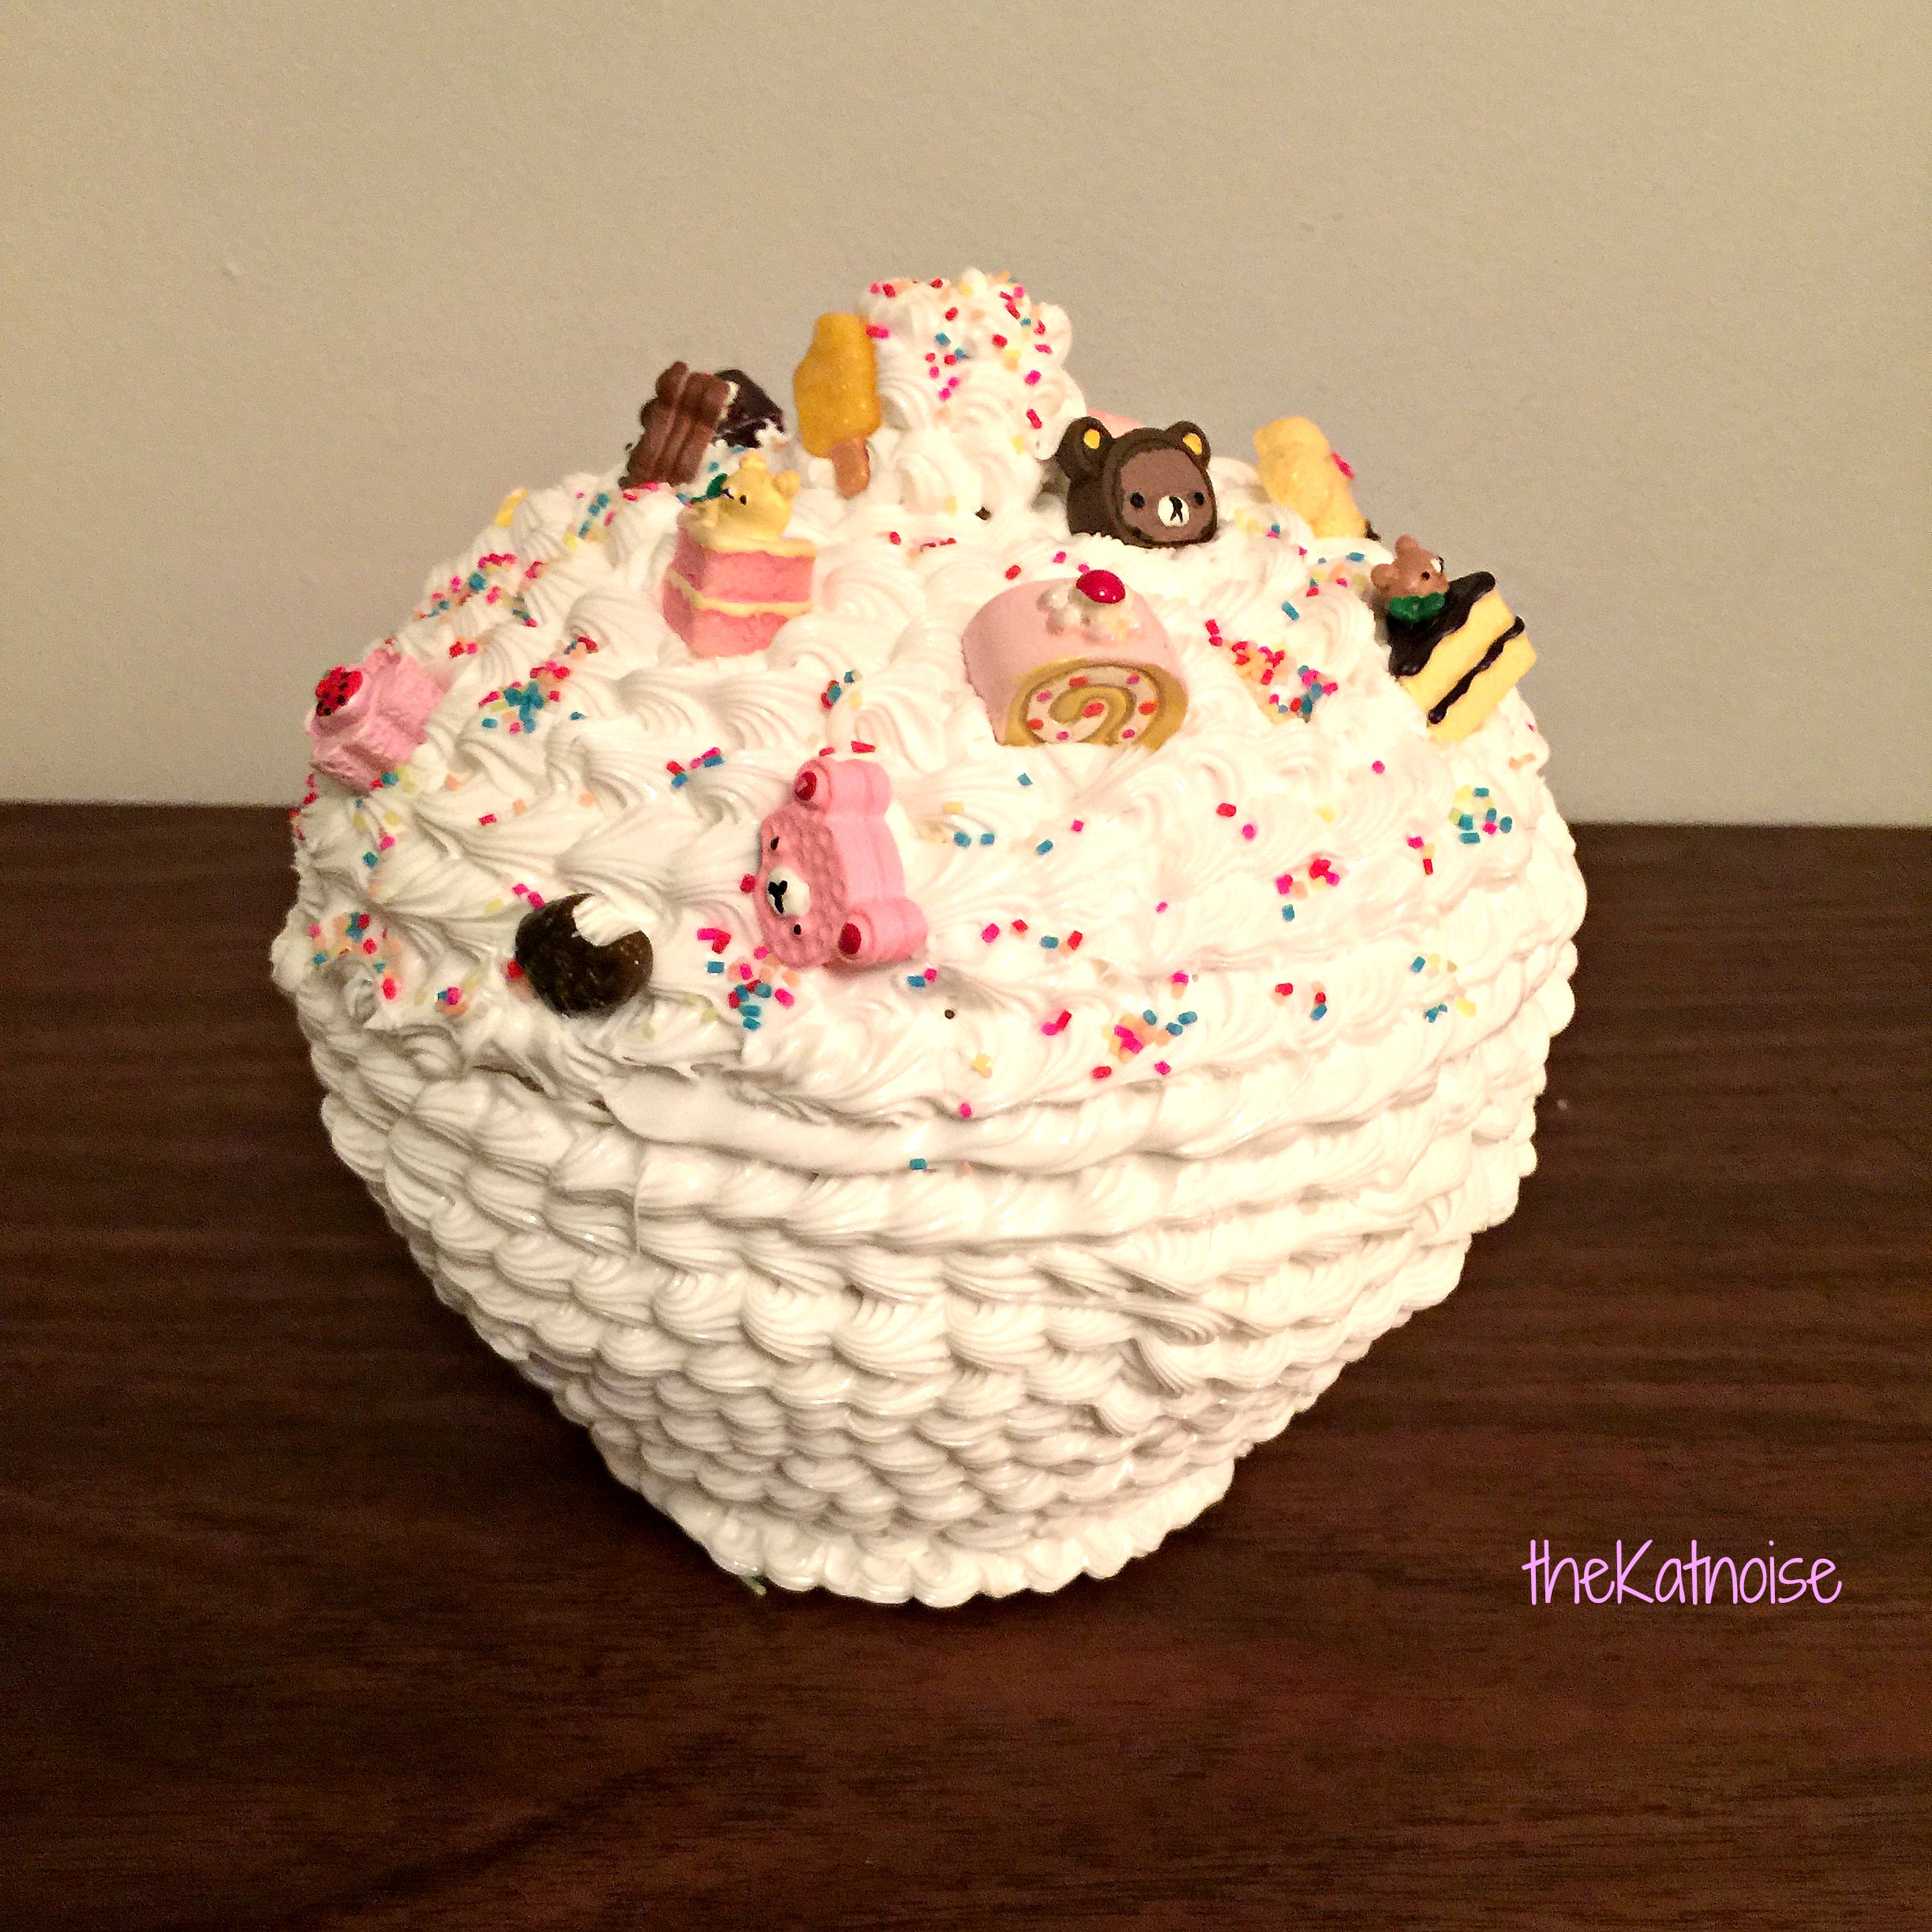 So this is how this little pastry fluff puff came out. I’ll admit, this was fun to do. I think it’s a nice way to extend the art of decoden to other things besides cell phones. I tried my best to hide where the seams of this container align. In the future, I will approach the lid differently. I’m proud of myself for finishing it without eating 17 cakes along the way.
CLEAN UP & TIPS
I learned a few things while working on this project:
- It’s important to protect your working surface area and be sure to crack a window for ventilation. Although lots of these silicones are “low order,” this doesn’t mean a darn thing. OPEN A WINDOW.
- A piping bag is easier, faster to use and eliminates a good amount of waste. The prep may be more time-consuming, but your hands will thank you.
- Practice on an old mailing circular. Establish a rhythm and see how hard you need to squeeze to get your desired whipped dollop.
- Take breaks, it allows the whip to dry and you’ll have more options on holding the candy dish.
- If you can get disposable tips do so, its hard to clean the silicone off of the tips. I plan to invest in a tiny little brush to help with this problem.
I hope this project helps beginners (like myself) with the whipped cream medium. Be sure to follow my instagram and twitter @thekatnoise.
