
Affiliate links are included in this post. I may earn a small commission if you purchase through them, at no extra cost to you.
PART 1
I have seen many projects executed with deco whip and for some reason I’ve never wanted to dabble in it myself. I felt like it could be messy. Also, it’s apparent that you’d have to work faster than usual and I’m a slow mover. Even still, I was always just as curious as the next person. As I transition from face-to-face sales to online sales, it’s very evident that deco whip not only looks delicious, many super cute gals love sporting it. So, I decided to give it a try.
Supplies I Used (Candy Dish + Silicone)
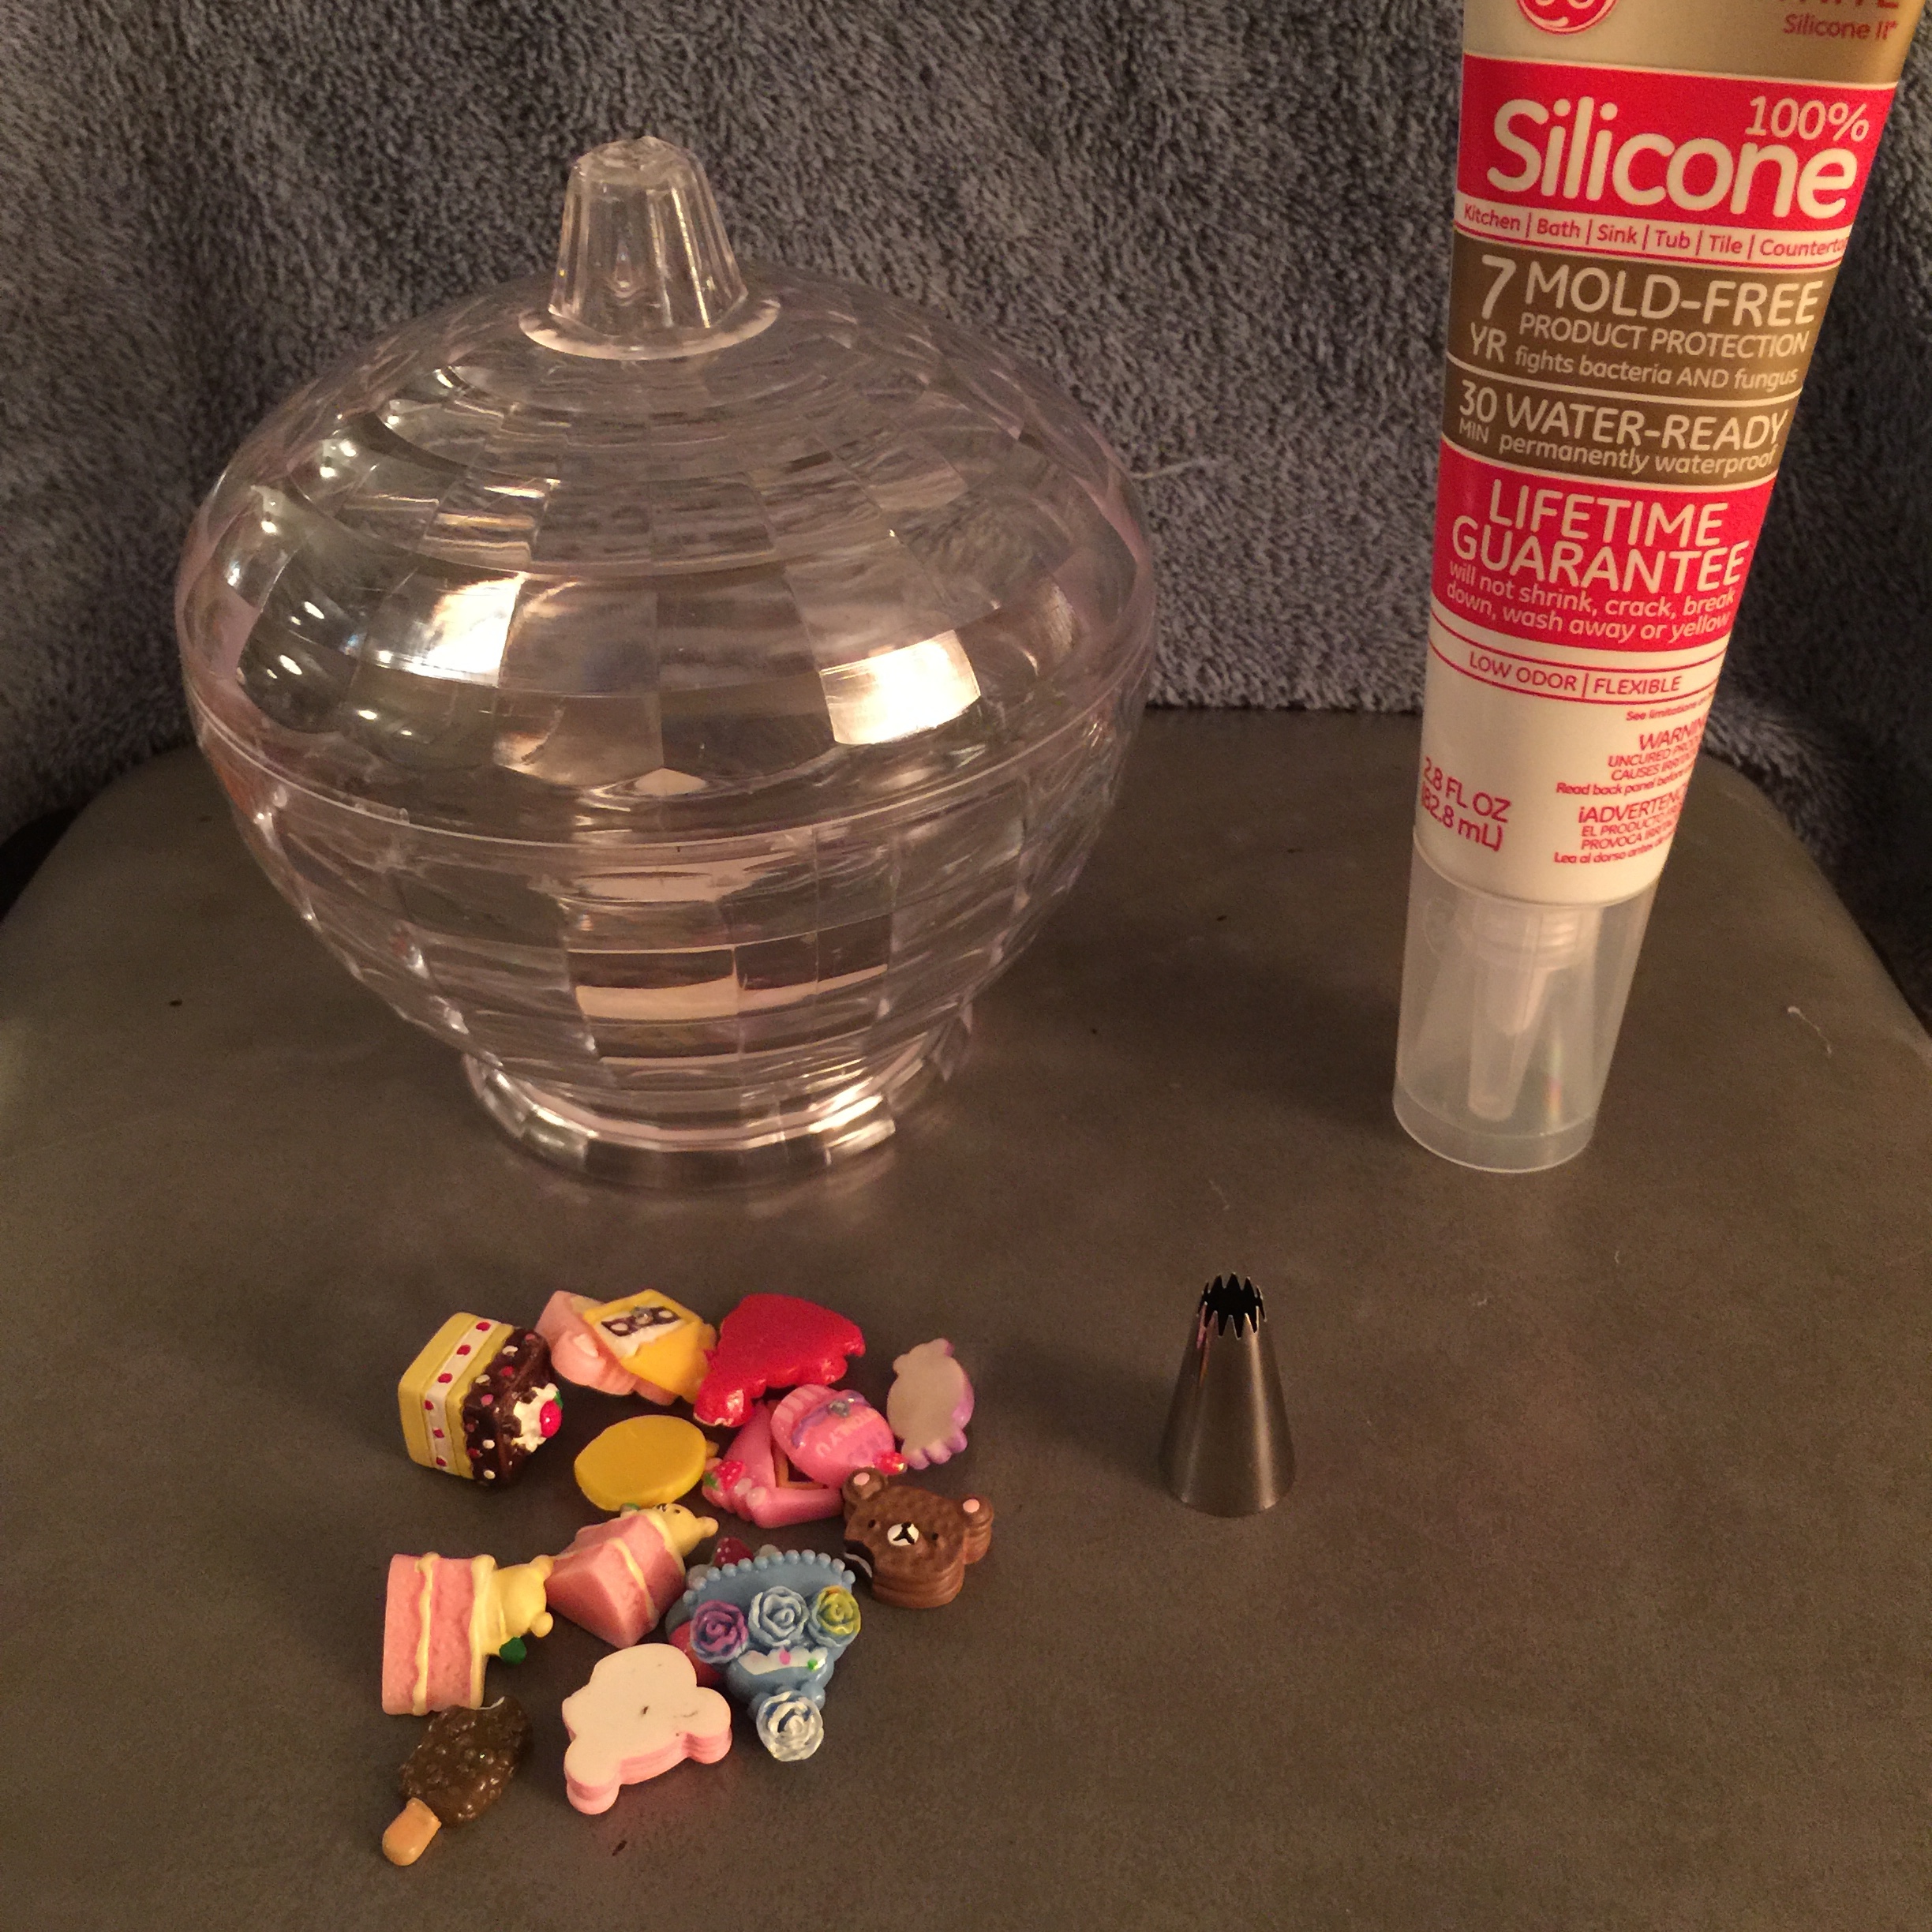
First thing I did was gather some supplies. A plastic candy dish (dollar store) that I was using to hold cotton balls, some cute cabs, metal piping tips and white silicone (100%). I snipped the tip of the silicone tube, and taped on the metal piping tip. I didn’t see the need to schlep it into a piping bag. I didn’t want to waste my materials. Also, I chose to use 100% white silicone after researching online. It seemed to be the most reliable for a newb to frost, like me.
ICING EXPERIENCE . . . OR LACK THEREOF
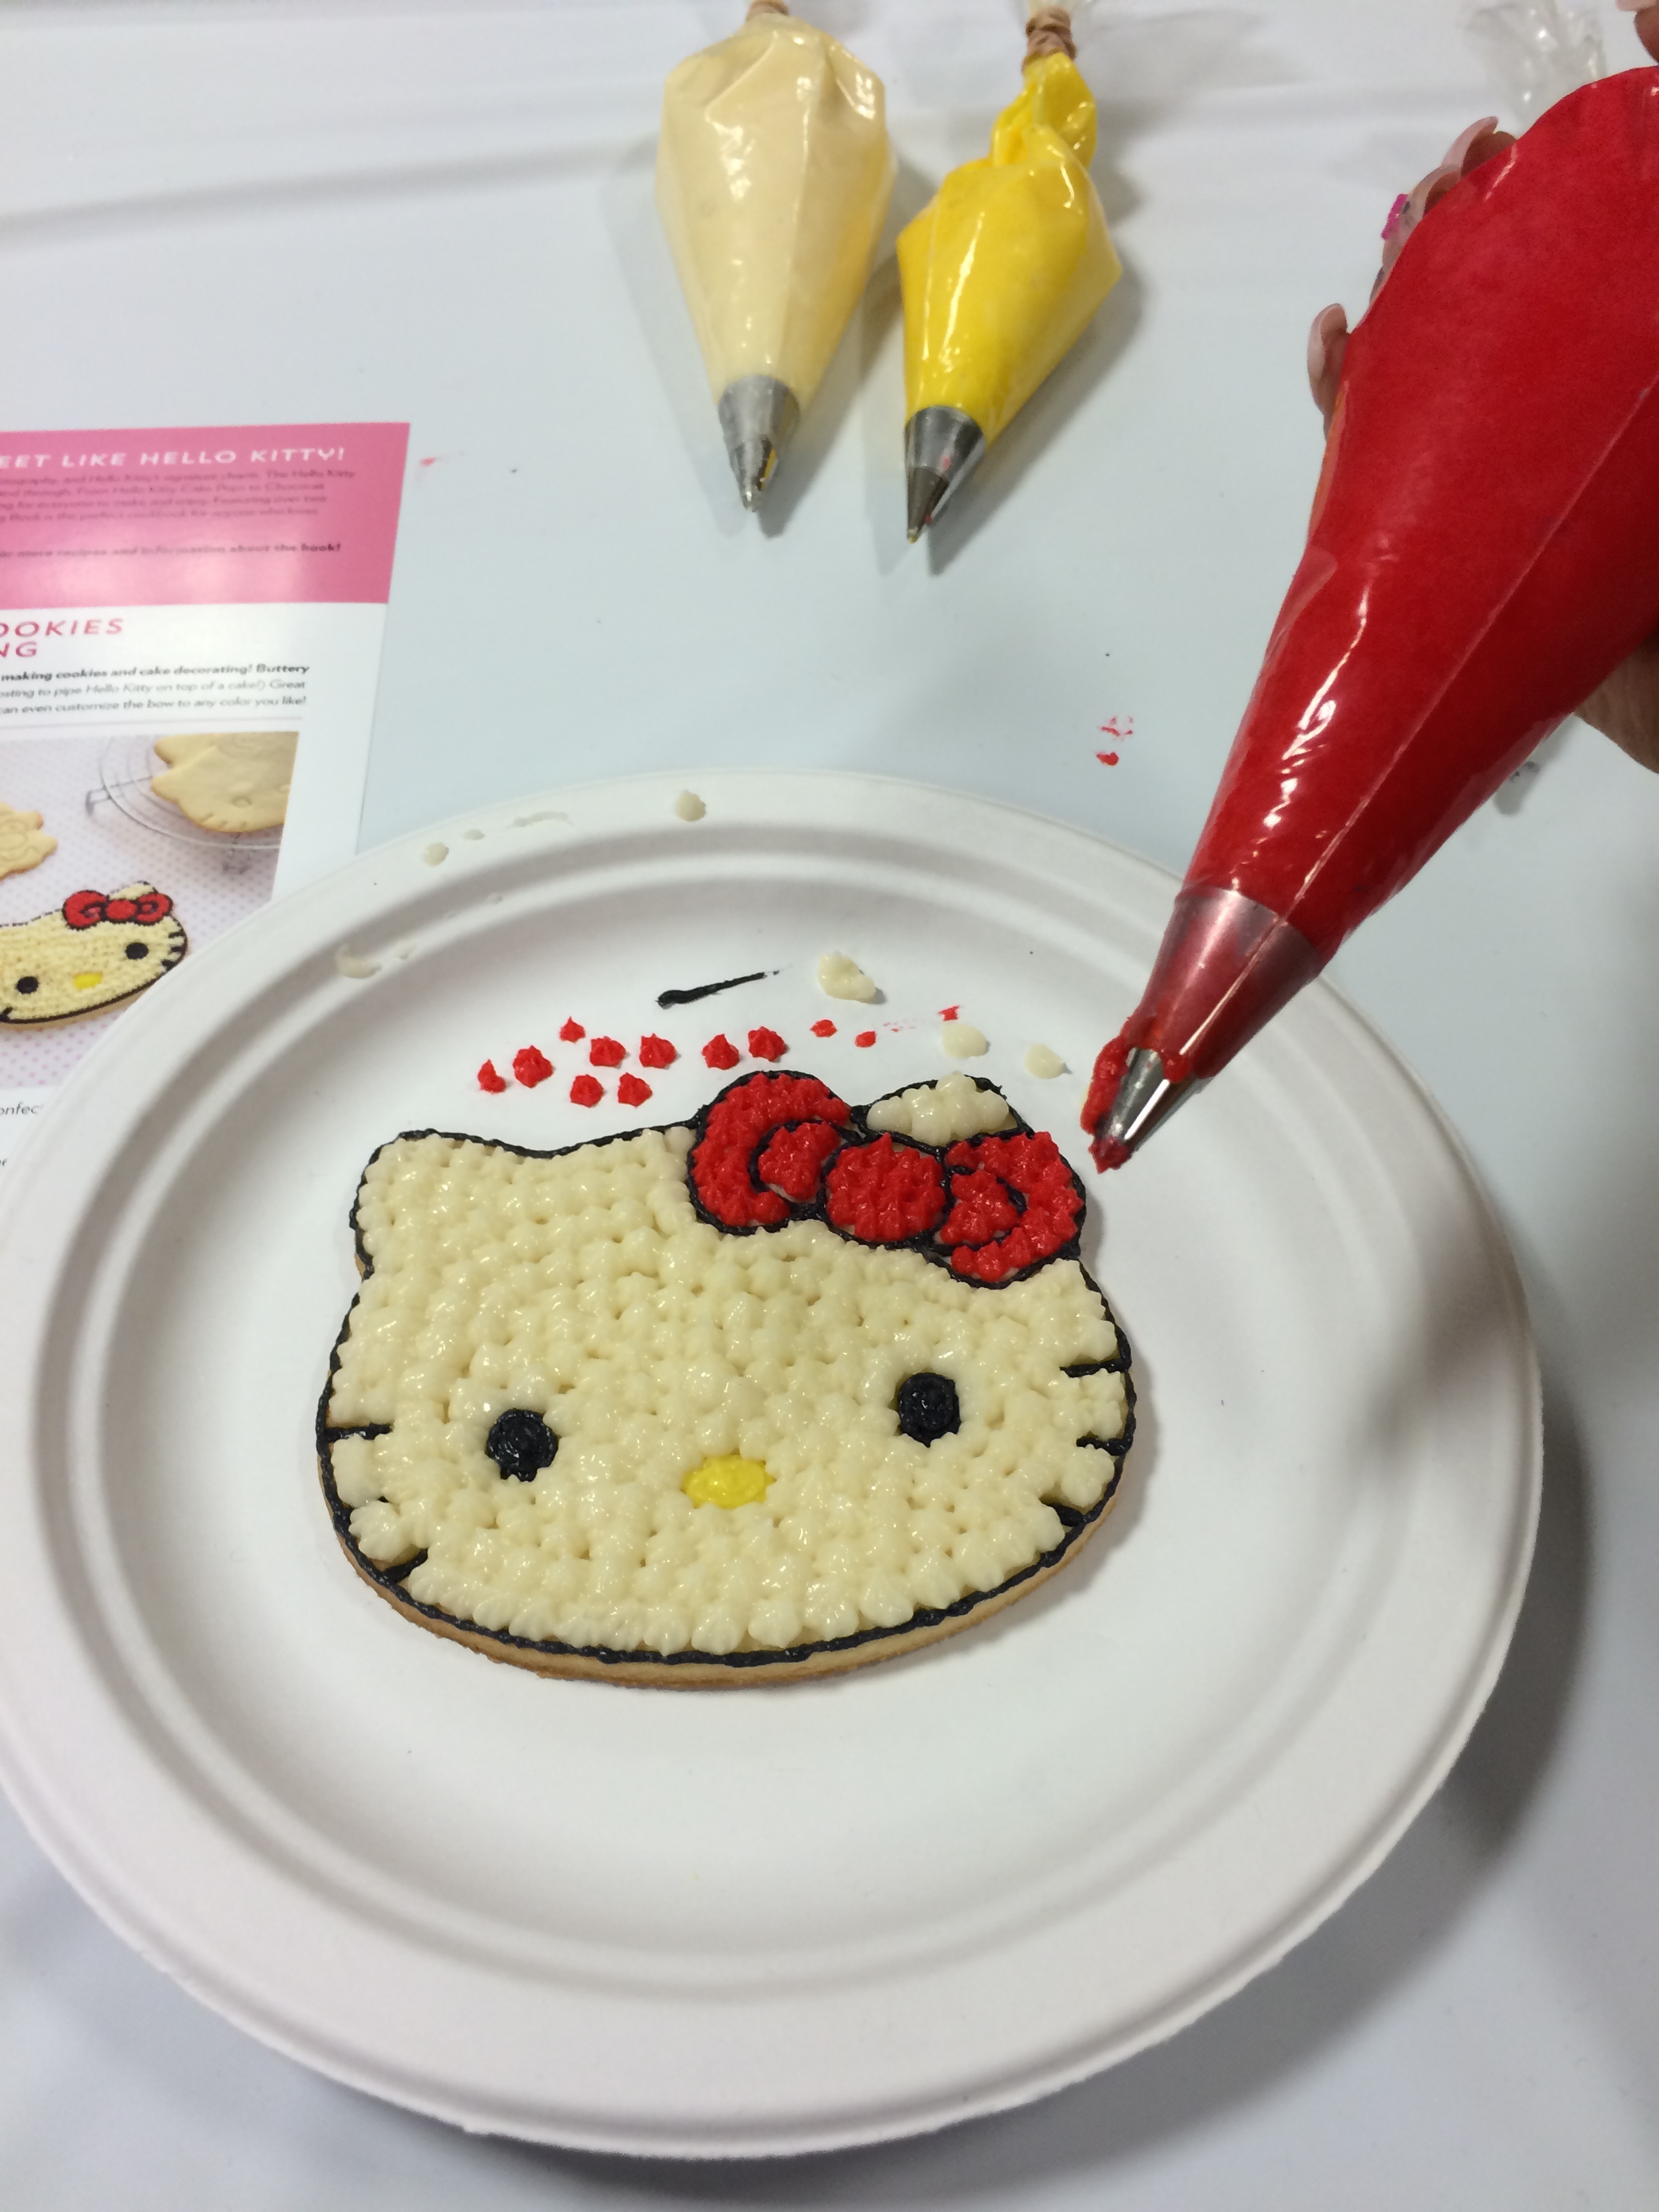
At first, I wanted to approach this like I’ve approached other edible goods. When I was at Hello Kitty Con 2014, Michele Chen Chock, the Author of the Hello Kitty Baking Book, held a cookie decorating class. I was late and a little embarrassed so I KNEW I had to KILL.THIS.COOKIE! I was a good little student and piped my stars away to my little hearts content. At the end, Michele, herself, totally gave me kudos. I felt so accomplished. Haha. As you can see, I practiced a bit on my plate before I started to work on Hello Kitty. I realized quickly that it is important to develop a rhythm with squeezing and executing the star. Also, I didn’t let the icing just hit the cookie, I gently pressed into it and then removed my tip from the dolloped star. It was like I was letting it squish out and fill space. And like most fragile things, using both hands provides more stability and control. One hand to squeeze and one hand to guide. The only reason why you don’t see my other hand is because I’m taking a photo with my cellular device 🙂
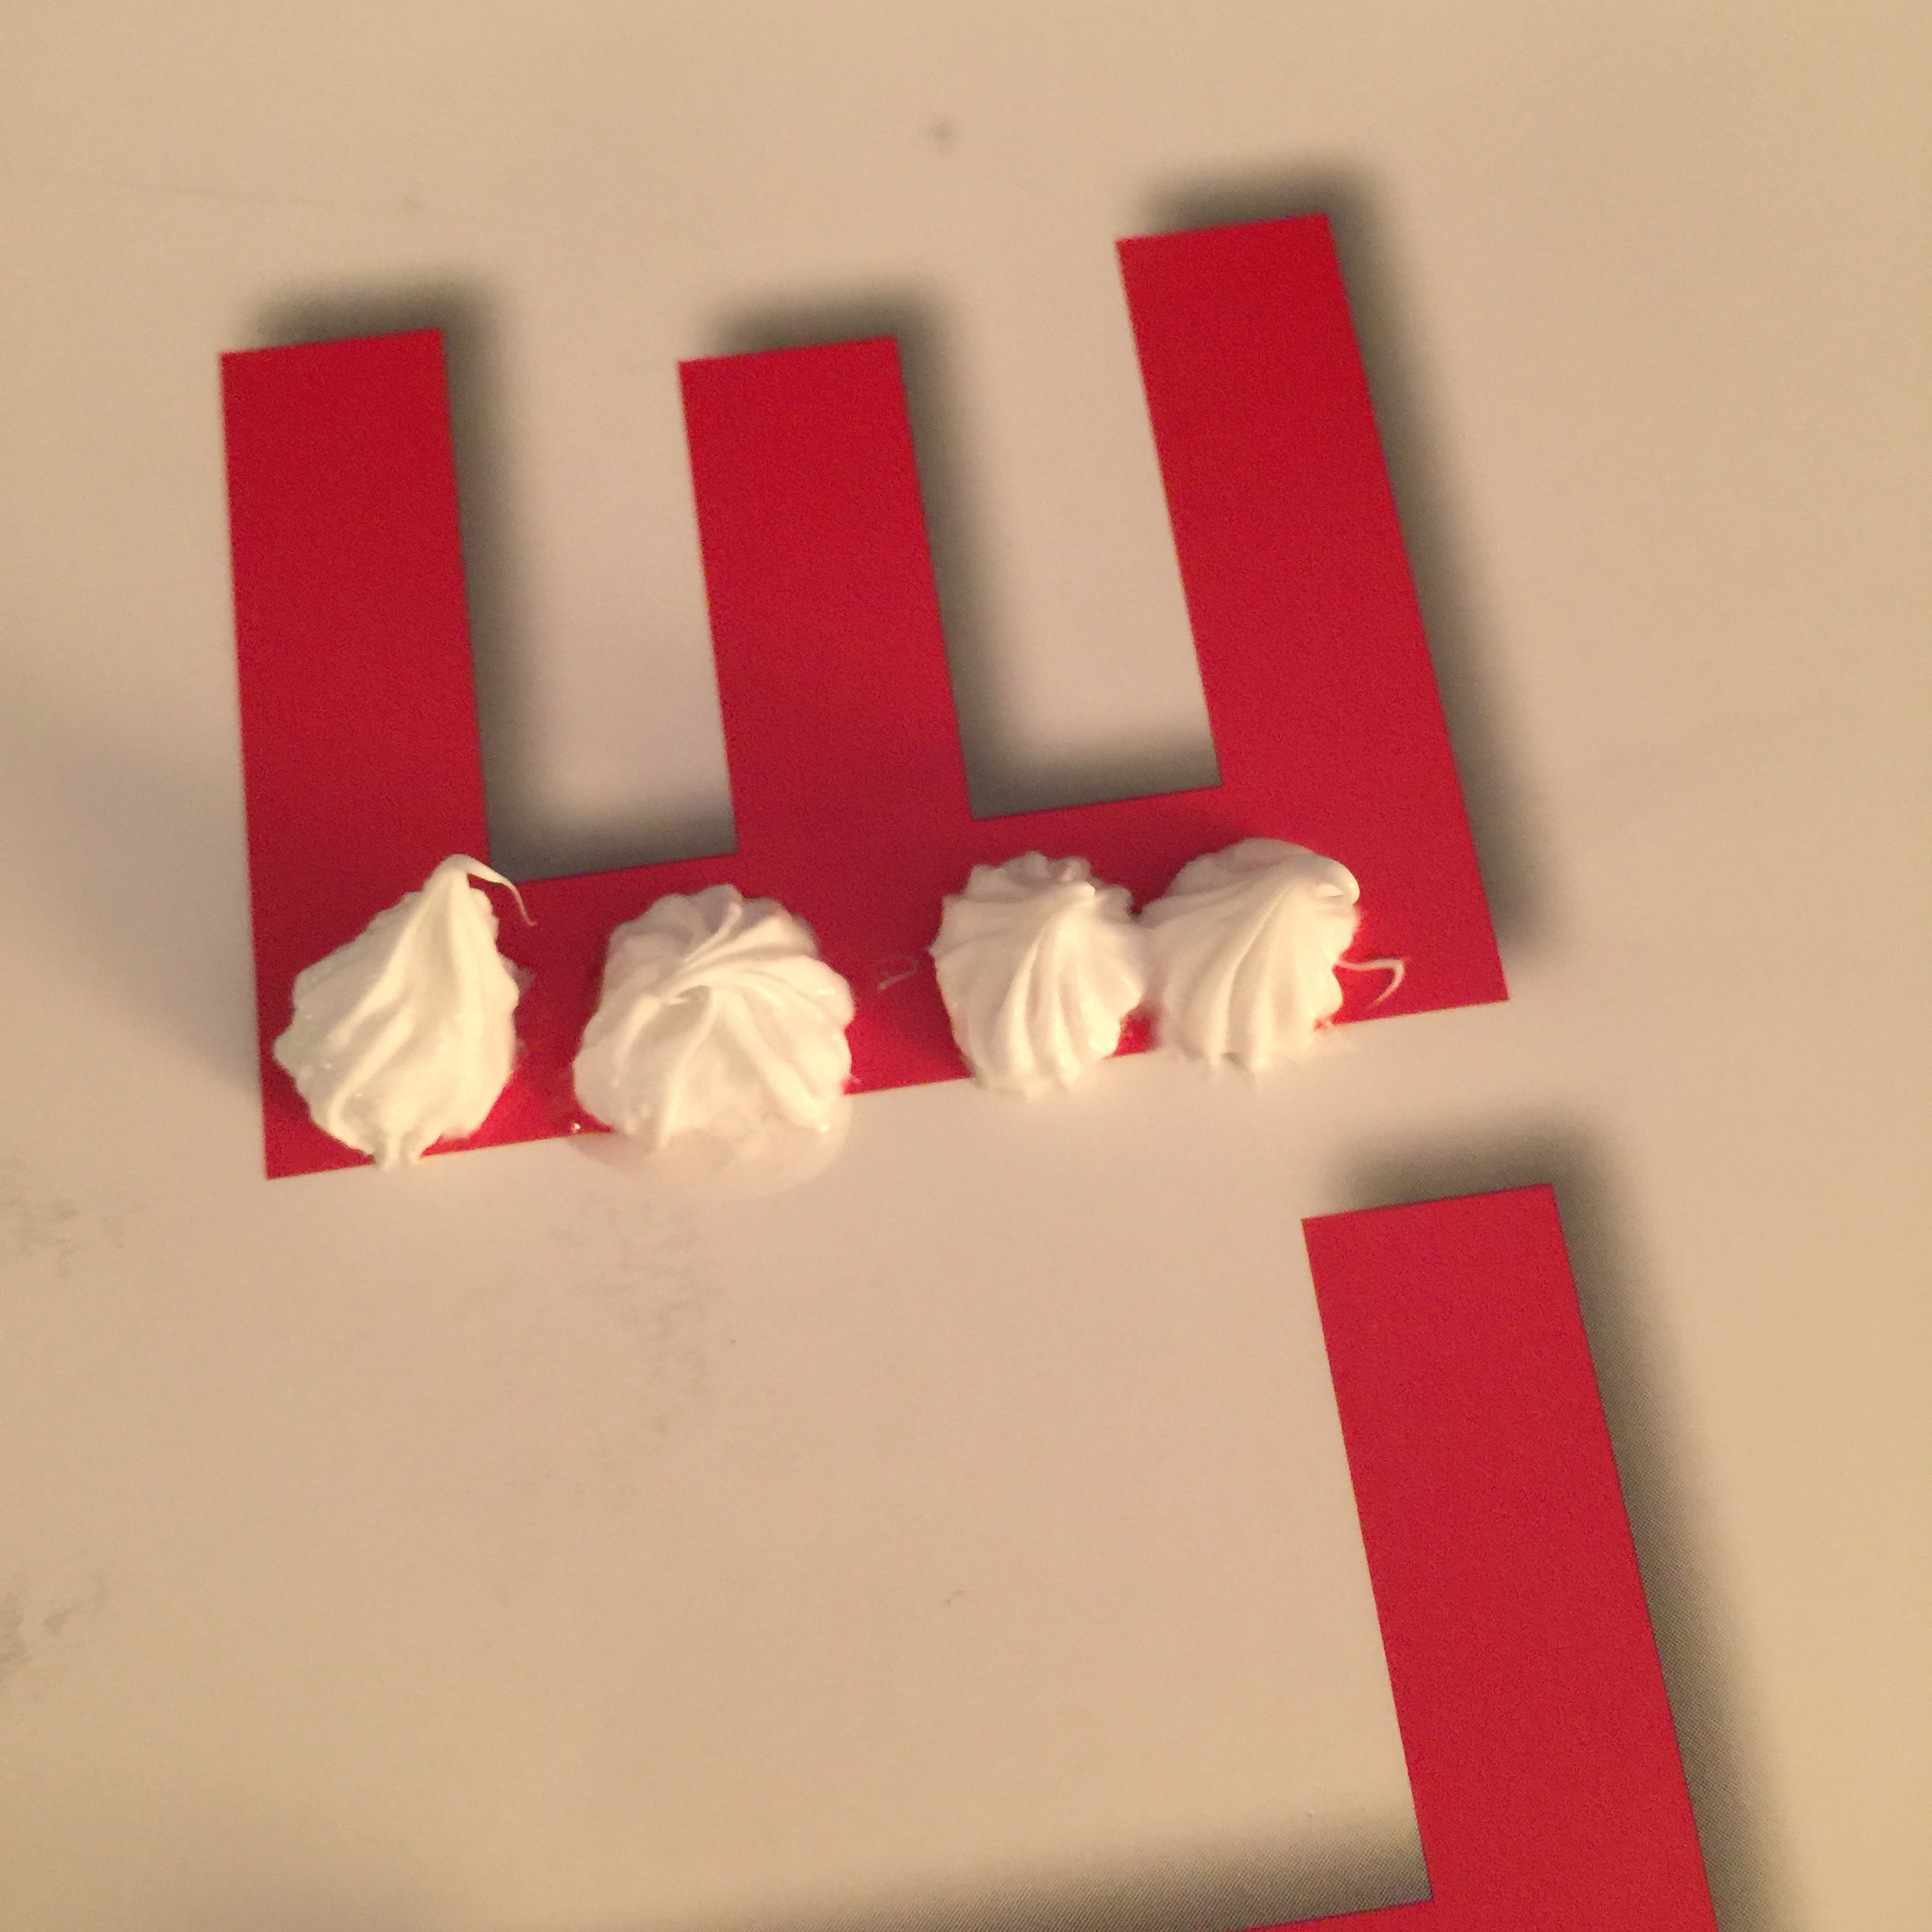
My First Piping Attempt (Practice Round)
So here, I practiced a bit and I’m glad I did. Even though the tube said white silicone, it started to pipe out clear so I freaked for a hot second. Then it came out white. (whew!) I tried implementing my “star dollop” technique and saw quickly that 100% silicone does not behave like icing. Not only is it NOT edible (joke), but its way stickier, so it got stringy and then my dollops got stretched out. I was actually thinking of stopping this all together, but I thought, just give it a second, you’ll figure this out. I decided to hop on my Instagram and I quickly saw videos of other lovely deco artists piping for their lives, so smoothly and beautifully! I pulled my little self together and practiced more, then I became confident enough to start piping on my candy dish.
What I Learned About Decoden Whipped Cream
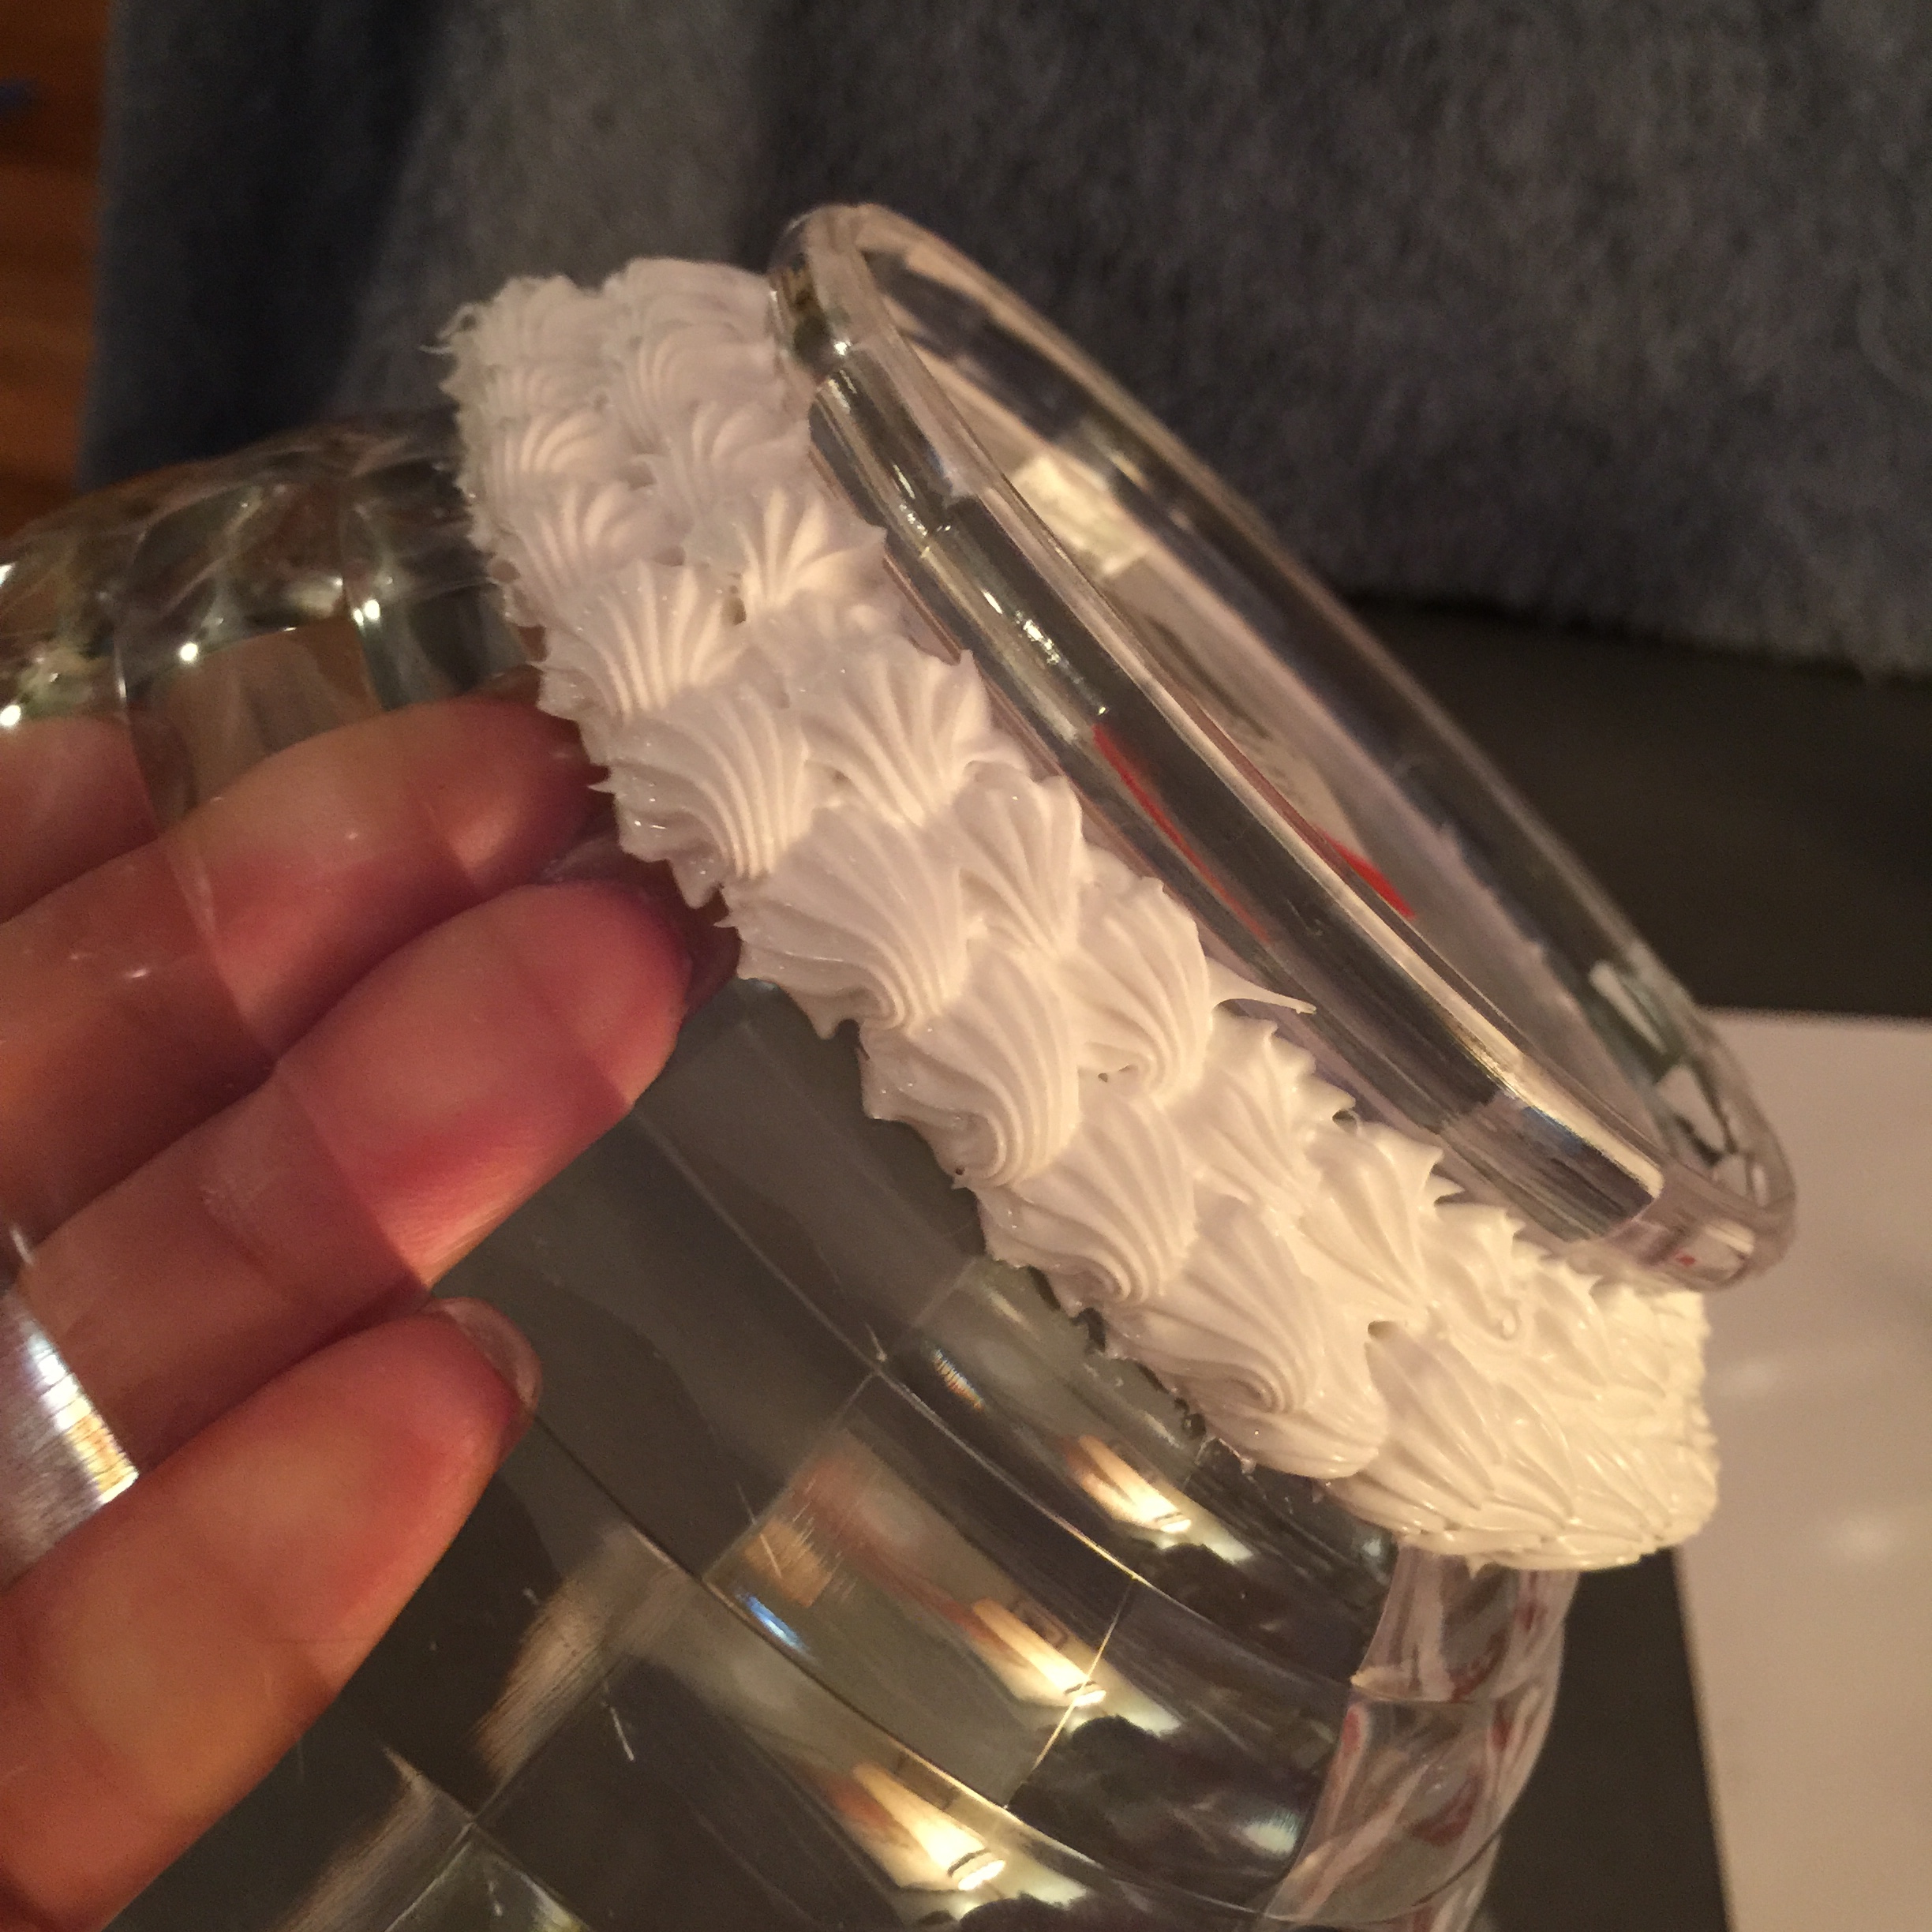
So here is what it looked like after I went around the world twice. I was pleasantly surprised. It turned out nice for a first try. There were some things I quickly learned:
- working on a round surface is a little trickier than working on a flat surface. The hand I was using to rotate the surface had to be repositioned several times. #annoying
- the tube I was piping with began to exhaust my little hand. I had to give my hand a chance to rest in between rows.
- Remember what I said about rhythm? it was a little hard to keep with the silicone in the original tube. I’m curious to see if its easier with the piping bag.
First Results (Whipped Candy Dish)
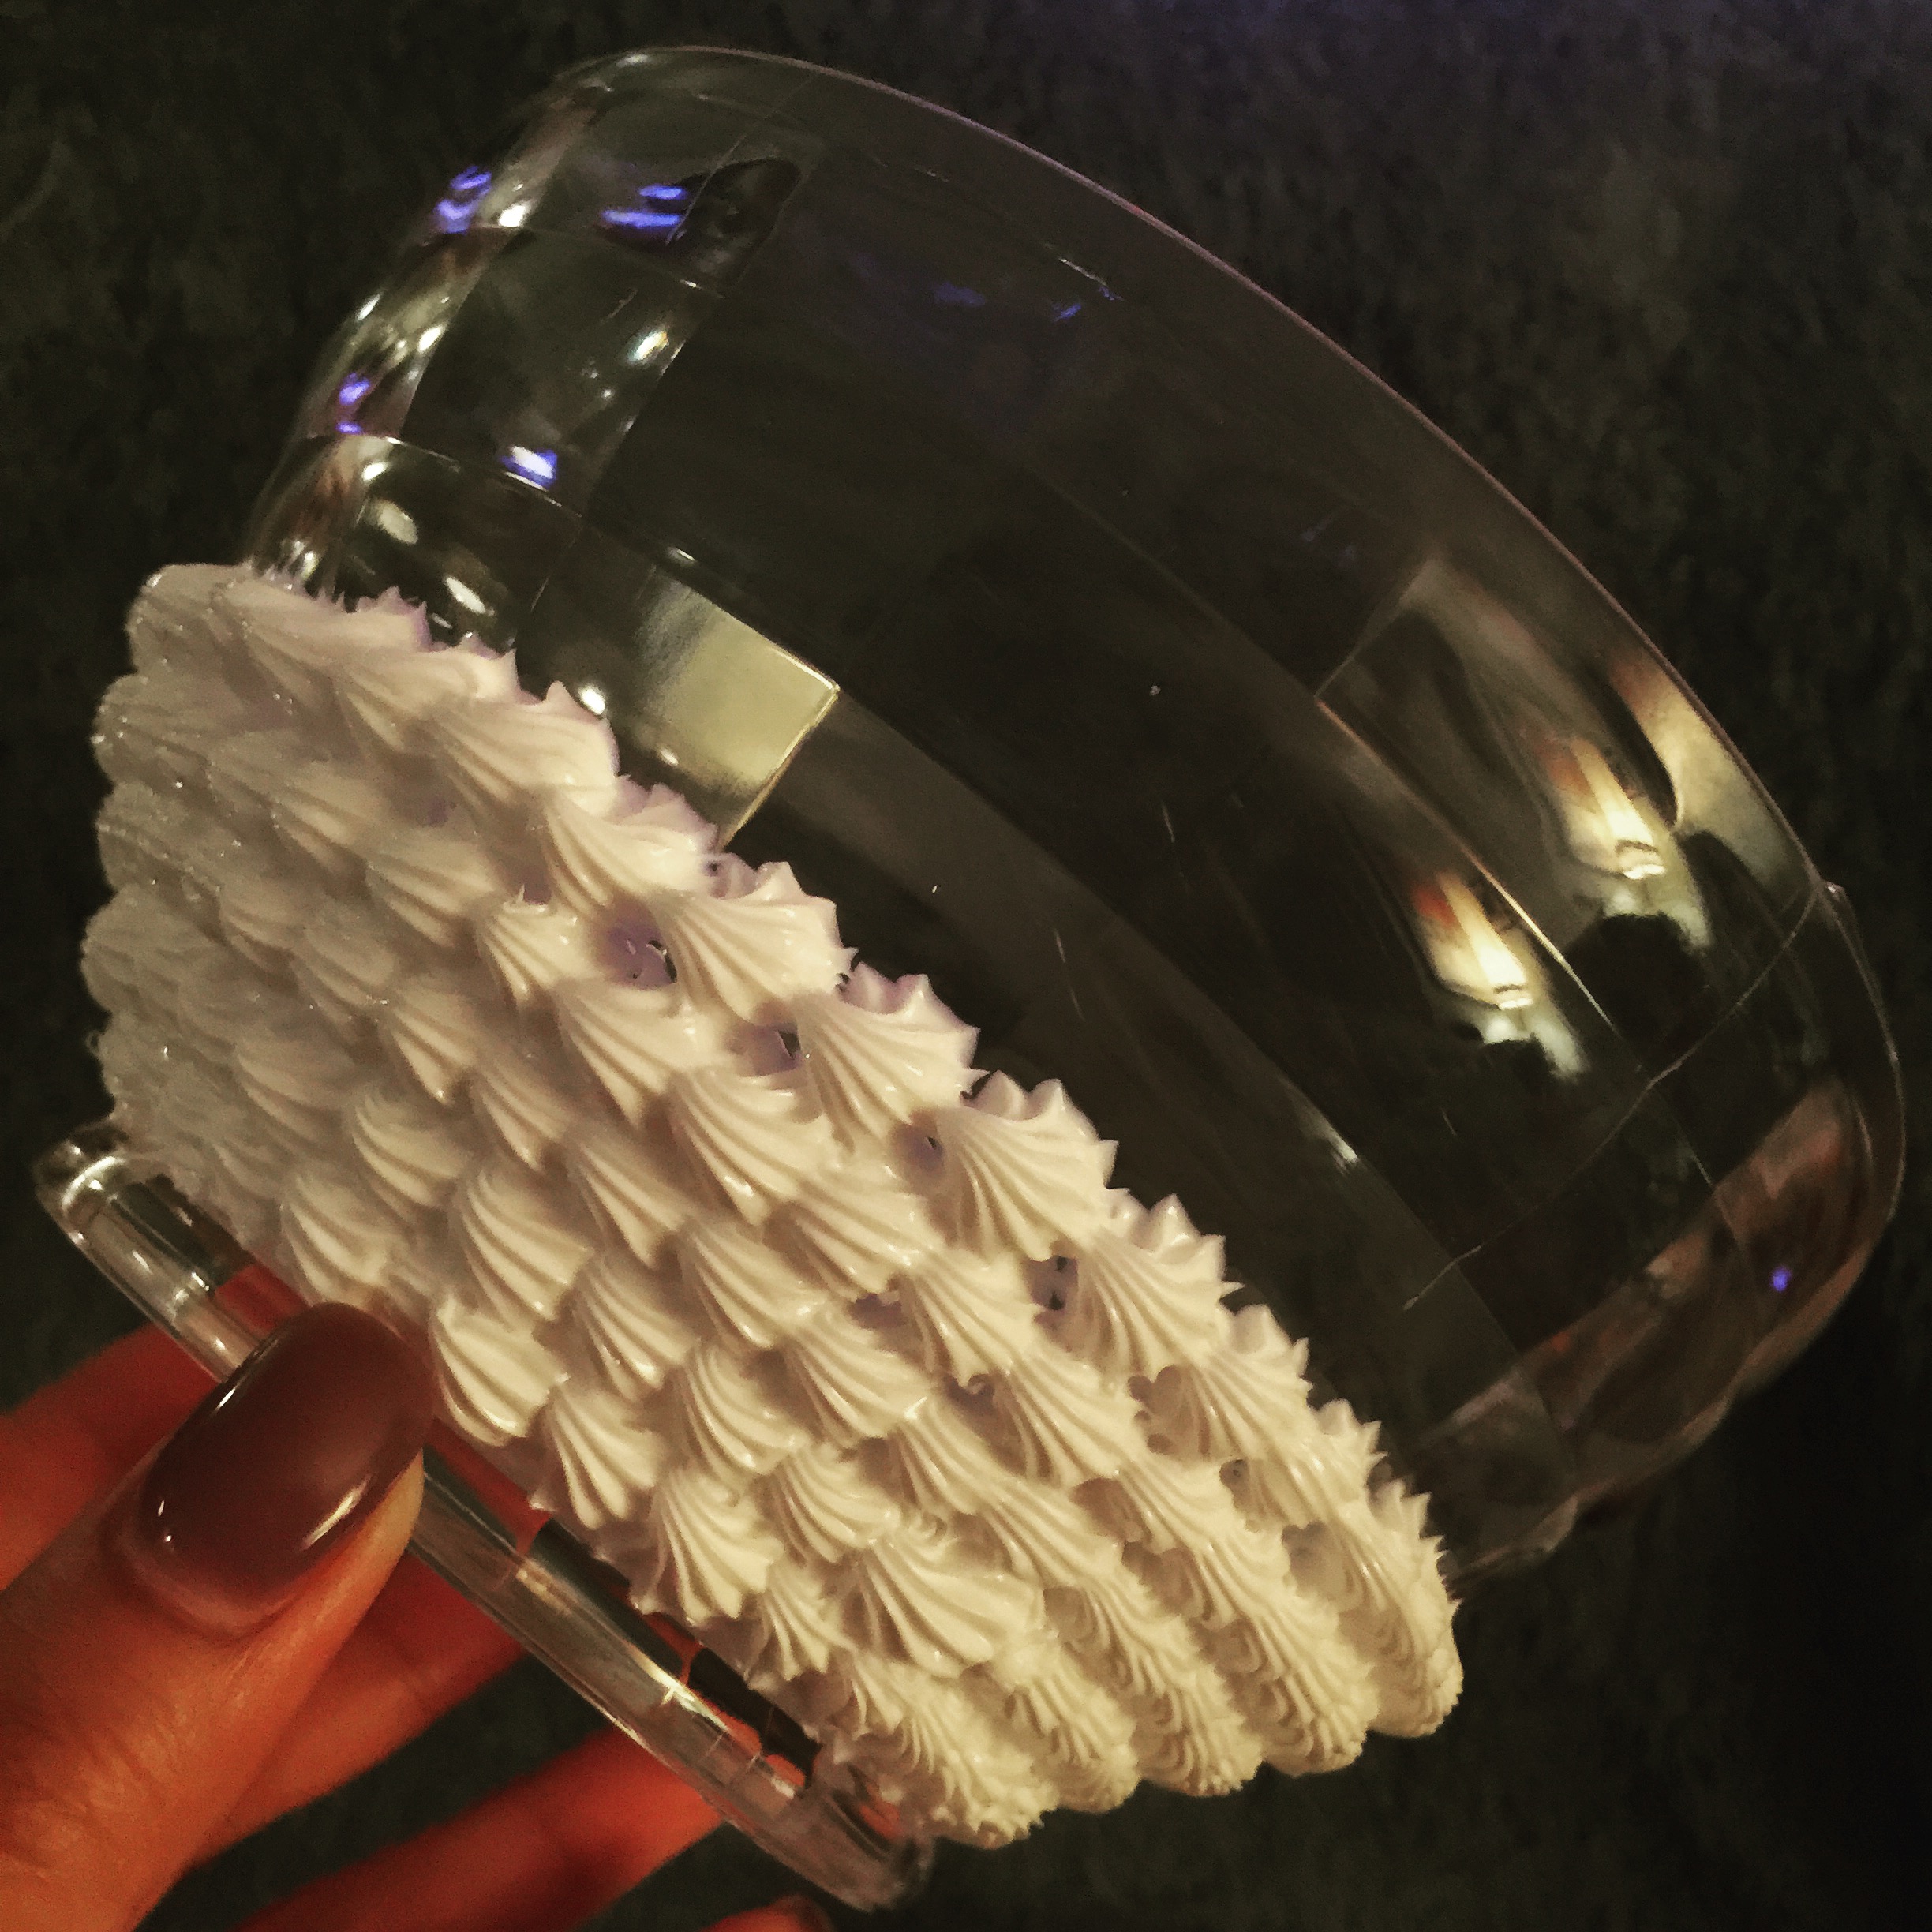
Well here is what I got done today. One tube wasn’t enough 😦 I didn’t want to buy a whole lot since I’ve never worked with it. I wasn’t sure how much I needed or how far one tube would take me. The good news is I’ll be going back to the hardware store tomorrow and getting more “whip.” I am very anxious to finish this project and show you how it turns out. At the moment, the silicone has dried and it’s a little squishy. I am still in awe that I did this well. I hope this first part post of this project inspires you to try this or even something new. I wasn’t opposed to using the whipped cream motif, I was just completely in the dark about it. Sometimes, you just have to jump from a crane and take the chance. Once you’re in the air, all you have to do is pull the chute. Let’s hope I land on my feet. . . Check out Part 2!

One thought on “My First Time Using Decoden Whipped Cream (Part 1)”